Monday, June 22, 2020

Simon Says - Shoot For The Stars

Hi Everyone...welcome to another week on the Simon Says Stamp Monday Challenge Blog. Thank you for joining us for last week's challenge and we hope you can join us this week too because

and the theme for this week is...
SHOOT FOR THE STARS
I created a card dedicated to all the kids who are being little stars coping with the lockdown restrictions despite having to get used to an entirely different daily routine and missing their friends and extended families. I used Tim Holtz Distress Oxide Sprays, Stampers Anonymous Plaid, Falling Stars Layering Stencils and Floral Mini Layering Stencil from Set 25 with Distress Crackle Texture Paste and Distress Embossing Glazes for the background and added an Idea-ology Baseboard Doll, Small Talk Stickers and Simon Says Stamp CZ Designs Miss You die cut for the sentiment.

I began with a 5" x 7" panel of Distress Watercolor card, spritzed with Speckled Egg and Tattered Rose Distress Oxide Sprays and a little water and dried to create a soft background. I applied Speckled Egg Distress Oxide ink through Tim Holtz/Stampers Anonymous Plaid Layering Stencil and Tattered Rose Distress Oxide through Falling Stars using a mini round blending tool, sprinkled with the matching Distress Embossing Glazes and heat set. I applied Speckled Egg Distress Oxide ink through the Floral Mini Layering Stencil from Set 25 but had a change of heart and replaced the stencil back in place and applied Distress Crackle Texture Paste. While the paste was wet, I sprinkled with Speckled Egg and Tattered Rose Distress Embossing Glazes, did the little dance with my fingers on the back to mix up the powders and heat set once the paste had dried.
I die-cut Simon Says Stamp CZ Designs Miss You from Simon Says Stamp Vellum for the shadow section and 3 times from scraps of Distress Watercolor card coloured with Tattered Rose Distress Oxide ink  and layered to create dimension.
I die-cut Tim Holtz/Sizzix Star Trim 3D Impresslits from Distress Watercolor card and coloured with Speckled Egg and Vintage Photo Distress Oxide inks.
I applied a coat of Distress Collage Medium to the Idea-ology Paper Doll, applied Embossing ink to the collar and band on here dress using the Distress Embossing Pen, sprinkled with Tattered Rose Distress Embossing Glaze and heat set. I coloured her hair and boots with Vintage Photo Distress Crayon and her face and arms with Antique Linen Distress Crayon using a Distress Detailer Brush.
I applied a coat of Distress Crackle Texture Paste to a scrap of Distress Watercolor card, sprinkled with Tattered Rose Distress Embossing Glaze and heat set once the paste had dried. To intensify the colour, I dragged the Tattered Rose Distress Oxide ink pad over the surface, sprinkled more embossing glaze while the ink was still wet and heat set again. I added Vintage Photo Distress Re-inker to accentuate the crackle using a Distress Detailer Brush and die-cut the individual stars using Tim Holtz/Sizzix Swirling Stars Thinlits and the "MISS" word again to co-ordinate.
I inked the edges of the panel lightly with Vintage Photo Distress Oxide ink using a mini round blending tool and again accentuated the crackle on the stencilled section using Vintage Distress Re-inker with the Distress Detailer Brush.
I inked the edges of Idea-ology Small Talk Stickers with Vintage Photo Distress Oxide ink and fixed in place with Distress Collage Medium.

I trimmed the panel down to 4.1/2" x 6.1/2", matted on to layers of white and brown card and fixed to a 5" x 7" Simon Says Stamp Ultra White card blank.

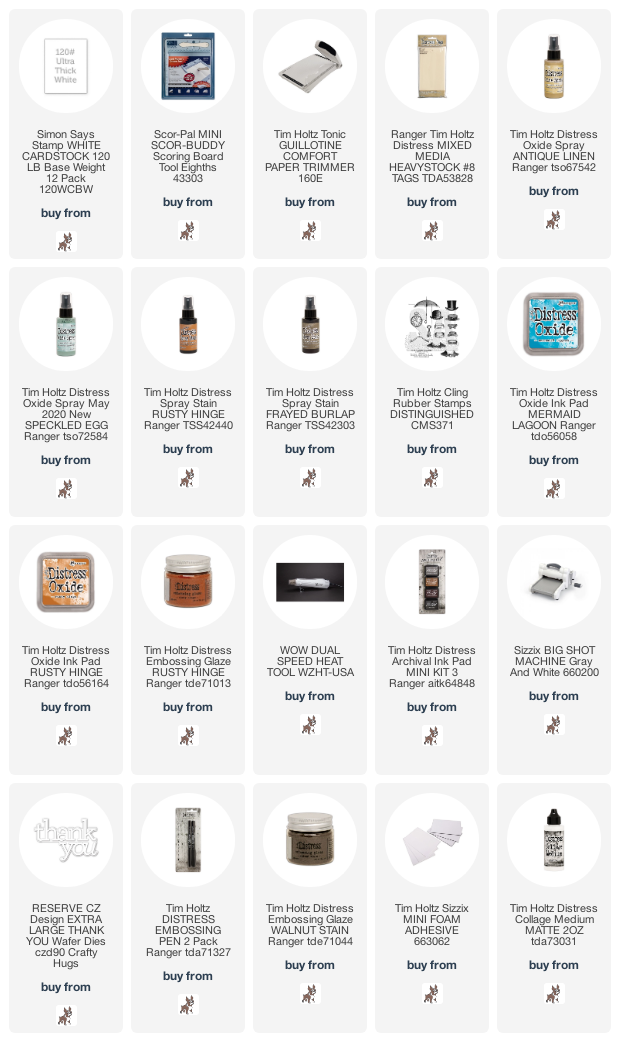
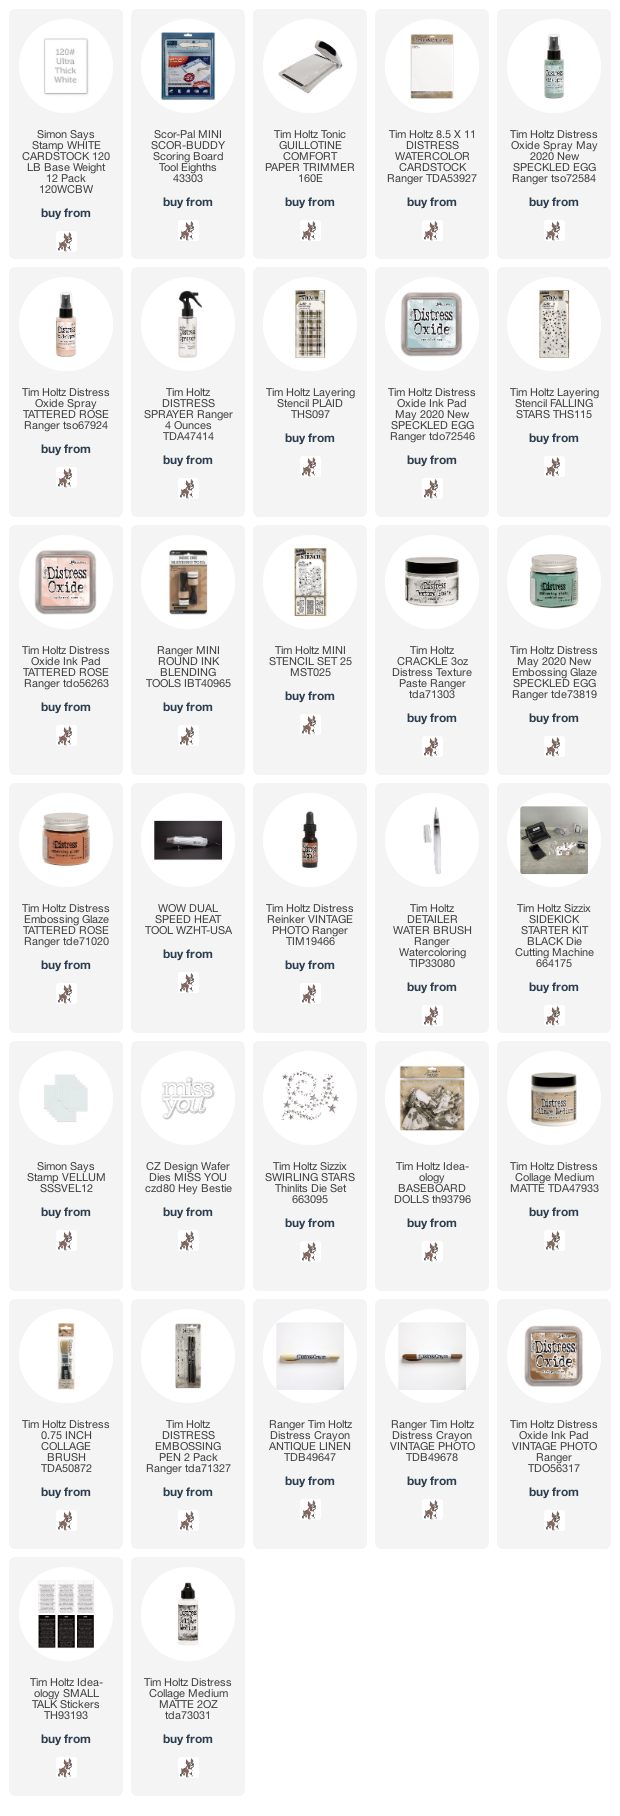
You can find all the products I used over at Simon Says Stamp, just click on the links below


Why don't you pop over to the Monday Challenge Blog and check out the amazing creations from my very talented Design Team mates and as always you have until Monday 8am Ohio time...1pm UK time...2 pm CET to join in with the chance to win a $25 voucher to spend in Simon Says Stamp Online Store


You can also follow Simon Says Stamp on Instagram
and if you use Instagram...
please add #sssmchallenge to your entry uploads so we can see them on there too

I look forward to seeing what you create this week...
Have Fun and Happy Crafting
Hugs Kath xxx

Where available I use compensated affiliate links which means if you make a purchase I receive a small commission at no extra cost to you. You can find my affiliate and product disclosure HERE
Friday, June 19, 2020

Another Background Bites The Dust

Hi my friends, I'm a bit late to the blogging party today and you can blame technology for my tardiness, a new look Facebook that's been giving me the round around, a 3-month old toaster, supposedly all singing and dancing, that is tripping the electricity supply every time I try to use it and an idiot crafter who deleted all the step by step photos for this project from her camera before uploading them. But, better late than never, I'm sharing a card using up another of those Tim Holtz Facebook Live backgrounds and the left-over die-cut waste from yesterday's card.
I trimmed the Distress Mixed Media HeavyStock tag to measure 3"x 5.1/2", stamped the script image from Tim Holtz/Stampers Anonymous Distinguished with Mermaid Lagoon Distress Oxide ink, the watch image with Rusty Hinge Distress Oxide, sprinkled with Rusty Hinge Distress Embossing Glaze and heat set. I fixed the waste from Simon Says Stamp CZ Designs Extra Large Thank You die cut used on yesterday's card to the panel using Distress Collage Medium Matte. I die-cut the Extra Large Thank You words 3 times from scraps of Distress Mixed Media HeavyStock, layered them together with Distress Collage Medium Matte to create dimension and stamped the script image, inked with Vintage Photo Distress Archival ink.
I puzzle pieced the words back into the waste shadow die-cut and added one of the hats from Distinguished, stamped on Distress Mixed Media Heavystock using Walnut Stain Distress Archival. I coloured the hat band with Mermaid Lagoon Distress Oxide ink, using a Distress Detailer Brush, fussy cut and fixed in place with Tim Holtz/Sizzix Mini Foam Adhesive.
I used the Distress Embossing Pen around the edges of the panel, sprinkled on Walnut Stain Distress Embossing Glaze and heat set.
I fixed Idea-ology Abandoned Paper to the front of a 4" x 6.1/2" white card blank, sanded the edges to reveal the white core and added the panel.
Have a great weekend, whatever you have planned. I'll be heading over to Tim and Mario's place for another fun and inspiring Distress Demo Alcohol Ink party tonight. The fun starts at 6.00pm if you're in the UK and I hope to see you there. Stay safe, keep well and carry on crafting
Hugs Kath xxx


Where available I use compensated affiliate links which means if you make a purchase I receive a small commission at no extra cost to you. You can find my affiliate and product disclosure HERE

Thursday, June 18, 2020

Thank You Dad...

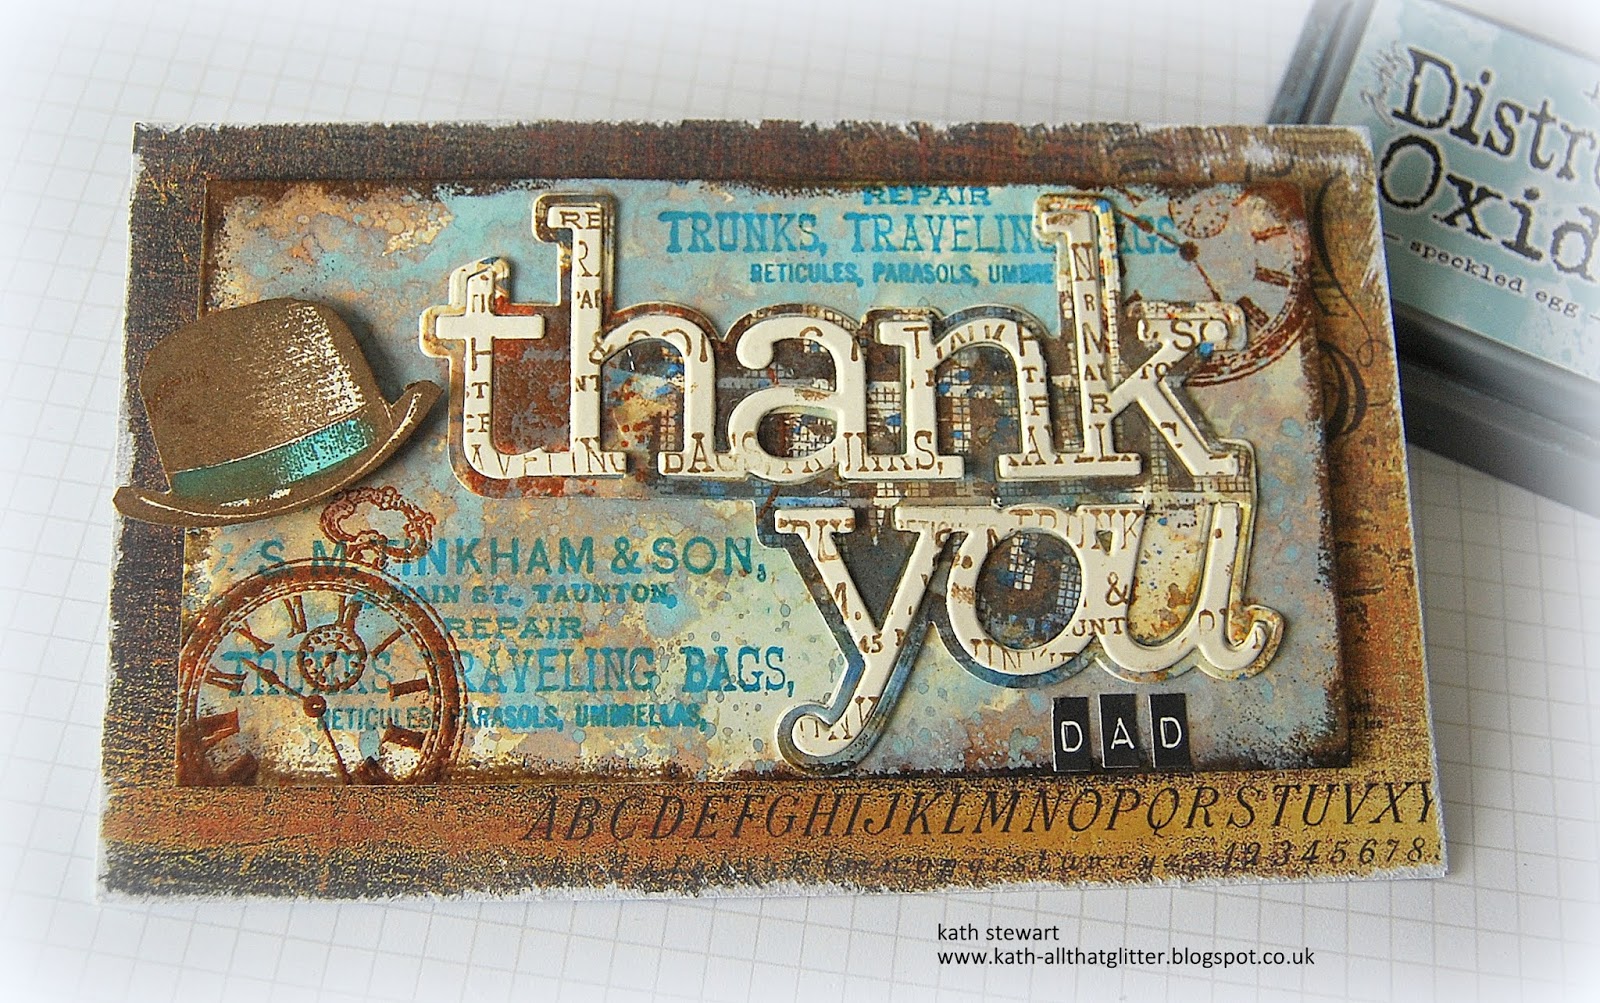
Hi my friends, with Father's Day just around the corner, I'm sharing a card I made using one of the backgrounds I've been making inspired by the Tim Holtz Facebook Live Distress demos, a fun Saturday night party over at Tim and Mario's place hanging out with lots of crafty friends and also chance to use the CZ Designs Extra Large Thank You die that Simon Says Stamp sent me from the Crafty Hugs release


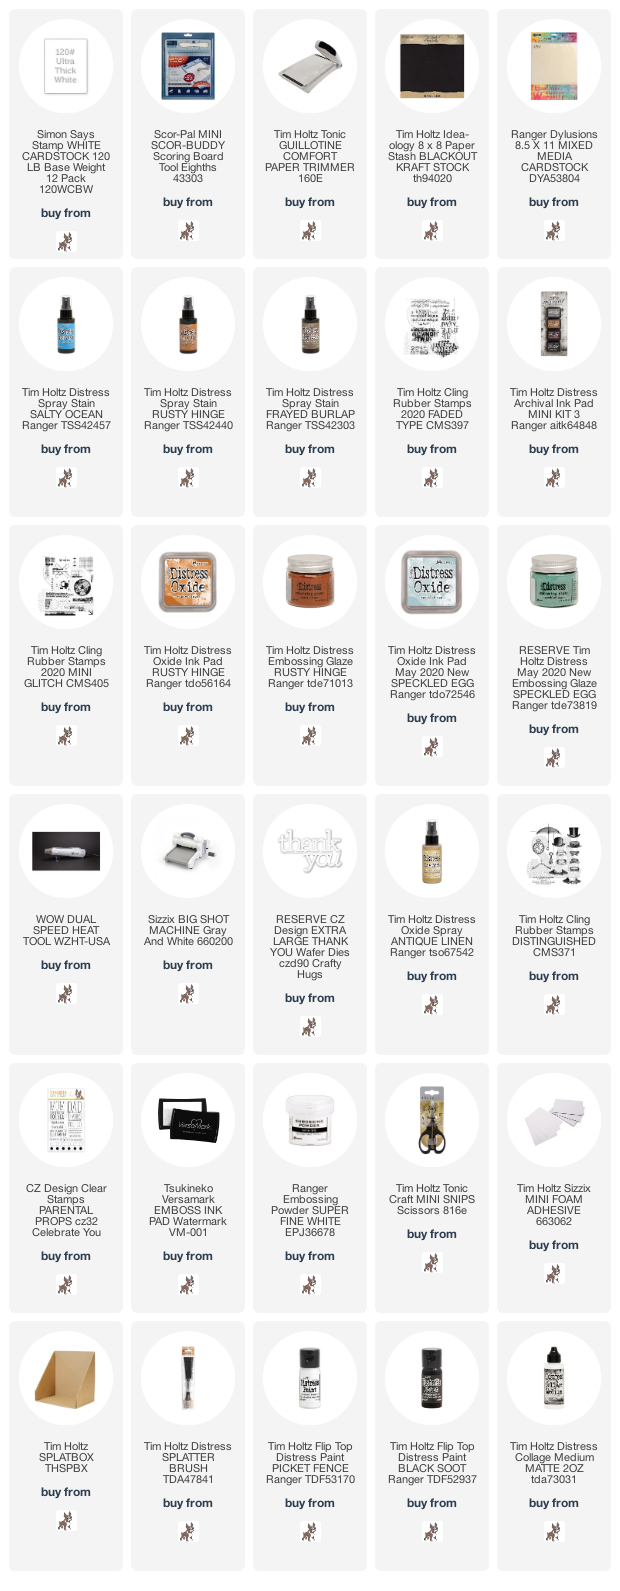
I used the background top left in the backgrounds photo, created using Salty Ocean, Rusty Hinge and Frayed Burlap Distress Spray Stains on Dylusions Mixed Media Card Stock. My supply of 8.5" x 11" Distress Mixed Media HeavyStock has finally run out but my adorable Professor has hinted that Ranger will be bringing this must-have back soon, in the meantime the Dylusions Mixed Media Cardstock is a great, slightly lighter in weight, alternative. I trimmed the panel down to 4.3/4" x 6.3/4", stamped the image from Tim Holtz/Stampers Anonymous Faded Type with Ground Espresso Distress Archival ink, the images from Mini Glitch with Rusty Hinge and Speckled Egg Distress Oxide inks, sprinkled with the matching Distress Embossing Glazes and heat set.

I die-cut an aperture in the panel using the shadow die from Simon Says Stamp Extra Large Thank You Die.
I die-cut the words from the shadow piece and scraps of Distress Mixed Media HeavyStock and layered using Distress Collage Medium Matte to create chipboard sentiments.
I spritzed a scrap of Distress Mixed Media HeavyStock with Antique Linen Distress Oxide Spray and fixed behind the die-cut aperture
I fixed the die-cut sentiments back in place.
I stamped the images from Tim Holtz/Stampers Anonymous Distinguished inked with Black Soot Distress Archival on the panel, stamped the hat again on to a scrap of Distress Mixed Media HeavyStock, fussy cut and fixed in place with Tim Holtz/Sizzix Mini Foam Adhesive to create dimension.
I inked the sentiments from Simon Says Stamp Parental Props with Versamark ink, heat set with Ranger Superfine White Embossing Powder, fussy cut and fixed in place with Mini Foam Adhesive

I added splatters of Distress Picket Fence and Black Soot Distress Paints and added the bow tie from Distinquished, inked with Rusty Hinge Distress Oxide ink
I matted the panel on to a 5" x 7" white card blank, covered with Idea-ology BlackOut KraftStock
I ended up with a load of left over thank you die-cuts so I'll be back tomorrow to share another "waste not, want not" card.
In the meantime, stay safe, keep well and keep on crafting
Hugs Kath xxx


Where available I use compensated affiliate links which means if you make a purchase I receive a small commission at no extra cost to you. You can find my affiliate and product disclosure HERE

Wednesday, June 17, 2020

New Home Card

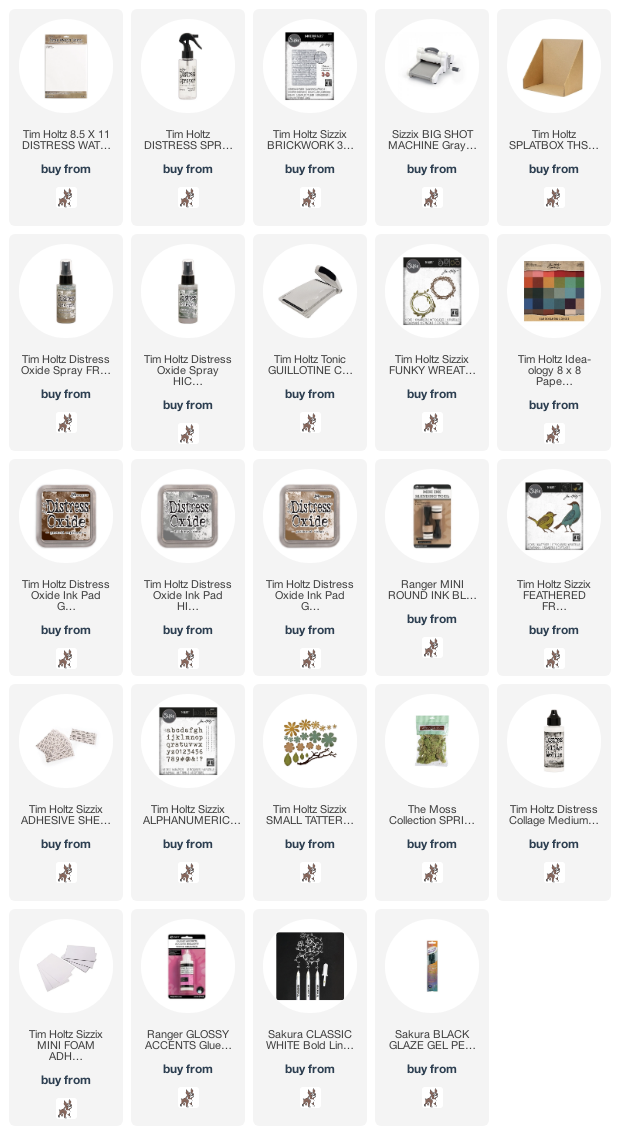
Hi my friends, I'm sharing a New Home Card I made using some of my favourite dies from the Tim Holtz/Sizzix Chapter 2 release, Feathered Friends, Funky Wreath and Alphanumeric Tiny Type Upper Thinlits with the Brickwork 3D Texture Fade.

I began by spraying both sides of Distress Watercolor card lightly with water, placed the card in the Brickwork 3D Texture Fade and ran it through my Big Shot 3 times. I placed the panel in my Splat Box and spritzed with Hickory Smoke and Frayed Burlap Distress Oxide Sprays.
I trimmed the panel down to 4.1/4" x 6.1/4" and die-cut an aperture using Tim Holtz/Sizzix Funky Wreath Thinlits. I left the wreath in place on the panel and fixed it to the back of the panel with double sided tape. I sanded Tim Holtz Idea-ology Classic KraftStock to reveal the kraft core and die-cut the Funky Wreath again along with the extra leaves included in the set. I fixed the wreath in place over the wreath on the panel using Distress Collage Medium Matte, arranged the leaf die-cuts around the aperture and curled the tips of the leaves to create dimension. 
I trimmed Distress Watercolor card to the same size as the Brickwork panel and coloured the section that will be behind the aperture with Hickory Smoke, Ground Espresso and Gathered Twigs Distress Oxide inks using a mini round blending tool. I spritzed with water and dabbed with kitchen towel to create the water splattered effect.
I fixed a strip of burlap to the panel using Distress Collage Medium Matte. I coloured scraps of Distress Watercolor card using Ground Espresso and Gathered Twigs Distress Oxide Sprays, die-cut twigs using the Funky Wreath Thinlits and fixed to the burlap strip. I sanded Tim Holtz Idea-ology Classic KraftStock to reveal the kraft core, die-cut one of the birds using Feathered Friends Thinlits and fixed in place with Tim Holtz/Sizzix Mini Foam Adhesive. I fixed Tim Holtz/Sizzix Adhesive Sheets to scraps of Distress Watercolor card and Classic KraftStock, die-cut using Alphanumeric Tiny Type Upper Thinlits and removed the adhesive backing to fix in place.
I die-cut the flowers from Distress Watercolor card and Classic KraftStock using Tim Holtz/Sizzix Small Tattered Florals Thinlits, fixed to the panel and added Ranger Glossy Accents to the flower centres. I added white highlights to the bird using a Sakura White Gelly Roll Pen and dots to the flower centres once the glossy accents were dry with a Sakura Black Glaze Pen.
I added small pieces of moss inside the aperture fixed in place with Distress Collage Medium, fixed the panel to white and kraft card panels trimmed slightly larger and matted on to a 5" x 7" white card panel.

Yesterday's mission was to crack on with painting the garden fence, two panels down, five still to go and that's only one side but I've hit a snag, I need more paint and I thought I had no more ado but to pop over to Amazon and order more for next day delivery, but it seems that everyone else has beat me to it and this particular brand is rarer than hens' teeth, unless I'm prepared to pay, hold on to your galluses and take a deep breath £127.51. Are you kidding me, for something that normally retails for £12-£15...profiteering at it's very worst, desperate I may be but stupid I am not ,so I will just have to live with my two tone fence until things return to normal. (Edited to add: reported to Amazon and it has been taken down)

In the meantime, stay safe, keep well and carry on crafting.
Hugs Kath xxx 

Where available I use compensated affiliate links which means if you make a purchase I receive a small commission at no extra cost to you. You can find my affiliate and product disclosure HERE

Tuesday, June 16, 2020

I'm Happiest When I'm With You...

Hi my friends, I'm on a mission to use up the backgrounds that are piling up in the cubbyhole after playtime sessions inspired by Tim's recent Facebook Live demos
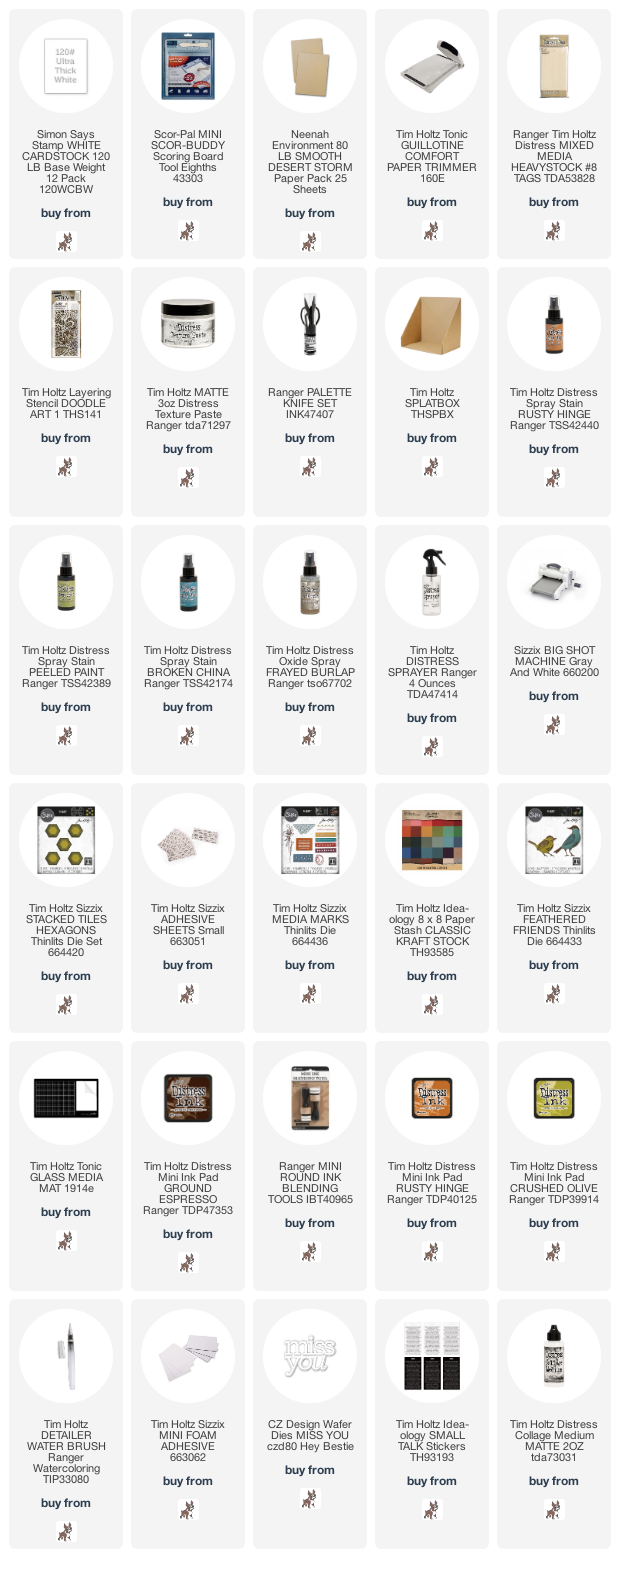
I had great fun decorating the Distress Mixed Media HeavyStock tags using Texture Paste and Stencils and a crazy Splat Box session with Distress Oxide Sprays and Distress Sprays. Busy, colourful and perfect to use with die-cuts so I decided to make a card using Feathered Friends, Stacked Hexagon Tiles and Media Marks Thinlits and use the CZ Design Miss You Shadow Die Simon Says Stamp sent me from their Hey Bestie release as part of the sentiment.

The Distress Mixed Media HeavyStock tag I used was decorated with Distress Texture Paste using the Tim Holtz/Stampers Anonymous Doodle Art Layering Stencil and coloured with Rusty Hinge, Peeled Paint, Broken China Distress Sprays and Frayed Burlap Distress Oxide Spray and die-cut using Tim Holtz/Sizzix Hexagon Stacked Tiles Thinlits.
I trimmed Neenah Desert Storm card to measure 4" x 6" and fixed to a 4.3/4" x 6.3/4" panel of Simon Says Stamp #120 Ultra White card. I sanded the edges of the hexagon die-cuts and fixed to the panel with Distress Collage Medium Matte. I fixed Tim Holtz/Sizzix Adhesive Sheets to scraps of the Ultra White card, die-cut the Media Marks Thinlits, removed the self adhesive backing and fixed to the panel.

I die-cut the bird using Tim Holtz/Sizzix Feathered Friends Thinlits, coloured the bird base with Ground Espresso and Black Soot Distress inks using a mini round blending tool and water coloured the body and wing using Rusty Hinge, Crushed Olive and Ground Espresso Distress Inks using a Distress Detailer Brush.

I fixed the bird to the panel using Tim Holtz/Sizzix Mini Foam Adhesive to create dimension. I die-cut "YOU" from Simon Says Stamp #120 Ultra White card using the shadow die and from brown Classic KraftStock using the word die. I fixed the word to the shadow section, trimmed along the top edge and fixed to the panel.

I added white details to the bird using a Sakura White Gelly Roll Pen

I finished by adding Idea-ology Small Talk Stickers to complete the sentiment, covered the front of a 5" x 7" white card blank with Neenah Desert Storm card and fixed the panel in place with Distress Collage Medium Matte.


I'll be back tomorrow to share another Feathered Friends card, in the meantime, stay safe, keep well and carry on crafting.
Hugs Kath xxx


Where available I use compensated affiliate links which means if you make a purchase I receive a small commission at no extra cost to you. You can find my affiliate and product disclosure HERE