Monday, November 6, 2023

Simon Says - Grunge It Up

Hi Everyone...welcome to another week on the Simon Says Stamp Monday Challenge Blog. Thank you for joining us for last week's challenge and we hope you can join us this week too because


The first challenge of the month is when we showcase one particular brand or company and this month we are all using fabulous products from Carabelle Studio. You don't have to use their products to join in the challenge but if you have them in your stash, we would love to see how you use them.
We are also welcoming the lovely and talented Anita Rao as our Designer In The Spotlight and if you haven't visited her blog before, pop over, you will be in for a real treat.
The theme for this week is...
GRUNGE IT UP
I created an Autumn card using Peeled Paint and Rusty Hinge Distress Oxide inks as my colour palette and Carabelle Studio Entomologie Le Papillon for the focal point. I added texture with Simon Says Wistful Leaves Embossing Folder, Tim Holtz/Stampers Anonymous Berry Leaves Mini Layering Stencil with Black Distress Texture Paste and stamped the leaves and sentiment with Simon Says Cozy Autumn Hugs stamp set.

I tapped the Peeled Paint Distress Oxide ink pad over the debossed side of Simon Says Wistful Leaves Embossing Folder, spritzed a panel of Distress Watercolor card with water and ran through my Sizzix Foldaway machine.
I applied Black Distress Texture Paste through the Tim Holtz/Stampers Anonymous Berry Leaves Mini Layering Stencil from Set 57.
Once the paste was dry, I added splatters of Rusty Hinge Distress Oxide ink and added shading around the edges of the panel with Rusty Hinge and Ground Espresso Distress Oxide inks using mini round blending tools.
I coloured a scrap of Distress Watercolor card with Peeled Paint and Rusty Hinge Distress Oxide inks, die-cut using Nesting Circle dies and stamped the Carabelle Studio Entomologie Le Papillon image inked with Ground Espresso Distress Archival ink on to the largest circle.
I inked the sentiment from Simon Says Cozy Autumn Hugs with Versamark ink, stamped on to the smaller circle, sprinkled with Ranger Black Embossing Powder and heat set.
I fixed a circle of Spellbindrs White Hemp cord to the panel and fixed the two die-cut circles in place with foam squares to create dimension.
I stamped the leaves from Cozy Autumn Hugs, inked with Peeled Paint and Rusty Hinge Distress Oxide inks on to a scrap of Distress Watercolor card and stamped the veins on the leaves inked with Ground Espresso Distress Archival.
There are dies available for the Cozy Autumn Hugs stamp set but I don't have them so I fussy cut the leaves.
I fixed the leaves in place popped up on foam squares, fixed the smallest circle in place and added Idea-ology Specimen Remnant Rubs to the circles. To finish I matted the panel on to an A2 white card blank.


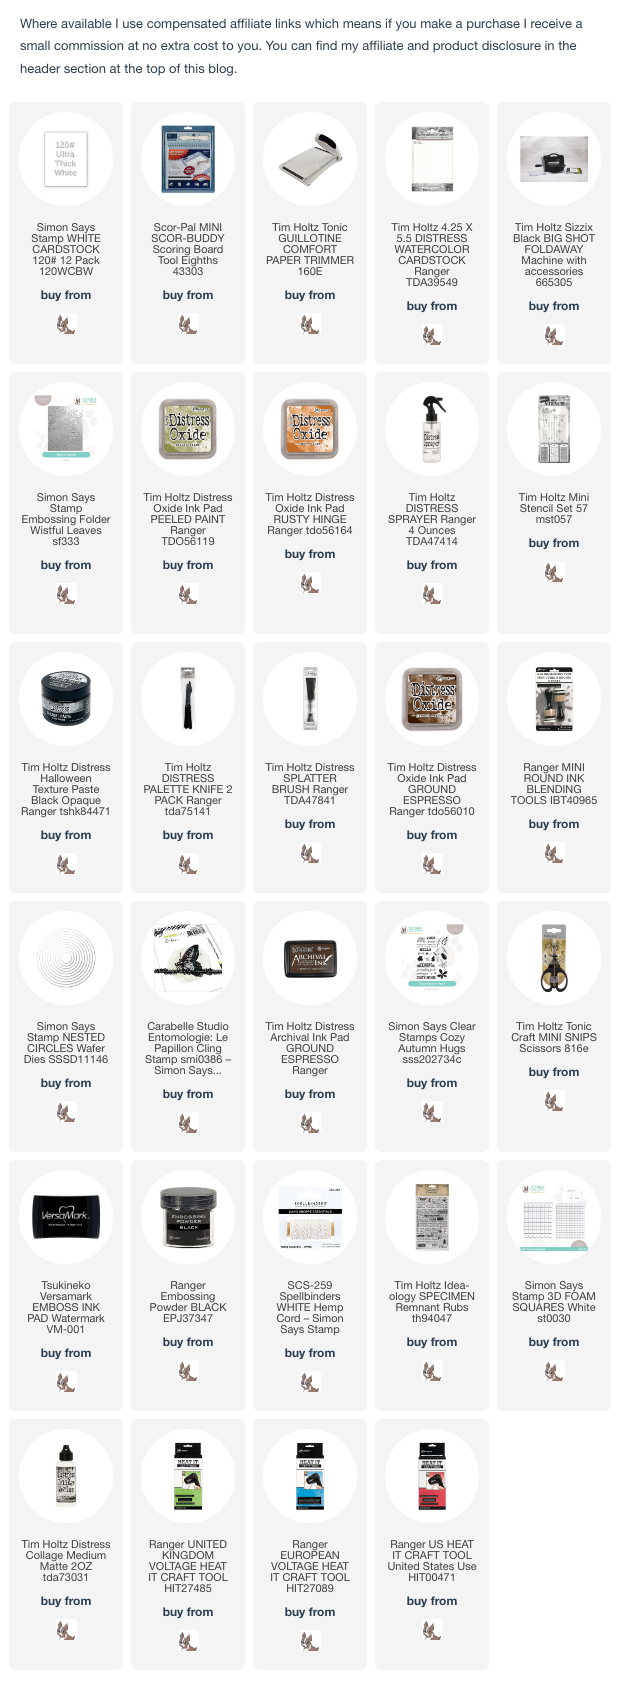
You can find all the products I used over at Simon Says Stamp, just click on the links below


Why don't you pop over to the Monday Challenge Blog and check out the amazing creations from my very talented Design Team mates and as always you have until Monday 8am Ohio time...1pm UK time...2pm CET to join in with the chance to win a $25 voucher to spend online at Simon Says Stamp


You can also follow Simon Says Stamp on Instagram
and if you use Instagram...
please add #sssmchallenge to your entry uploads so we can see them on there too

I look forward to seeing what you create this week...
Have Fun and Happy Crafting
Hugs Kath xxx
Friday, November 3, 2023

Wintermas Countdown to Christmas - Day 1

Hello my friends, woohoo, the Simon Says Stamp Wintermas Wonder Box has arrived in the cubbyhole and who doesn't love an advent calendar. I'm super excited to have 12 boxes to open and reveal the surprises inside and will be sharing what I make with each surprise, in the countdown to Christmas.

Behind Door No 1 is the Winter Wonderland stamp set with a cute snowman and beautiful snowflakes.
Here's what I made
I die-cut 2 tags from Distress Watercolor card using Tim Holtz/Sizzix Stacked Tags Thinlits and coloured with Spun Sugar, Kitsch Flamingo and Picked Raspberry Distress Oxide inks using mini round blending tools to create an ombre effect.
I stamped the snowman, snowflakes and To and From inked with Simon Says Intense Black ink.
I trimmed Simon Says Black cardstock to 3.3/4" x 5" and stamped Tim Holtz/Stampers Anonymous Ticking background stamp, inked with Simon Says White Pigment ink, vertically and horizontally to create a plaid effect.
I was intending decorating a gift bag but changed my mind and fixed the background panel to an A2 white card blank. I used Black Soot Distress Ink and a mini round blending tool to darken the edges of the tags and to colour the tag reinforcers. I tied silver twine through the smaller tag and added a silver twine double bow to the large tag. I fixed the smaller tag in place with Distress Collage Medium and the larger tag popped up on foam squares to add dimension. To finish I added Trinity Stamps Creamy Vanilla Heart Sprinkles.


I can't wait to see what's behind Door No 2 and will be back to share what I make soon. In the meantime, enjoy your weekend whatever you are planning. I'm looking forward to Tim and Mario's Christmas Holiday Hoopla Party over on Tim's YouTube Channel, tomorrow 9am PT 12pm ET and 4pm UK. Everyone's welcome and you don't need to dress up but I would suggest having lots of snacks and refreshments because it's probably going to go on well into the night if you are in the same time zone as me.
Hugs Kath xxx

Thursday, November 2, 2023

Easy Peasy Christmas Cracker Boxes

Hi my friends, the countdown is on for Christmas, crikey it's only 7 or so weeks away so I need to get cracking. I've got a list of things I want to make as long as my arm but for starters I'm sharing how to make easy peasy Christmas Cracker Boxes to hold small gifts or to decorate your Christmas table using one sheet of paper. I used 8" x 8" Idea-ology Christmas paper from my stash but you can use 6" x 6" or even 12" x 12" depending on how small or large you want the crackers to be. The instructions are the same for all the sizes and I can't emphasis enough the importance of reinforcing the folds really well as you go along because as you progress, you are working with lots of layers of paper and for that reason, I wouldn't recommend using card to make the crackers.


There was no measuring involved here, I just eye-balled it and at the end of the day, if your angles don't perfectly match up, it's not going to be seen once the box is closed.
This is what it should look like when you open it out


The first 3 boxes assembled and you could leave them like this if you are using them for your Christmas table.
But I decided to add a little more decoration and die-cut Tim Holtz/Sizzix Festive Gatherings Thinlits from Sizzix Festive and Pastel Cardstock.
I trimmed Idea-ology Christmas PocketCards to create small panels for the front of the crackers, inked the edges with Ground Espresso Distress Ink, fixed in place with Distress Collage Medium and added the die-cut greenery.
I fixed Idea-ology Label Stickers to scraps of white card, trimmed and fixed in  place with Distress Collage Medium.
To finish I added splatters of White Gesso. They were so easy to make (30 minutes to make 3, not counting the die-cutting and decoration) so I'll be making a simpler decorated version in matching papers for my Christmas table.


Have fun with whatever you are making
Hugs Kath xxx

Wednesday, November 1, 2023

Tim Holtz/Tonic Studios - Precision Trimmer

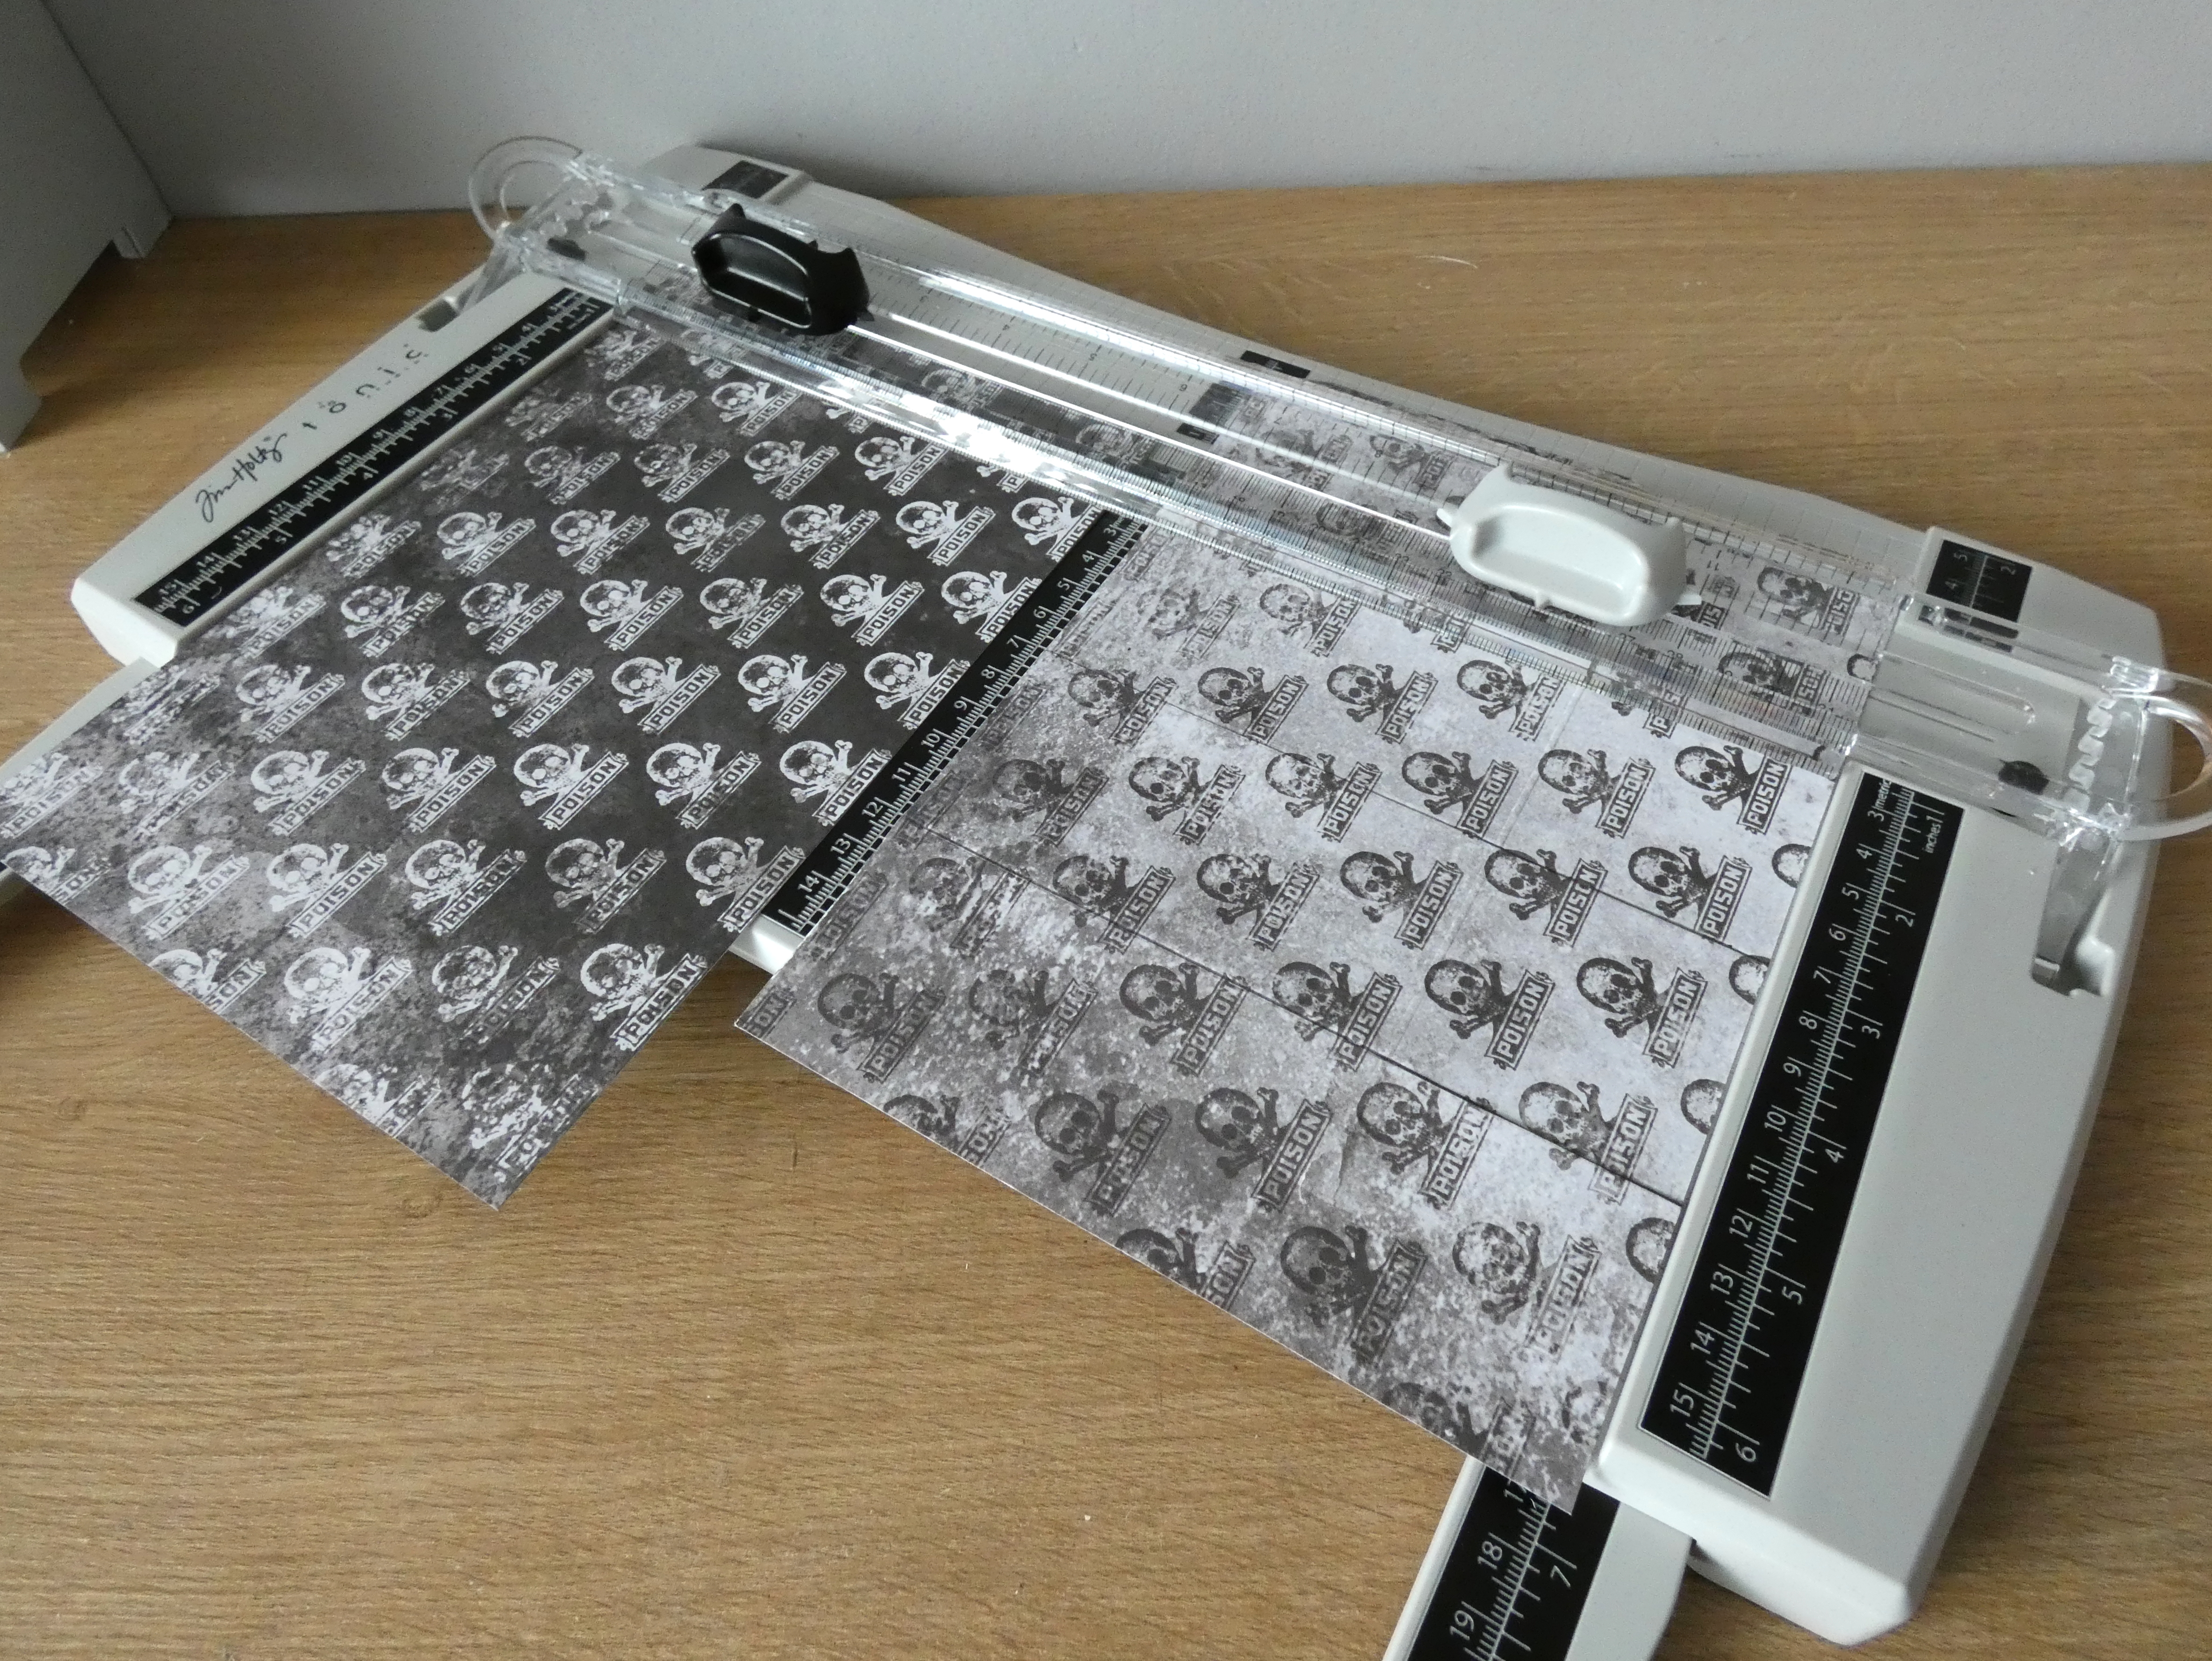
Hi my friends, if you have been watching the Tim Holtz YouTube launch of the new Tonic Studios Precision 12.5" Trimmer, you can probably guess I was excited to put it through it's paces when it arrived in the cubbyhole. I love all my Tim Holtz Guillotine Trimmers but this is a Slide Timmer with the added bonus of not having to flip the ruler guide to slide your paper into place and it also comes with a scoring blade. The cutting blade cartridge has two arrows, top and bottom allowing you to align and make precision cuts when you are trimming smaller pieces, such as photos or ephemera. The trimmer comes with 2 cutting blades and a scoring blade and replacements are available to purchase if and when you need to replace them. 

With some last minute goody bags to make for the neighbourhood Trick or Treaters and a pile of old favourite Tim Holtz 12" x 12" papers in my stash to use up, I got to work.
I extended the arms on the trimmer, placed the paper up against the top bar and with the cutting blade in place, cut to 8.5" x 6". I moved the paper down to the bottom bar where I had added the scoring blade and scored at 2", 4", 6" and 8" on the long side, turned the paper around and scored at 2" on the short side. Being able to cut and score your paper in one go is an absolute time saver if you are making multiples.

I trimmed along the score lines up to the 2" score line mark with my scissors and cut notches at the top and bottom of the 1/2" tab. 
I fixed tape to the tab, laid the box flat and folded in each side to align with the tape on the tab.
I folded the sections on the 2" score line in to form the bottom of the box and secured with Distress Collage Medium.
I pinched the top of the bag together, ran my fingers down the sides to form indents and punched a hole through both layers of the bag top.
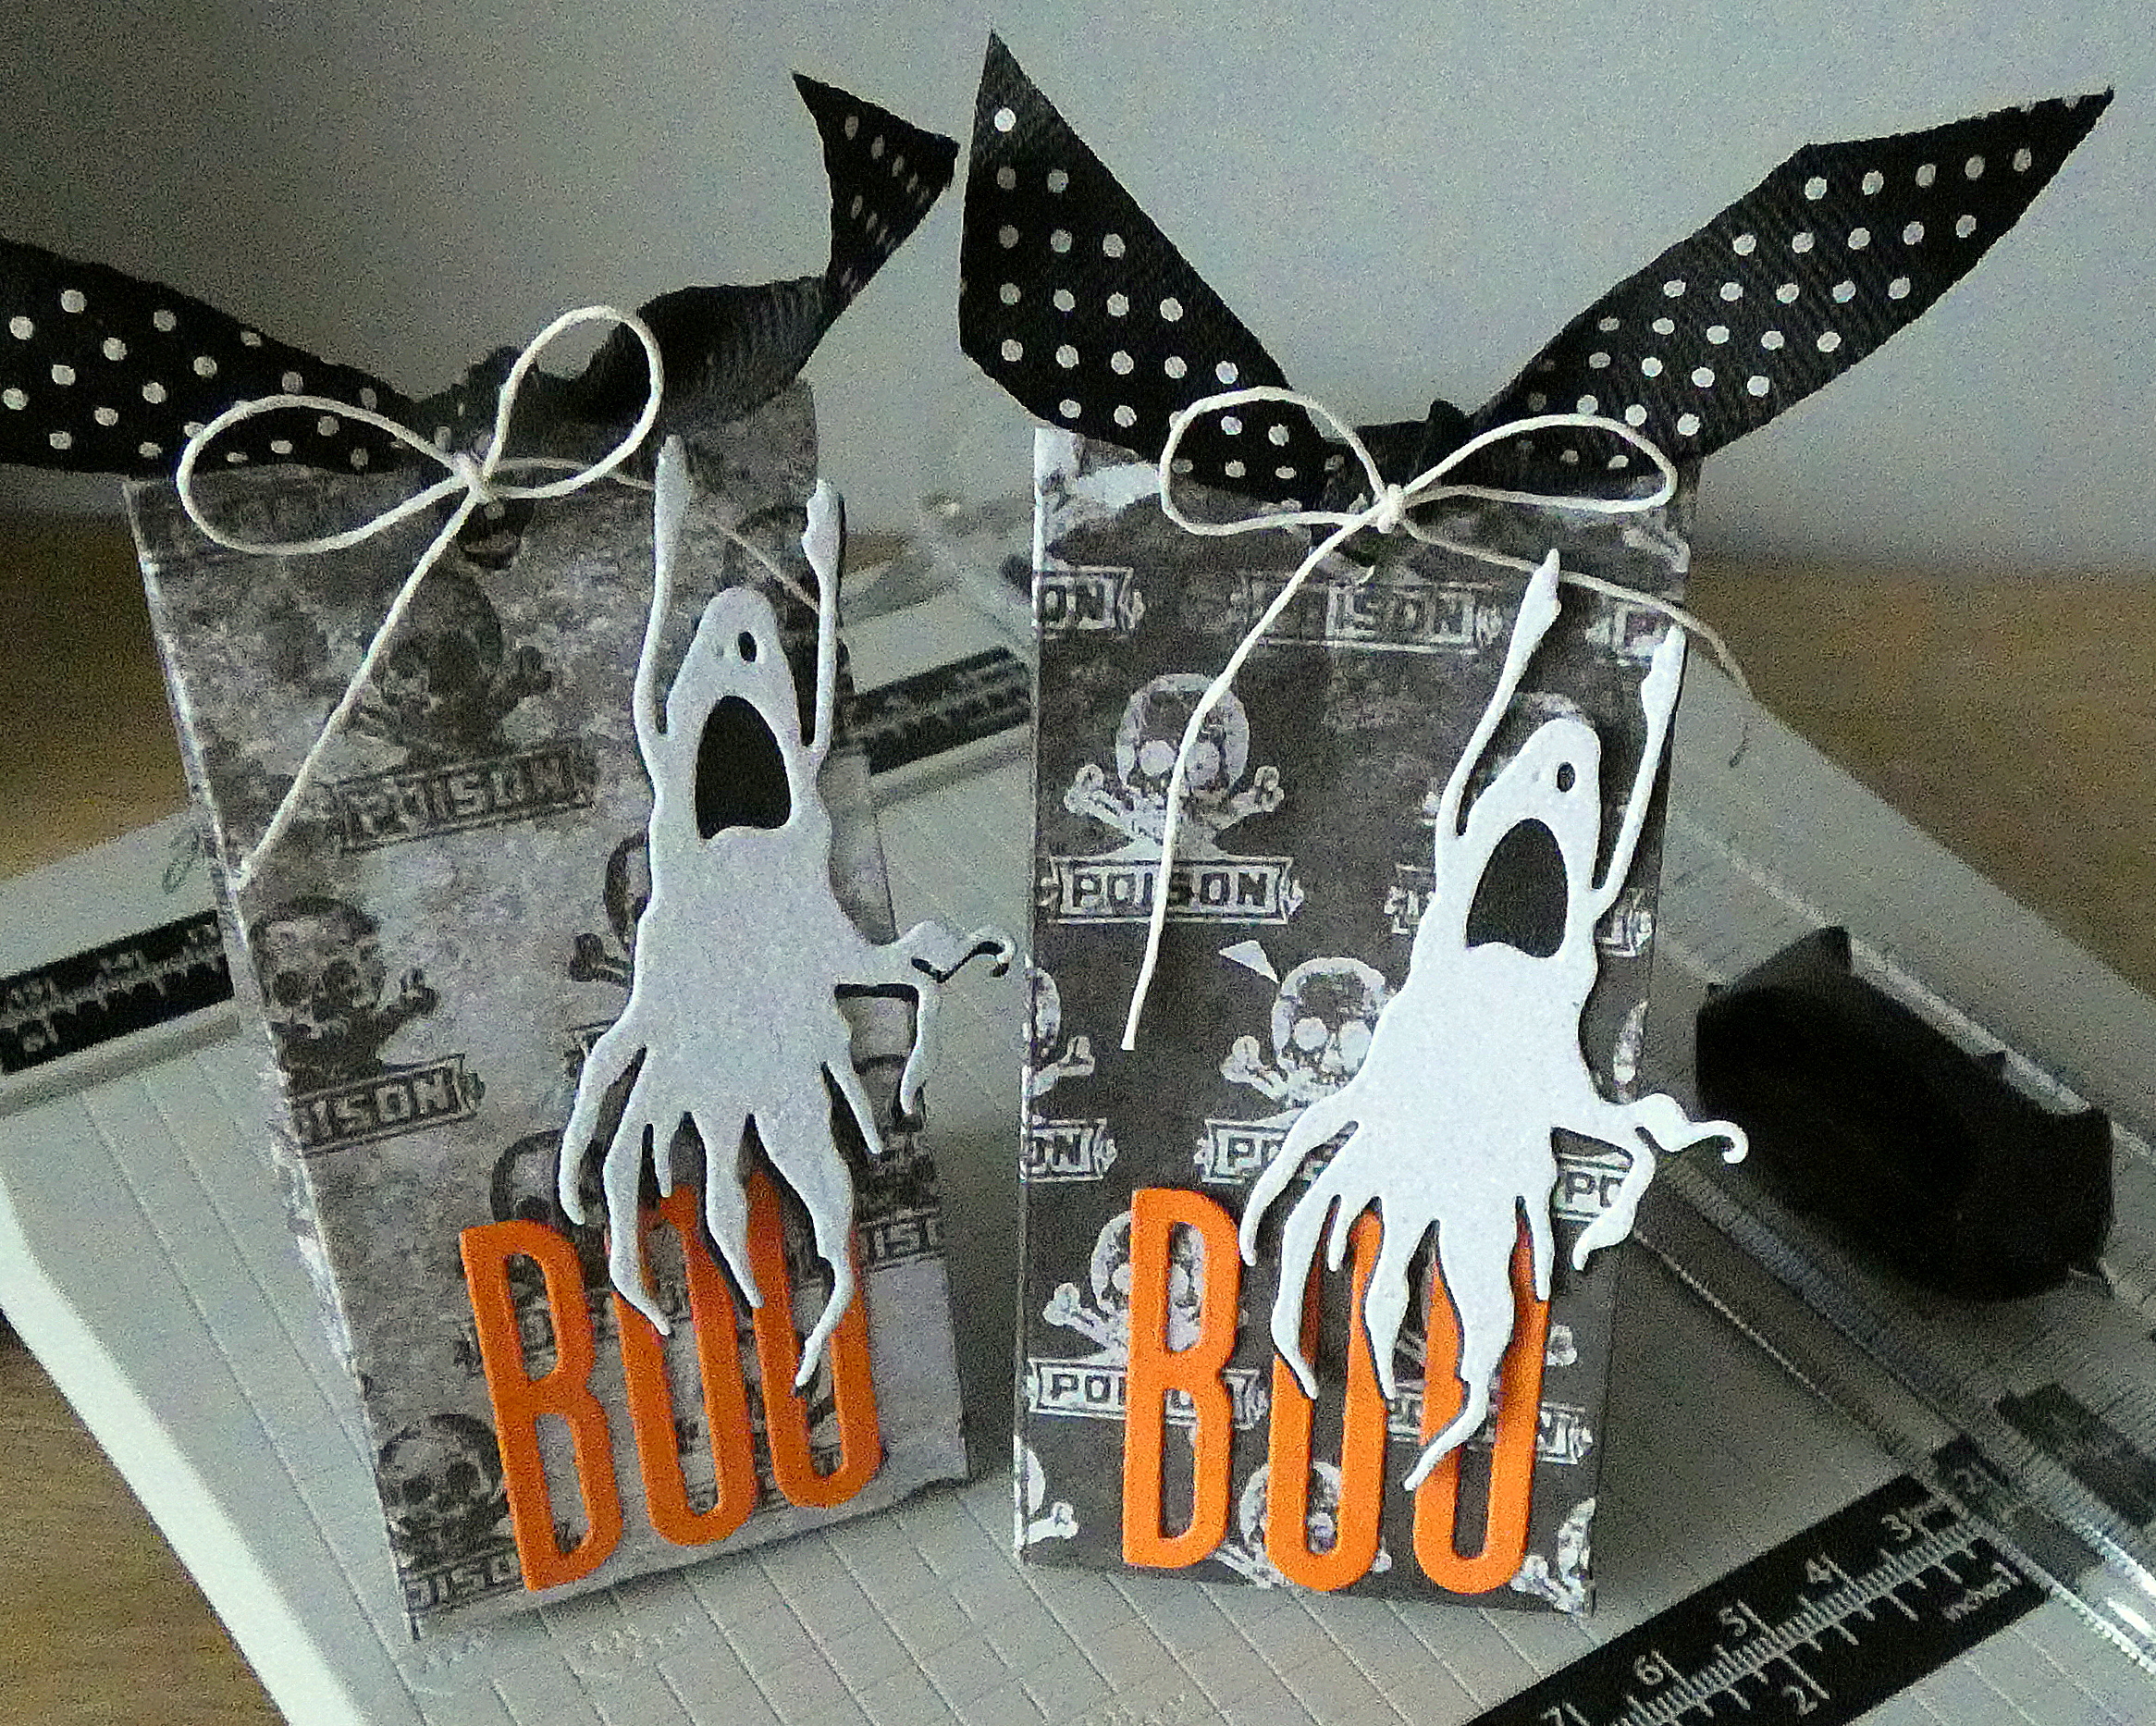
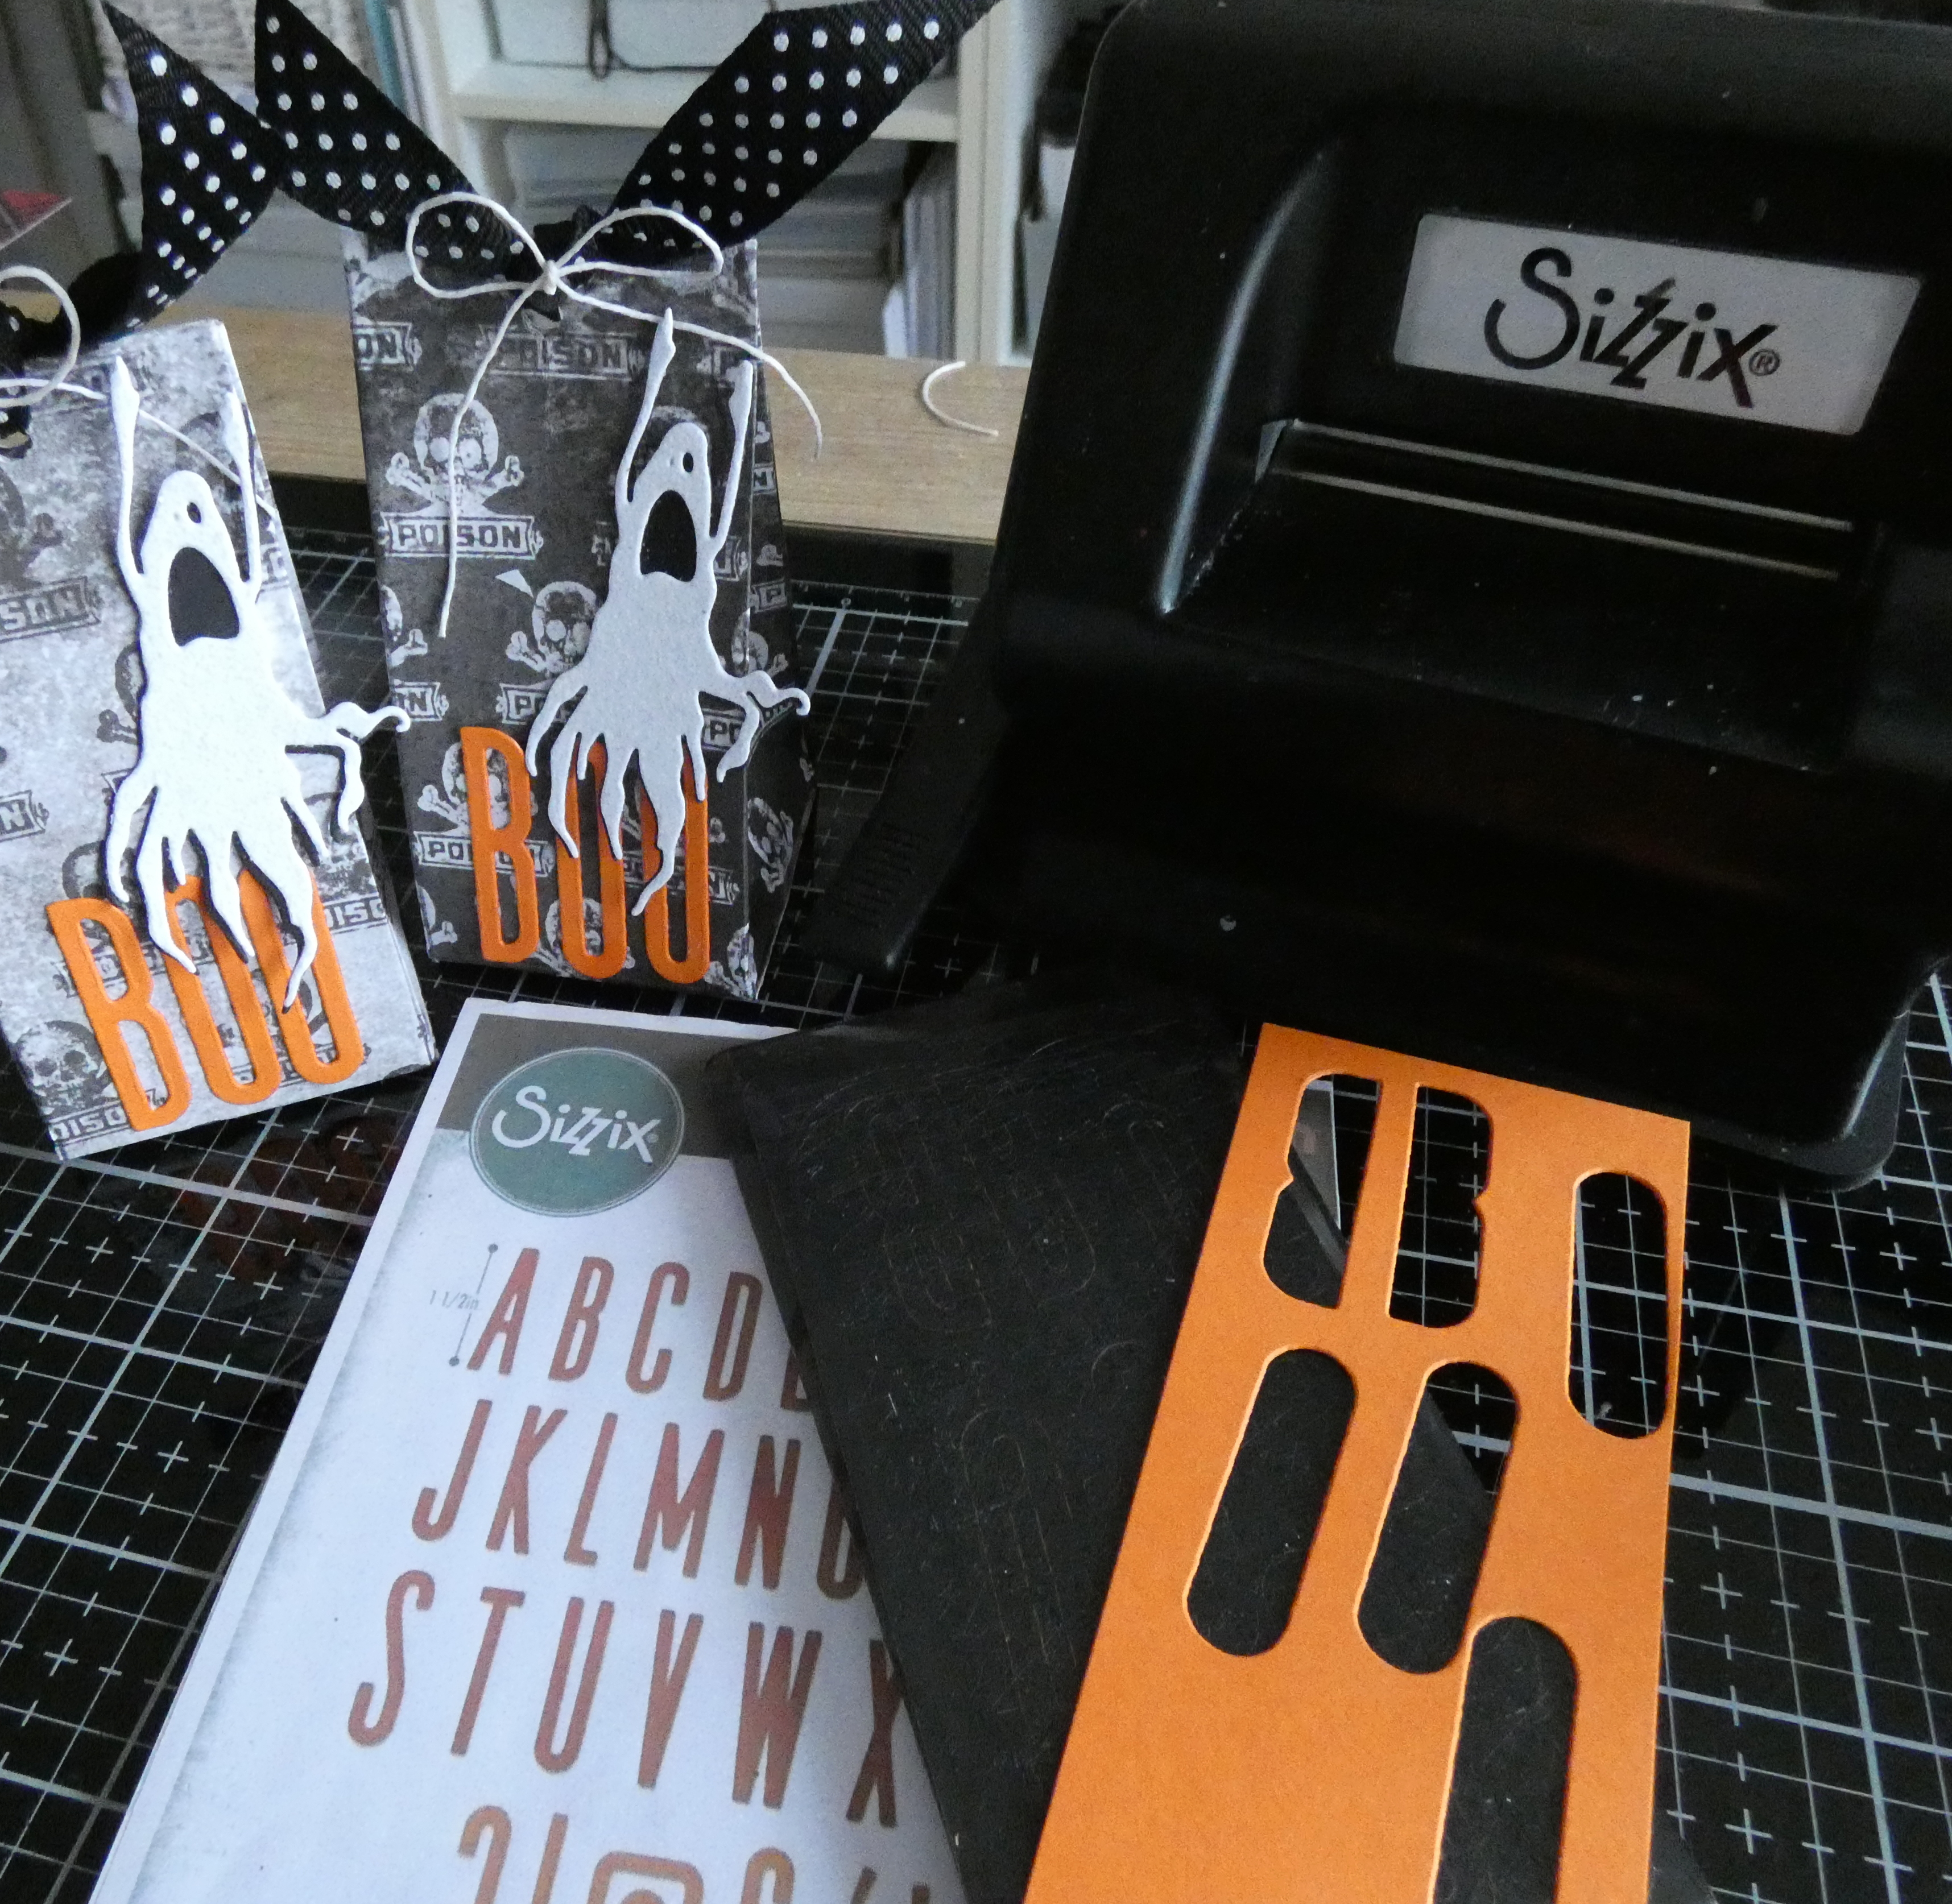
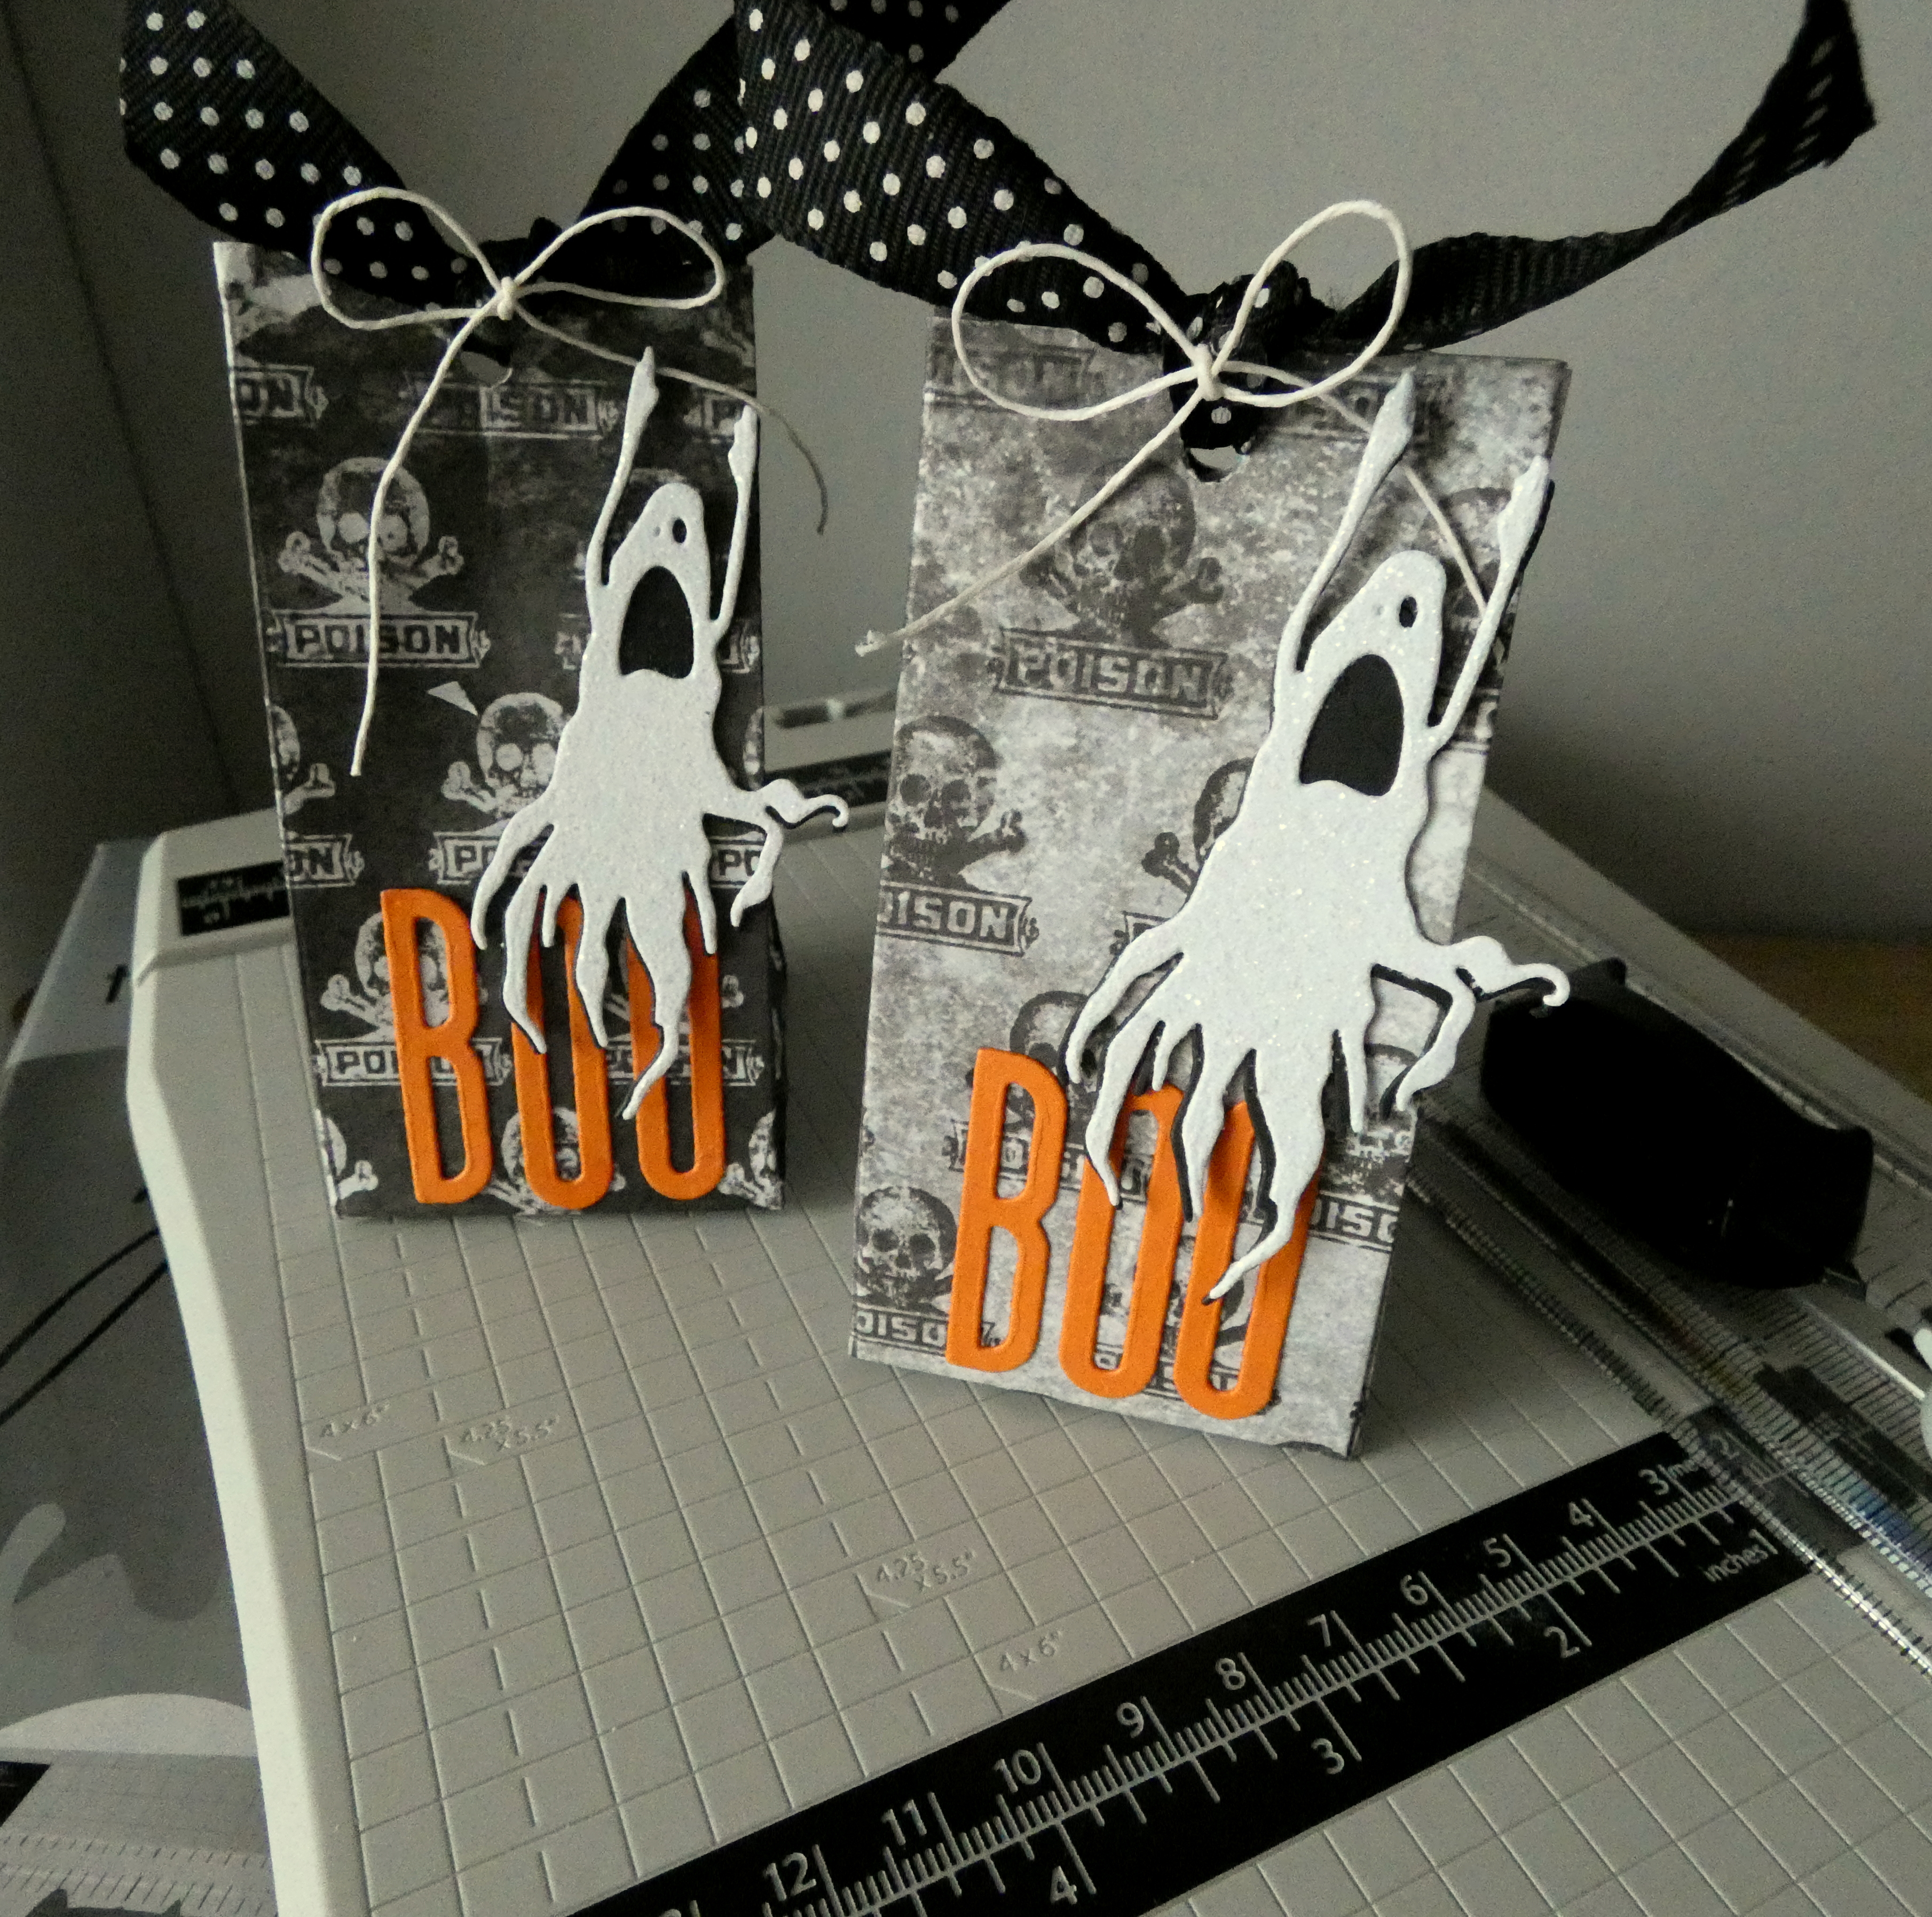
I die-cut the ghosts from Distress Watercolor card which had previously been given a Distress Rock Candy Glitter overcoat and black cardstock using Tim Holtz/Sizzix Frightful Things Thinlits. I die-cut "BOO" from orange cardstock using Tim Holtz/Sizzix Alphanumeric Classic Upper Thinlits and fixed the ghost and the letters to the bag using Distress Collage Medium. I filled the bags with treats, tied ribbon to close and added a twine bow.


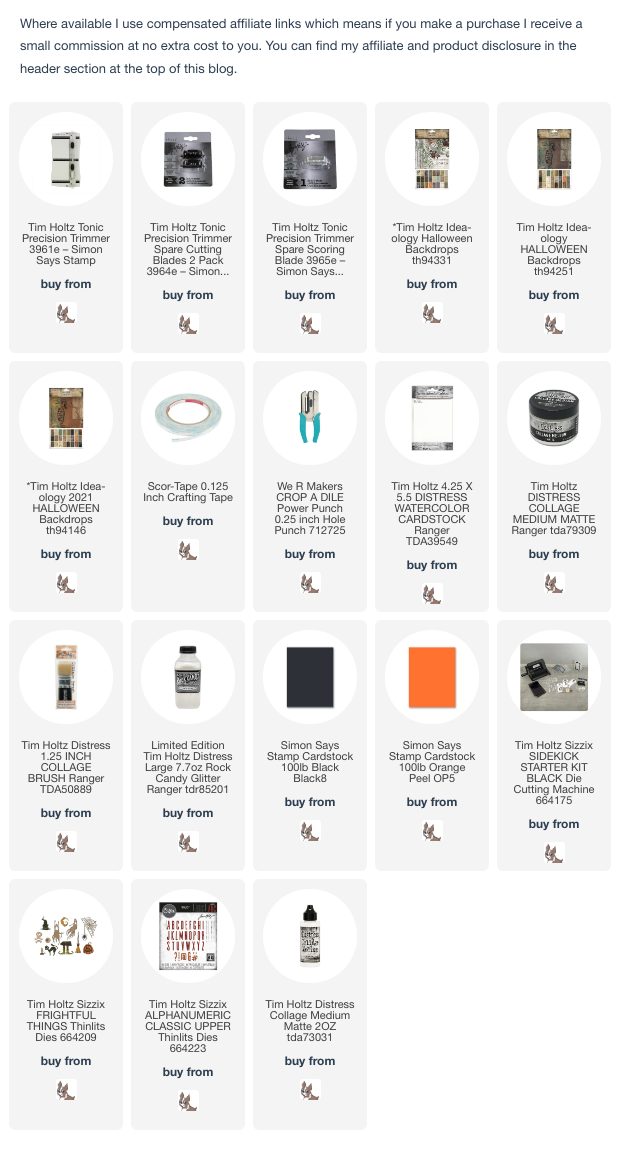
The papers I used to make the boxes are discontinued but you may still have them in your stash, if not, you could use any of the Idea-ology Halloween Backdrops papers which I have linked below.

Happy Crafting
Hugs Kath xxx