Saturday, June 15, 2024

Tim Holtz/Ranger Distress Spritz

Hi my friends, woohoo a brand new product from Tim Holtz and Ranger has just joined the Distress family. Distress Spritz – 12 bottles of beautiful pearl pigment shimmer, a perfect match for some of our favourite Distress colours. You can pop over to Tim's YouTube Channel and re-watch the Live launch where Tim explains the unique properties of this new product and shares demos and lots of hints and tips.

created two tags stencilling with Distress Spritz over matching Distress Oxide ink blended backgrounds and then flipping the stencil to create a monoprint effect and one of the unique properties of this new product is that it doesn't reactivate the Distress Oxide inks on the background. 

But first it was time to have some fun playtime and create some swatches. I selected complimentary colours of the Distress Spritz to create 6 colour combos - Fossilized Amber/Peeled Paint - Worn Lipstick/Walnut Stain - Twisted Citron/Wilted Violet - Barn Door/Spiced Marmalade - Weathered Wood/Uncharted Mariner and Picked Raspberry/Peacock Feathers.  I used the same process for all the colour combos and am sharing the techniques I used below.
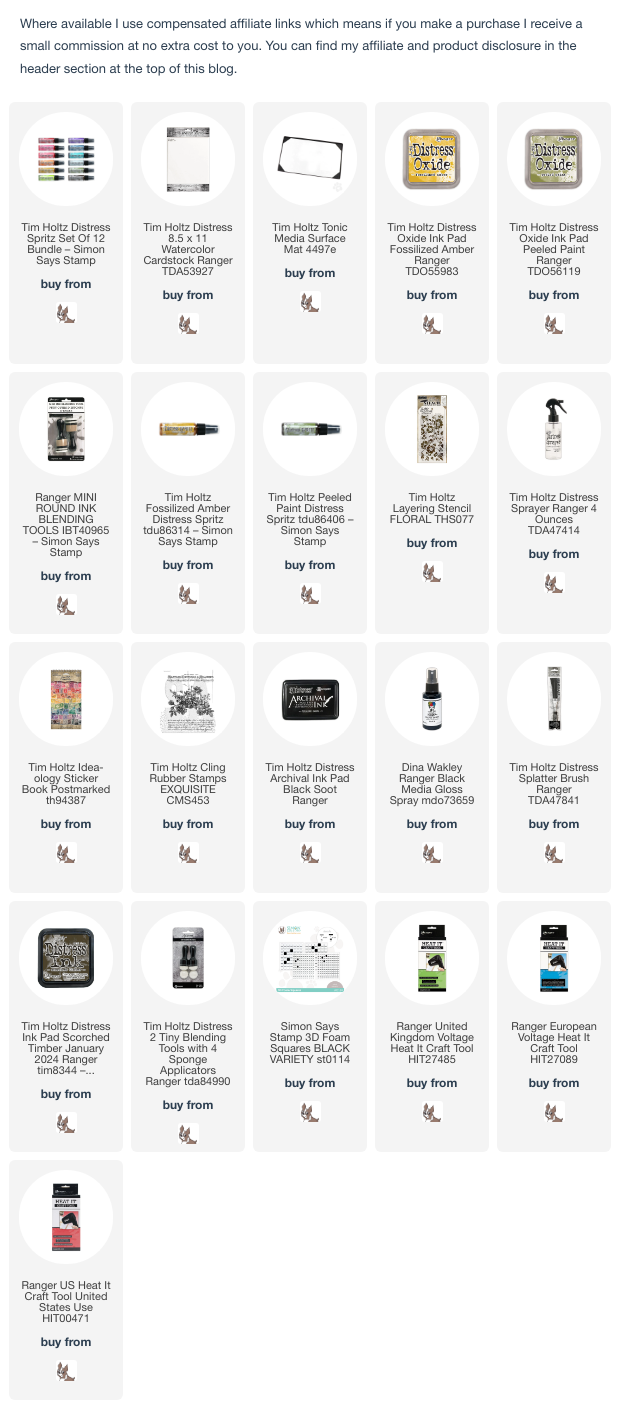
I applied Fossilized Amber and Peeled Paint Distress Oxide inks on to two tags using mini round blending tools. 
I placed Tim Holtz/Stampers Anonymous Floral Layering Stencil over the first tag and sprayed Distress Spritz Fossilized Amber and Peeled Paint through the stencil.
a tone-on tone pearl shimmer effect
I lifted  the stencil, flipped and pressed on to the second tag to create a monoprint effect.
I flicked water droplets on to both tags and dried. I added stamps from the Idea-ology Postmarked Sticker Book, inked the floral image and script sentiment image from Tim Holtz/Stampers Anonymous Exquisite with Black Soot Distress Archival ink and stamped on to both tags and inked around the edges with Scorched Timber Distress Ink using a tiny blending tool.

To finish I spritzed Dina Wakley Black Gloss Spray on to my media mat, picked up with a Distress Splatter Brush and flicked on to the backgrounds. I added Idea-ology Metallic Stickers and black twine bows.

It is difficult to catch the shimmer with a camera but when I turned the tags to the light, I was blown away by the beautiful Distress Spritz pearly accents.


Happy Distress Spritz making
Hugs Kath xxx

Monday, June 10, 2024

Simon Says - Let The Music Play

Hi Everyone...welcome to another week on the Simon Says Stamp Monday Challenge Blog. Thank you for joining us for last week's challenge and we hope you can join us this week too because


and the theme for this week is...
LET THE MUSIC PLAY
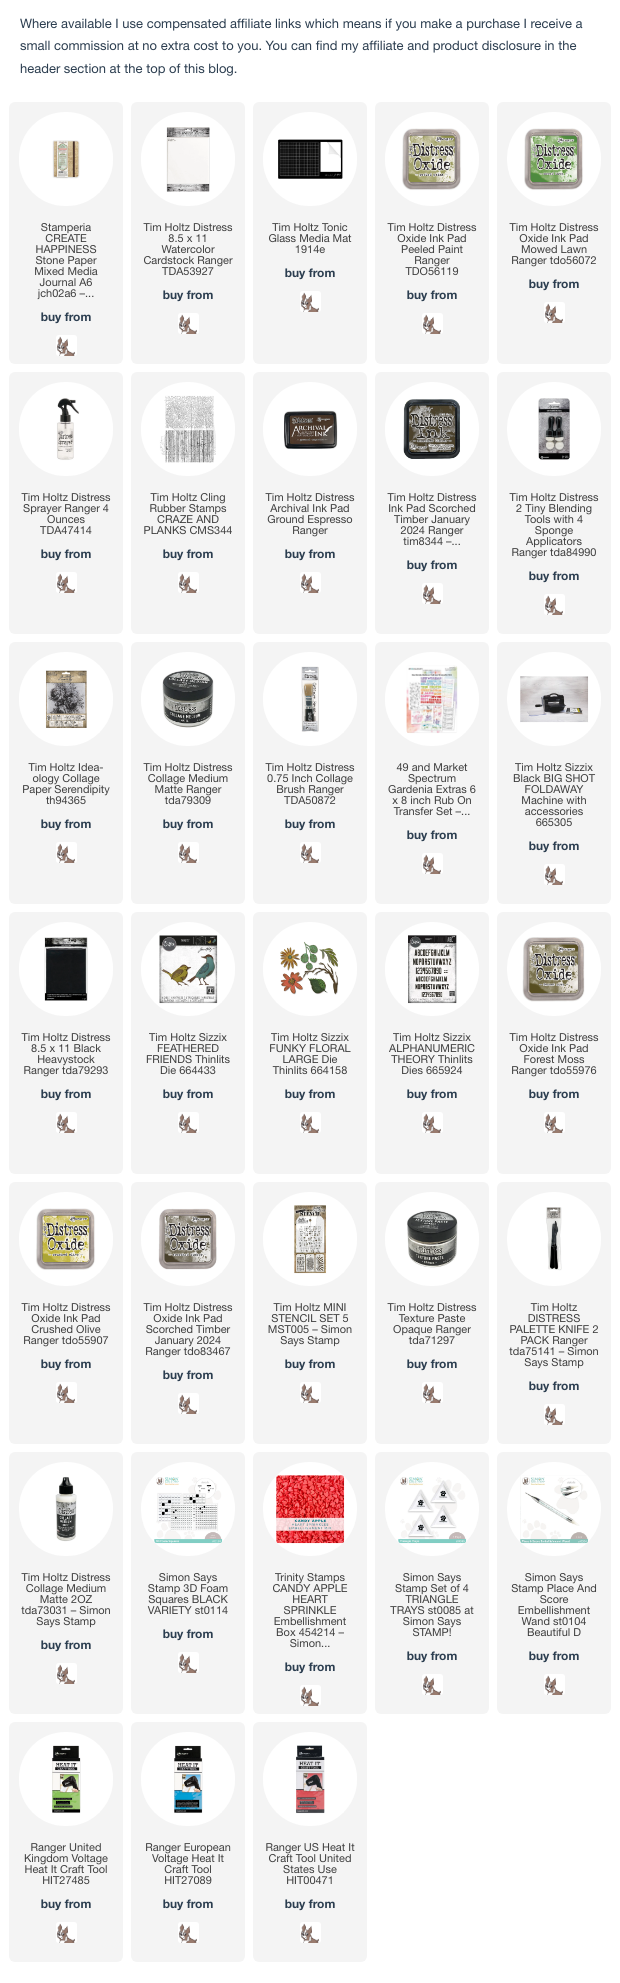
I created a page in my Stamperia Mixed Media Journal with a nod to the bird song symphony I enjoy every morning from the green finches and sparrows in my garden. I used Tim Holtz/Stampers Anonymous Planks Background Cling Stamp, Idea-ology Serendipity Collage Paper, 49and Market Spectrum Gardenia Rub-on Transfers and Tim Holtz/Sizzix Feathered Friends and Alphanumeric Theory Thinlits.
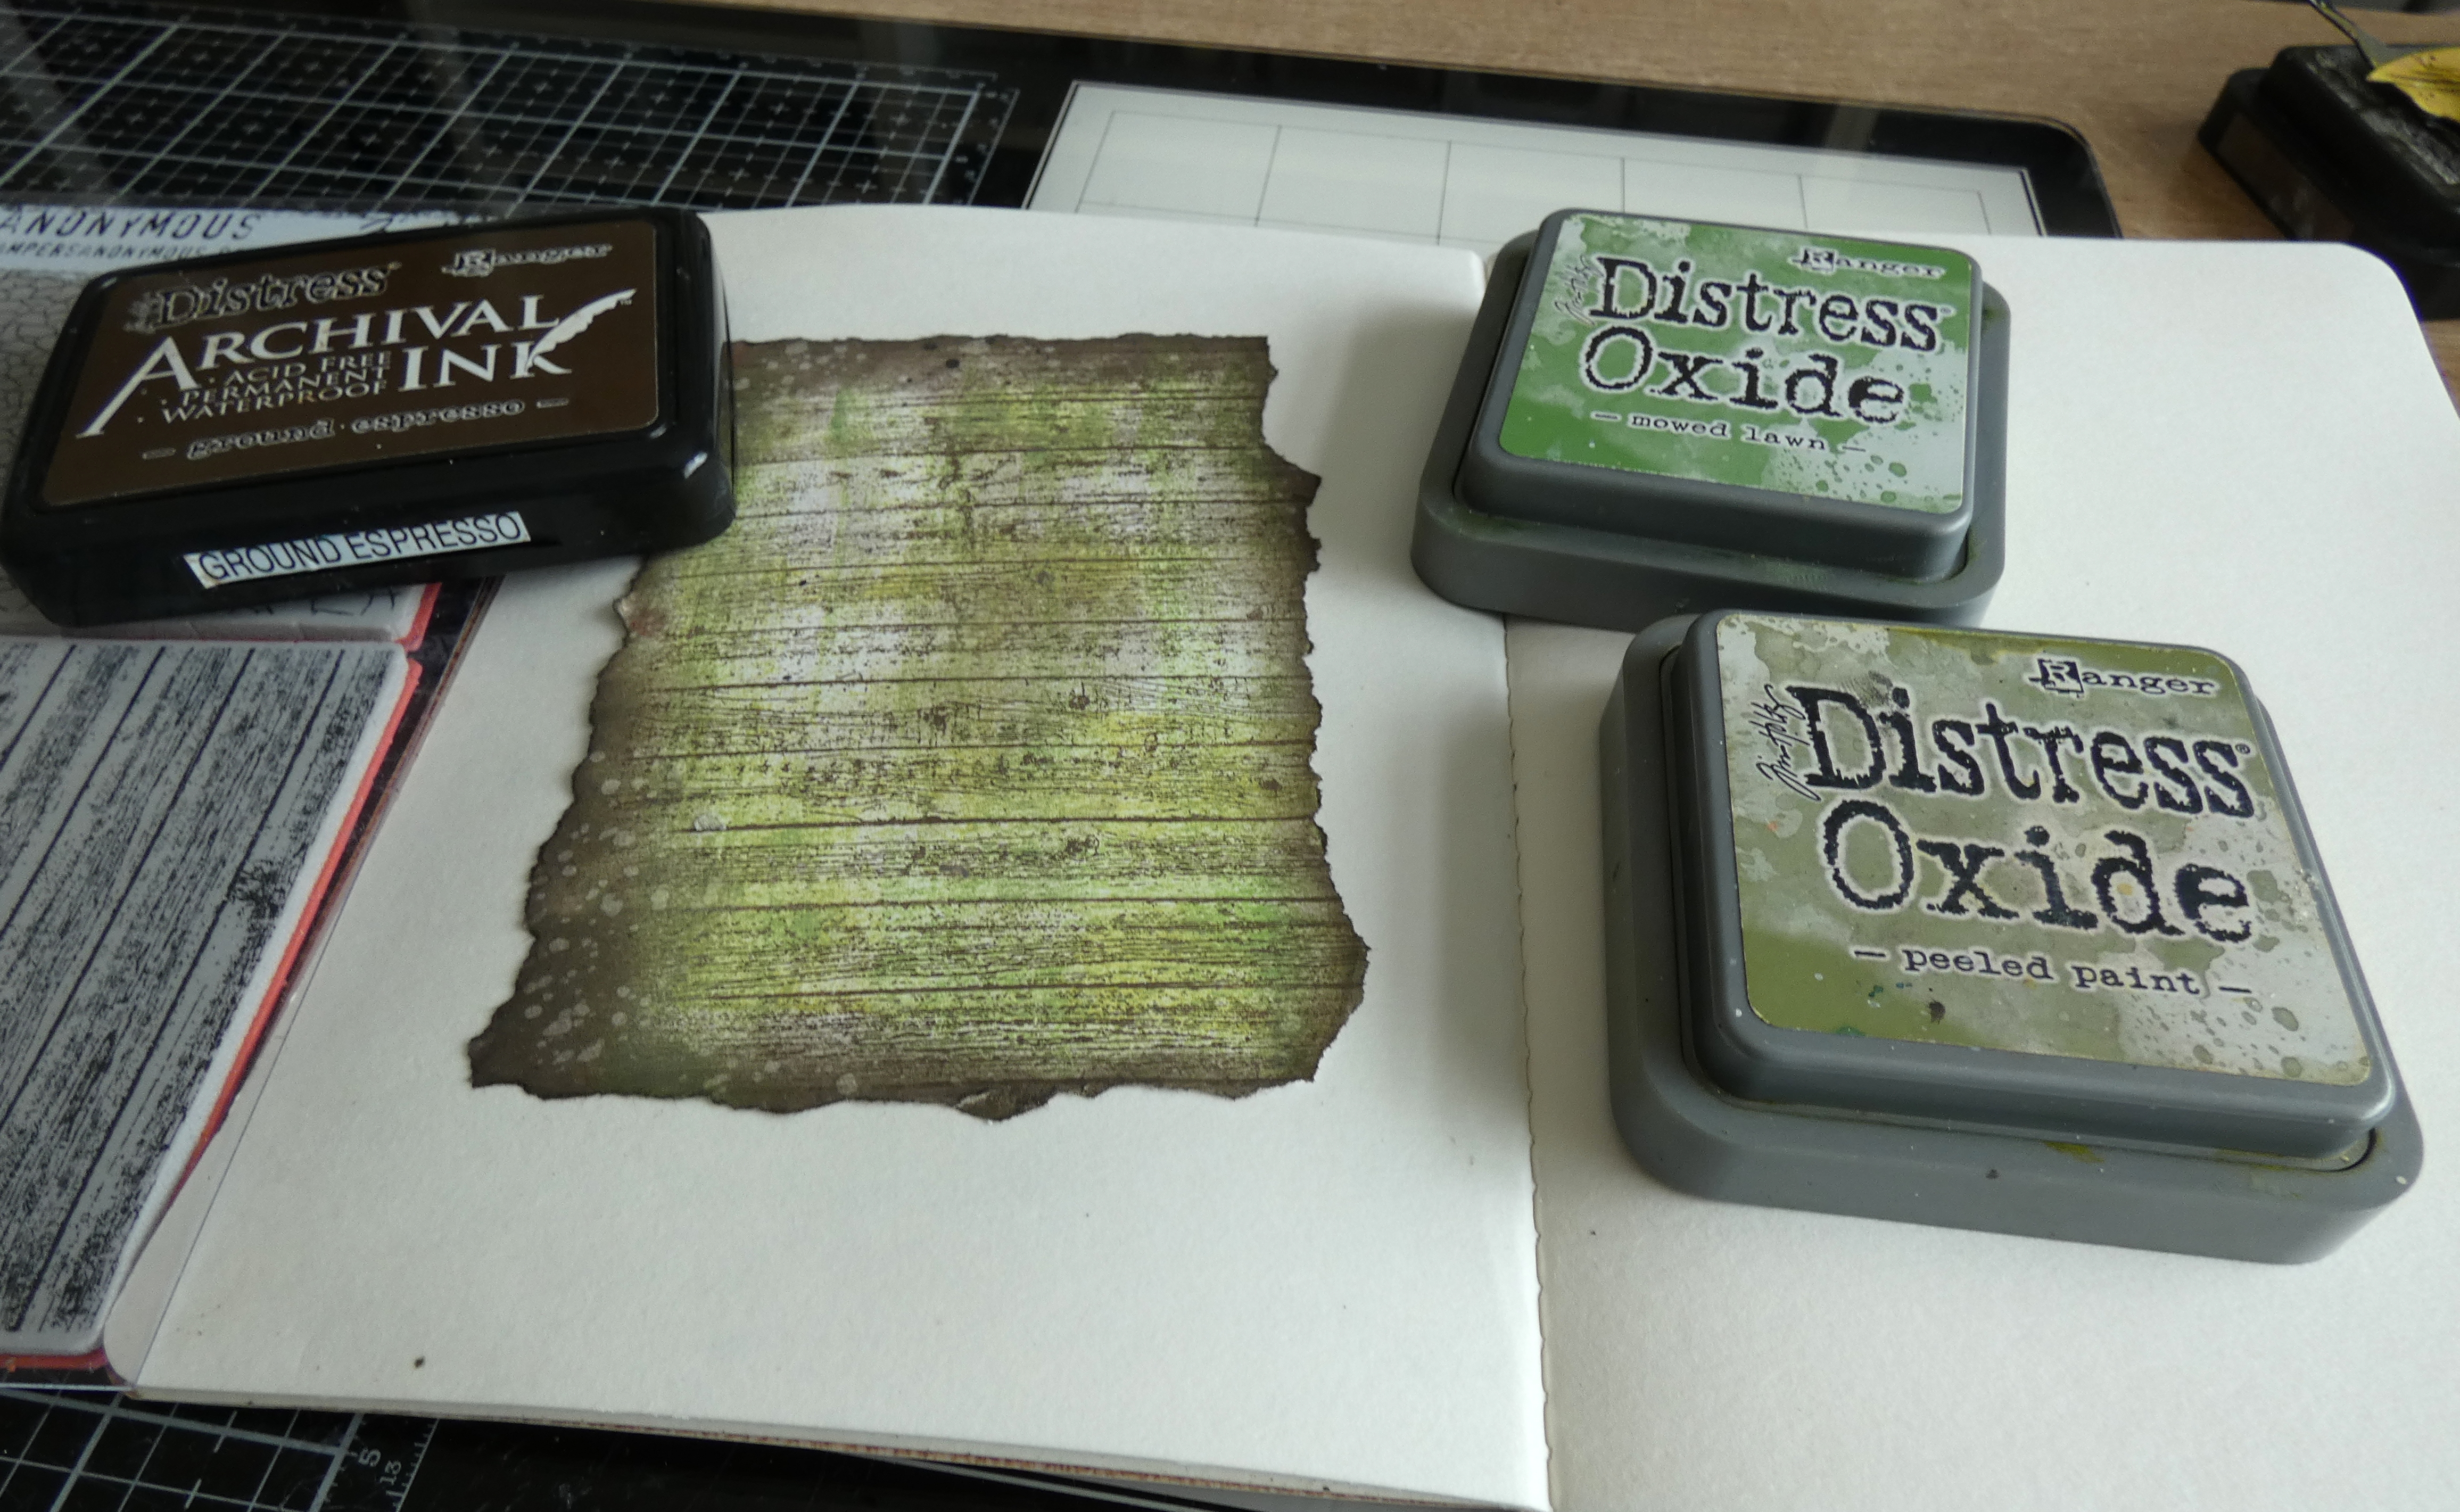
I began by colouring a panel of Distress Watercolor card with Peeled Paint and Mowed Lawn Distress Oxide inks, stamped the Planks Background, inked with Ground Espresso Distress Archival ink, tore around the edges, inked with Scorched Timber Distress Ink using a Tiny Blending Tool and fixed in place with Distress Collage Medium.
I added torn strips of Tim Holtz/Idea-ology Serendipity Collage Paper, 49andMarket Spectrum Gardenia Rub-On Transfers and some long since retired Tim Holtz/Idea-ology Music Note Remnant Rubs.
I die-cut the branch with Tim Holtz/Sizzix Funky Floral Large Thinlits and coloured with Scorched Timber Distress Ink and Distress Oxide ink. I die-cut the bird with Tim Holtz/Sizzix Feathered Friends Thinlits from Distress Black HeavyStock and Distress Watercolor card, coloured with Forest Moss and Crushed Olives Distress Oxide inks and fixed the bird in place popped up on foam squares. I added highlights to the bird with a Sakura White Gelly Roll Pen.
I die-cut the title from Distress Black HeavyStock twice using Tim Holtz/Sizzix Alphanumeric Theory Thinlits, layered to create dimension and fixed to the page with Distress Collage Medium.
I applied Distress Texture Paste Opaque through the Dotted Mini Layering Stencil from Set 5.
To finish I added a Trinity Stamps Candy Apple Heart Embellishment.


You can find all the products I used over at Simon Says Stamp, just click on the links below


Why don't you pop over to the Monday Challenge Blog and check out the amazing creations from my very talented Design Team mates and as always you have until Monday 8am Ohio time...1pm UK time...2pm CET to join in with the chance to win a $25 voucher to spend online at Simon Says Stamp


You can also follow Simon Says Stamp on Instagram
and if you use Instagram...
please add #sssmchallenge to your entry uploads so we can see them on there too

I look forward to seeing what you create this week...
Have Fun and Happy Crafting
Hugs Kath xxx
Monday, June 3, 2024

Simon Says - Masculine

Hi Everyone...welcome to another week on the Simon Says Stamp Monday Challenge Blog. Thank you for joining us for last week's challenge and we hope you can join us this week too because


It's the first challenge of a new month when the Design Team feature one particular brand or company and this month, we are all using the fabulous products from Tim Holtz. You don't have to use Tim's products to join in the challenge but if you have them in your stash and to be honest who doesn't, we would love to see what you make with them.
We are also welcoming the very talented Thom Santilla as our Designer In The Spotlight, please pop over to Thom's Instagram page and check out his fabulous makes.
The theme for this week is...
MASCULINE
I decorated a Tim Holtz/Stampers Anonymous Etcetera Square Panel with paper from Idea-ology Backdrops 4, Tim Holtz/Stampers Anonymous Paint by Number and Curiosity Shop stamps, Mini Layering Stencils from Sets 21 and 43 and used Idea-ology Paper Dolls Poses as the main feature. For the title I used an old favourite, Idea-ology Alpha Transparent Tiles and Tim Holtz/Sizzix Tiny Type Upper Thinlits.

I chose the 8.1/2" Etcetera Square Panel, the larger of the two from the pack, applied Distress Collage Medium with a Distress Collage Brush and fixed the Idea-ology Backdrops paper in place. The paper isn't wide enough to cover the panel but I trimmed the remaining paper from the bottom and pieced it into place along the side - who's ever going to know.
I applied a light patchy coat of Antique Linen Distress Paint using Tim Holtz Distress Small Brayer.
I fixed torn pieces of Tim Holtz/Idea-ology Archives Collage Paper again using Distress Collage Medium and Distress Collage Brush.
I squeezed Salvaged Patina Distress Paint on to my Glass Media Mat and applied to the number stamp from Tim Holtz/Stampers Anonymous Paint By Number using the Distress Small Brayer. I held the stamp in my hand and stamped randomly over the background.
I repeated the stamping with the pointy finger image from Tim Holtz/Stampers Anonymous Curiosity Shop, inked with Ground Espresso Distress Archival ink.
I applied Distress Texture Paste Opaque Crackle through the Nordic Mini Layering Stencil from Set 21 and Distress Texture Paste Black through the Grime Mini Layering Stencil from Set 43 and set aside to dry.
To tone down the whiteness of the crackled paste. I dragged a Crackling Campfire Distress Oxide ink pad lightly over the surface.
I coloured the Idea-ology Paper Dolls Poses using Spun Sugar, Tea Dye and Ground Espresso Distress Watercolor Pencils and a Distress Detailer Brush.
I fixed Idea-ology Transparent Alphas in place by applying Ranger Glossy Accents on the back, smoothed out with my finger, pressed on to the panel and placed something heavy on top and left to dry.
To complete the title, I die-cut "Friends" from Distress Watercolor card using Tim Holtz/Sizzix Tiny Type Upper Thinlits and fixed in place with Distress Collage Medium. I flicked splatters of Distress Resist Spray over the background, sprinkled with White Embossing Powder and heat set.
To finish I applied Black Soot Distress Paint around the edges of the panel using a small piece of Ranger Cut-n Dry Foam.


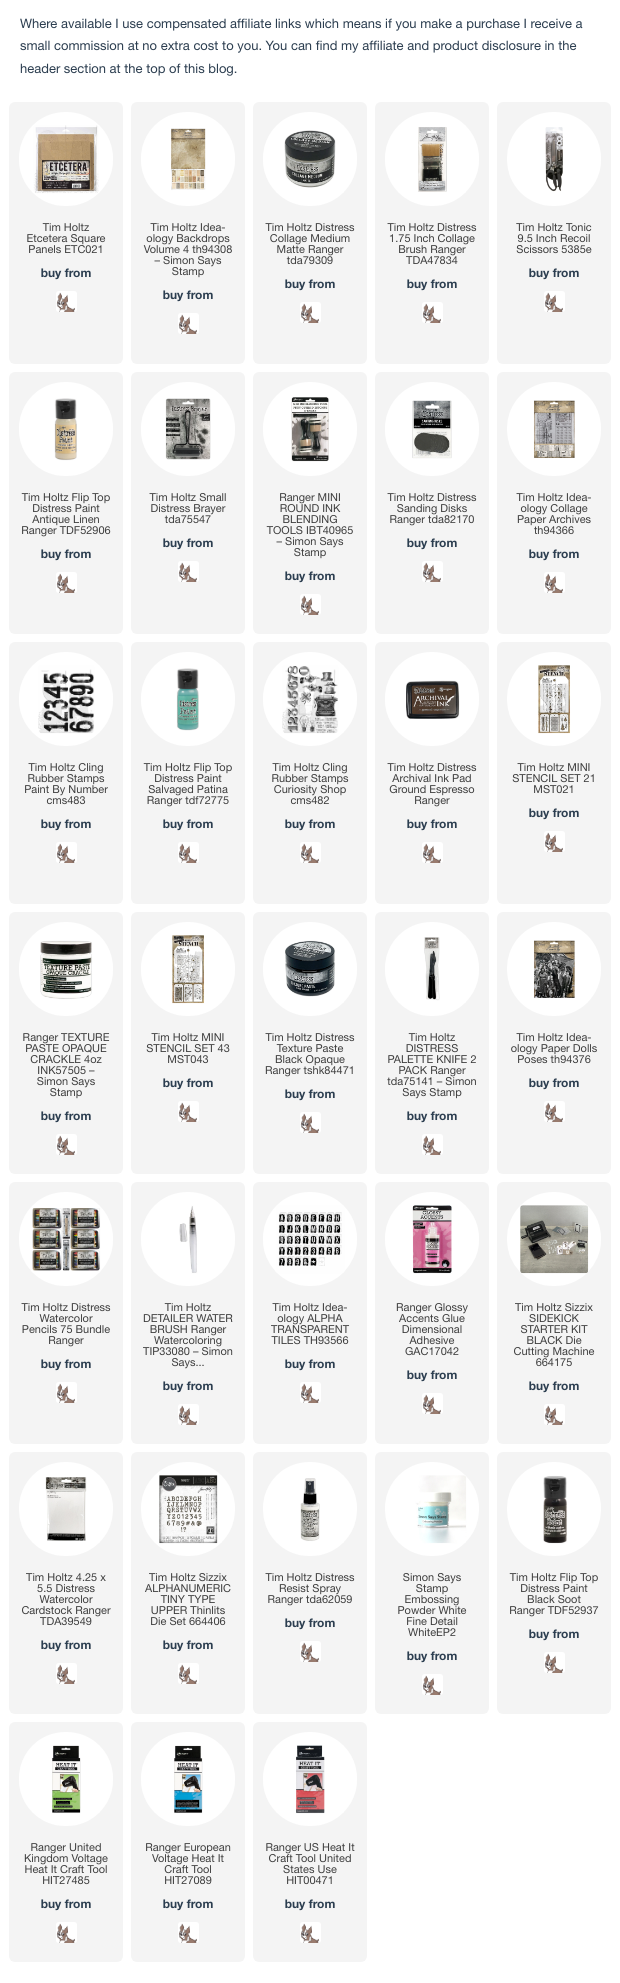
You can find all the products I used over at Simon Says Stamp, just click on the links below


Why don't you pop over to the Monday Challenge Blog and check out the amazing creations from my very talented Design Team mates and as always you have until Monday 8am Ohio time...1pm UK time...2pm CET to join in with the chance to win a $25 voucher to spend online at Simon Says Stamp


You can also follow Simon Says Stamp on Instagram
and if you use Instagram...
please add #sssmchallenge to your entry uploads so we can see them on there too

I look forward to seeing what you create this week...
Have Fun and Happy Crafting
Hugs Kath xxx

Saturday, June 1, 2024

His and Her Portrait Cards

Hello my friends, I've been having some fun with backgrounds I made a while ago using the new Mini Layering Stencils from the recent Tim Holtz/Stampers Anonymous Everyday 1 release. I added some of my favourite products from the latest Idea-ology release and Paper Doll Portraits coloured with Distress Watercolor Pencils. Don't you just love how all Tim Holtz products from all the brands just go so well together.

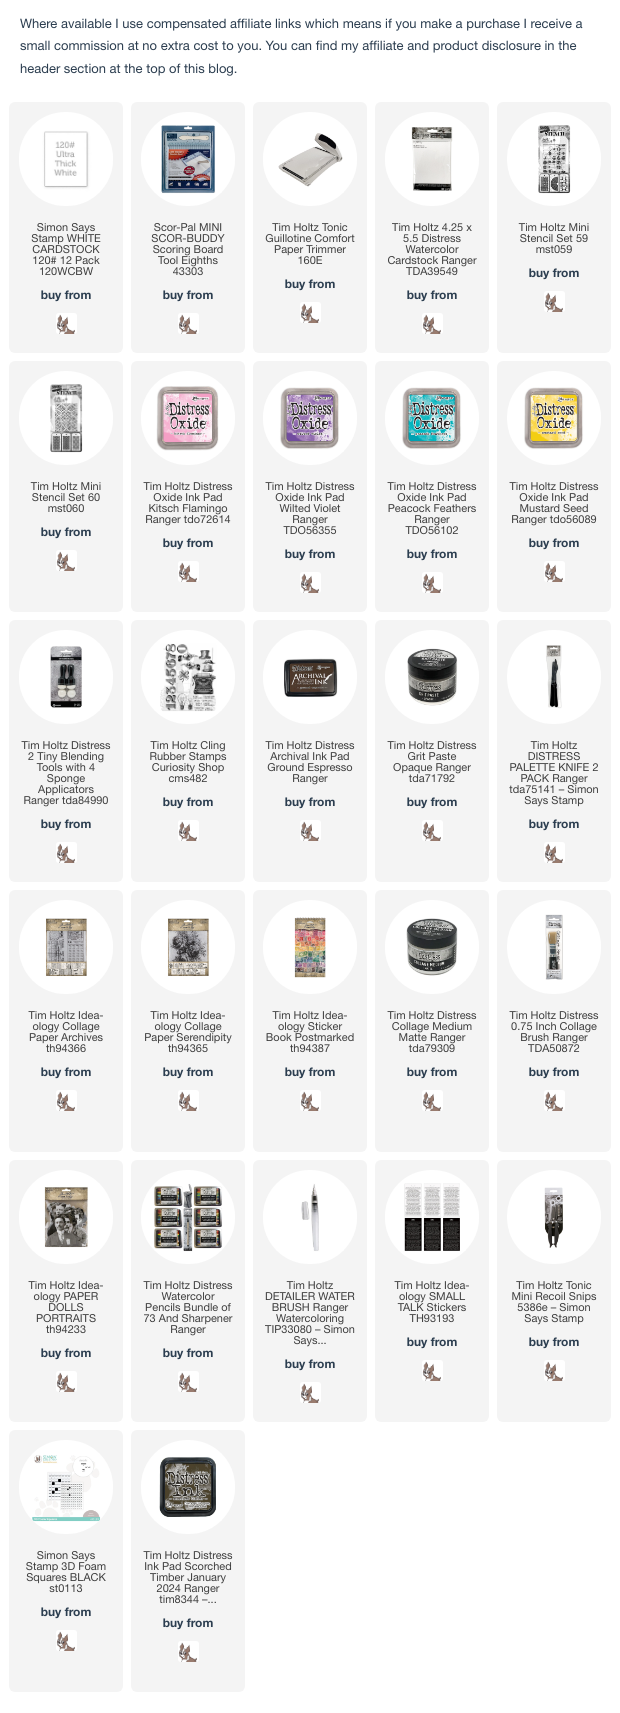
I trimmed Distress Watercolor card to create 2 - 4" x 5.1/4" panels and applied Kitsch Flamingo/Wilted Violet Distress Oxide inks through the Deco Leaf and Spots Mini Layering Stencils and Peacock Feathers/Mustard Seed Distress Oxide inks through the Deco Floral and Spots Mini Layering Stencils from Sets 59 and 60  using Tiny Blending Tools. I inked the numbers stamp from Tim Holtz/Stampers Anonymous Curiosity Shop with Ground Espresso Distress Archival ink and stamped randomly on to the panels holding the stamp in my hand. I applied Distress Grit Paste through the same Mini Layering Stencils and once the paste had dried, I added torn strips of Idea-ology Archives and Serendipity Collage Papers and stamps from the Idea-ology Postmarked Sticker Book using Distress Collage Medium and a Collage Brush.
I coloured the Idea-ology Paper Doll Portraits with Distress Watercolor Pencils using a Distress Detailer Brush. 
I trimmed Idea-ology Small Stickers into sections and fixed to the panels popped up on black foam squares. 
To finish I inked around the edges of the panels with Scorched Timber Distress ink using a Tiny Blending Tool and fixed to A2 white card blanks.


Have a great weekend whatever you have planned and I'll see you all on Monday to share my DT project for Simon Says Stamp Monday Challenge.
Happy Crafting
Hugs Kath xxx