Today's project is a spooky Happy Haunting Shaker card using the Skull & Crossbones BigZ die with Frightful Things and Regions Beyond Thinlits and using Dimensional Domes to create the shaker element.
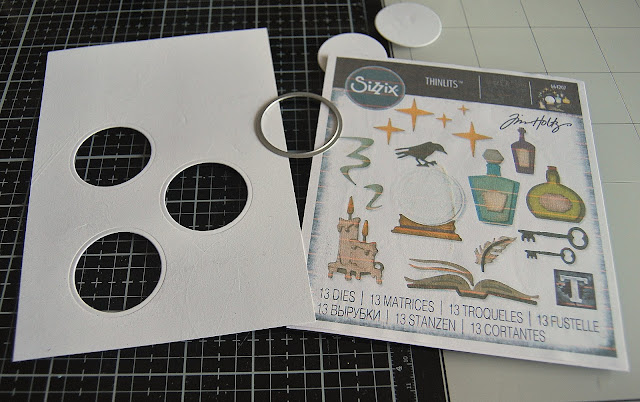
I began by trimming Distress Watercolor card to create a 4.3/4" x 6.3/4" panel and die-cut the apertures using the larger of the two globe circle dies from Regions Beyond Thinlits
I fixed Tim Holtz/Sizzix Adhesive Sheet to Black Classic Kraft Stock, sanded to reveal the kraft core and die cut the spiders web using the Frightful Things Thinlits. Adhesive Sheets really are a game-changer when it comes to fixing intricate die-cuts, no mess, no faffing around trying to apply teeny dots of adhesive, just remove the backing and you're good to go.
I added Black Soot Distress Oxide ink around the edges of the panel and apertures using a Mini Round Blending Tool. I trimmed a second panel of Simon Says Stamp #120 Ultra White Card to the same size, placed it behind the coloured panel, traced around the circles with a pencil to ensure correct placement and die-cut using the smaller globe circle die from Regions Beyond
 I fixed the panels together using Distress Collage Medium Matte. I die cut a bone 3 times from white Card using the Skull & Crossbones BigZ die and layered to create dimension. I coloured the bone with Antique Linen and Black Soot Distress Ink using a mini round blending tool and fixed in place with Tim Holltz Mini Foam Adhesive. I used my Tim Holtz Craft Pick and Sakura Black Micron Pen to create faux thread hangers, added the spiders from Frightful Things Thinlits die-cut from Black Classic Kraft Stock and splatters of Black Soot Distress Paint.
I fixed the Dimensional Domes behind the apertures using Distress Colllage Medium Matte and added Idea-ology Chit Chat Stickers
I finished off by matting the panel to a 5" x 7" card blank covered with Purple Classic Kraft Stock, sanded to reveal the kraft core.
The Chapter 3 dies are available to buy from your favourite retailers now so if you want to get ahead with your Seasonal makes, I would suggest you don't tarry, just saying. I'll be back tomorrow to share the last of my Facebook Live makes.
Hugs Kath xxx
 *** Where available I use compensated affiliate links which means if you make a purchase I receive a small commission at no extra cost to you. You can find my affiliate and product disclosure HERE


Hi Kath
ReplyDeleteI have just returned home from holiday to be greeted by your very sad news of buddy. I always loved reading your stories about the antics of your furry friend. You have wonderful memories to treasure.
Thinking of you, and take care
Louise, Carlow, Ireland
This is fabulous! Love the layers and design. Take care.
ReplyDeleteHugs
Linda xxx
This is fantastic Kath, I love how you used the dimensional domes for those wonderful little spooky elements! Hugs, Anne xx
ReplyDeleteThis is such a cool and cute card! Thank you for sharing it's given me ideas and inspiration.
ReplyDelete