Monday, July 6, 2020

Simon Says Stamp - Play With Paint

Hi Everyone...welcome to another week on the Simon Says Stamp Monday Challenge Blog. Thank you for joining us for last week's challenge and we hope you can join us this week too because

The first challenge of the month means that the Design Team are showcasing a particular designer or brand and this month we will all be using the fabulous products from Dina Wakley. You don't have to use them to join in the challenge but if you have them, we would love to see how you use them.
We are also welcoming the lovely and very talented Sheila Wy aka 216 Alchemy Lane as this month's Designer In The Spotlight. If you haven't visited Sheila's blog before, pop over and say Hi, you are in for a real treat.

and the theme for this week is...
PLAY WITH PAINT
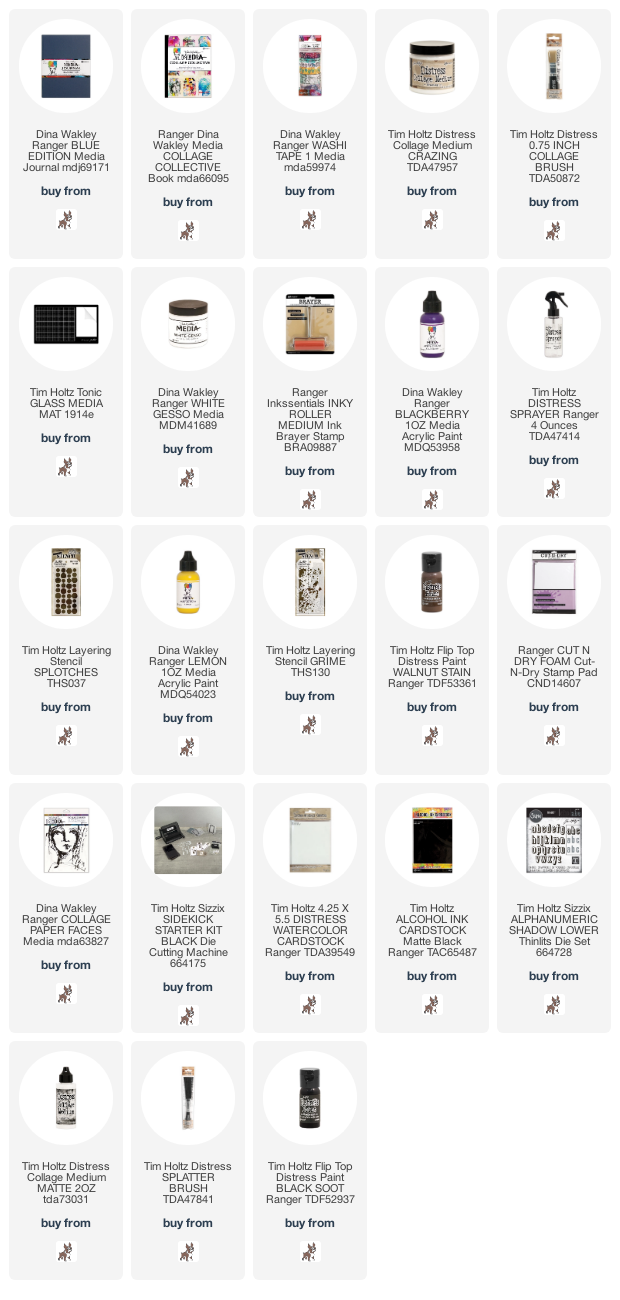
I created an Art Journal Page in my Dina Wakley Blue Edition Media Journal using Dina Wakley Media Collage Collective Book, Collage Papers and Paints, Tim Holtz/Stampers Anonymous Splotches and Grime Layering Stencils and Tim Holtz/Sizzix Alphanumeric Shadow Lower Thinlits

I used one of the pages from Dina Wakley's Media Collage Collective Book as a foundation for the background. I added part of the page on the right hand side and torn strips on the left fixed in place with Distress Collage Medium Matte. I added torn strips of Dina Wakley Media Tape in a matching colour to balance out the left hand page and brayered on a light coat of Dina Wakley White Gesso to mute the colours slightly.
I added drips of Dina Wakley Blackberry Acrylic Paint to balance the colours and encouraged it run down the page by spritzing with water using my Distress Sprayer.
I applied Dina Wakley Lemon Acrylic Paint and Tim Holtz Walnut Stain Distress Paint through Tim Holtz/Stampers Anonymous Splotches and Grime Layering Stencils using Ranger Cut 'n Dry.
I use a tray of water to soak stencils that I have used with paint until I'm finished and can wash them with warm soapy water.
I added images from Dina Wakley Media Collage Papers, fixed in place with Distress Collage Medium Papers.

I die-cut Tim Holtz/Sizzix Alphanumeric Shadow Lower Thinlits from scraps of Distress Watercolor card and Ranger Black Alcohol Ink cardstock.I decided to use the shadow section of the white die-cuts only but will store the left overs for another project.
To finish, I covered the die-cut letters and added splatters of Black Soot Distress Paint. This project was a bit different from what I normally create but I was really happy with how it turned out and using that page from the Media Collage Collective Book was a great time-saver.


You can find all the products I used over at Simon Says Stamp, just click on the links below


Why don't you pop over to the Monday Challenge Blog and check out the amazing creations from my very talented Design Team mates and as always you have until Monday 8am Ohio time...1pm UK time...2 pm CET to join in with the chance to win a $25 voucher to spend at Simon Says Stamp Online Store.

You can also follow Simon Says Stamp on Instagram
and if you use Instagram...
please add #sssmchallenge to your entry uploads so we can see them on there too

I look forward to seeing what you create this week...
Have Fun and Happy Crafting
Hugs Kath xxx


Where available I use compensated affiliate links which means if you make a purchase I receive a small commission at no extra cost to you. You can find my affiliate and product disclosure HERE

Saturday, July 4, 2020

Happy 4th July

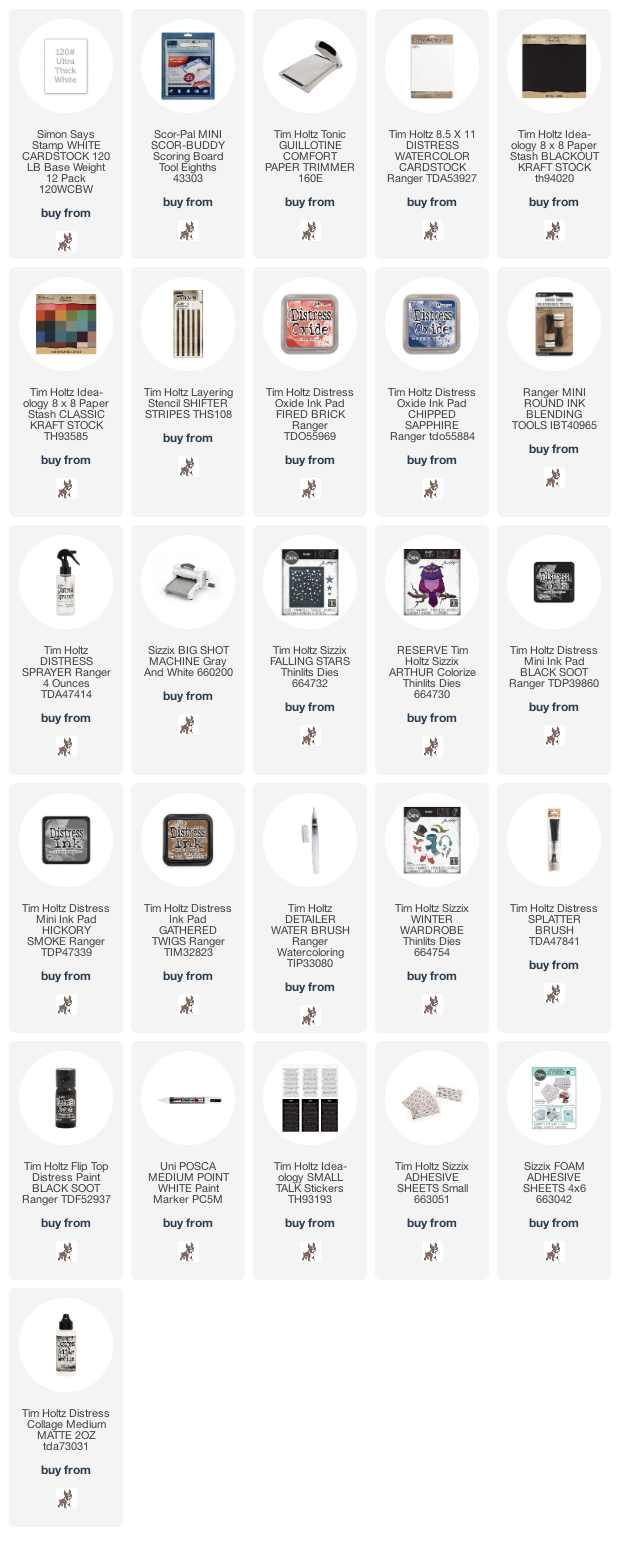
Hi my friends, I don't normally post on a Saturday but I'm sharing a card I made to wish all my friends in the USA a very Happy 4th of July and I couldn't resist using the adorable, if a little stern and grumpy Arthur, the latest addition to the Colorize family, from the Tim Holtz/Sizzix Chapter 3 Halloween release. The expression on his face just cracks me up, he has so much atitude but I'm not sure he would be the life and soul of your Independence Day Party.

I trimmed a panel of Distress Watercolor Card to 4.3/4" x 6.3/4", coloured the right hand section by applying Fired Brick Distress Oxide Ink through the Stripes Shifter Layering Stencil using a mini round blending tool and the other side using Chipped Sapphire Distress Oxide Ink. I spritzed the panel with water and blotted with kitchen towel to create a little of the water droplet effect.
I placed the Tim Holtz/Sizzix Falling Stars Thinlits along the edge of the last stripe and die-cut and repeated on the remaining blue section.
I trimmed the panel down to 4" x 6", matted on to white card which would show throw the die-cut section, then on to a 4.1/4" x 6.1/4" panel coloured around the edge with Fired Brick Distress Oxide ink using the direct to paper technique and fixed to a 5" x 7" white card blank.
I die-cut the base, claws, eyes and eyebrows for Arthur from Idea-ology BlackOut Kraftstock and all the other pieces from Distress Watercolor Card. I watercoloured each piece as I worked my way through the assembly using Black Soot, Hickory Smoke or Gathered Twigs Distress Inks using a Distress Detailer Brush, keeping some pieces very light and adding layers of colour and shadows as necessary as I went along. I fixed Arthur to the branch using Distress Collage Medium Matte and added to the panel using Tim Holtz/Sizzix Mini Foam Adhesive.
At this point, I was rushing to get the card finished before I lost the light and didn't realise I had deleted some of the step-by-step photos from my camera. I die-cut the top hat from Distress Watercolor Card and Red Classic Kraftstock using Tim Holtz/Sizzix Winter Wardrobe Thinlits from the Christmas release. I added stripes hand cut from the red cardstock and stars die-cut from Falling Stars. I added splatters using Black Soot Distress Paint and a White Posca Pen and Small Talk Occasions Stickers for the sentiment.
I finished by adding extra die-cut Falling Stars in the bottom corner.


Have a great day celebrating with your family and friends and I'll be back on Monday to share my DT project for the Simon Says Stamp Monday Challenge, in the meantime, have fun and happy crafting.
Hugs Kath xxx


Where available I use compensated affiliate links which means if you make a purchase I receive a small commission at no extra cost to you. You can find my affiliate and product disclosure HERE

Friday, July 3, 2020

Open If You Dare...

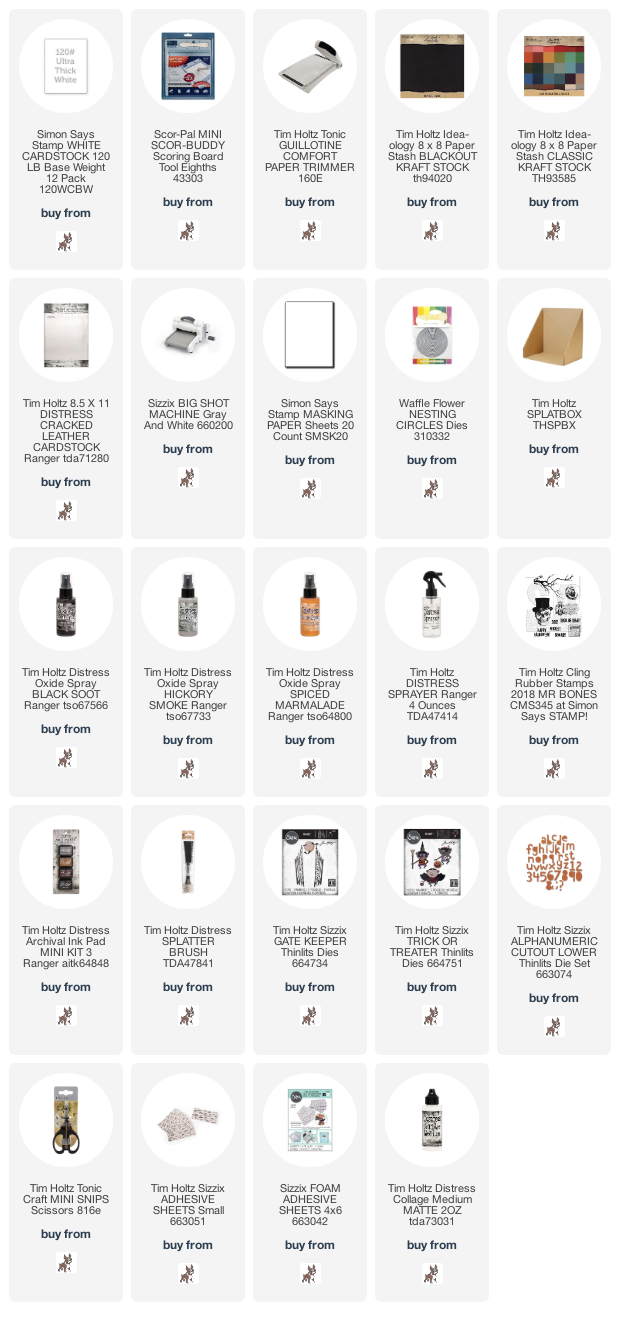
Hi my friends, I'm sharing the spooky "open if you dare" card I made for the launch of Tim Holtz/Sizzix Chapter 3 Halloween release using Gate Keeper and Trick or Treaters Thinlits and if you missed the Facebook Live, you can catch up with all the amazing dies and inspirational samples from all the seasonal makes over on Tim's Blog HERE and HEREA huge thank you to Tim, Mario and Paula for inviting me to be part of this fun adventure.


To begin, I trimmed Distress Cracked Leather Cardstock to create 2 - 4.3/4" x 6.3/4"panels, die-cut a circle from masking paper and fixed to one panel
I spritzed the panels with Black Soot, Hickory Smoke and Spiced Marmalade Distress Oxide Sprays, spritzed with water to create that water droplet effect and dried. I removed the mask to reveal the moon and added splatters of Black Soot Distress Oxide Spray. I also coloured the back of the plain panel in the same way.
I die-cut 4 gates from Idea-ology BlackOut KraftStock using Gate Keeper Thinlits and fixed to the panel coloured on both sides using Distress Collage Medium Matte. I scored down the panel along the edges of the gates and fussy cut leaving a small strip of cardstock on the outside edge of each gate. I die-cut a further 4 gates and fixed on the back of each gate.
I placed the gates on the background panel so that they were lined up in the centre and stitched them in place along the score lines creating a hinge to allow them to open. I fixed Sizzix Self Adhesive Sheets to the back of silver Idea-ology Metallic KraftStock, die cut the highlight sections of the gate and fixed them in place.
I inked the branch from Tim Holtz/Stampers Anonymous Mr Bones with Black Soot Distress Archival, stamped in the top left corner and added a double line of stitching around the entire panel 
I added the bats die-cut from Idea-ology BlackOut and silver Metallic KraftStock using Gate Keeper Thinlits and fixed in place slightly offset to create a highlight.
I die-cut the pumpkin, witches hat and broom from Idea-ology Classic Kraftstock using Tim Holtz/Sizzix Trick or Treaters Thinlits and fixed to the gate using Distress Collage Medium Matte.
I added the "scary vampire" Trick or Treater also die-cut from Idea-ology Classic KraftStock popped up on Sizzix Mini Foam Adhesive to create dimension.
I fixed Sizzix Adhesive Sheets to Idea-ology Classic and Metallic KraftStock, die cut the words using Tim Holtz/Sizzix Alphanumeric Lower CutOut Thinlits and fixed to the gate slightly offset to create a spooky highlight.

To finish I added Idea-ology Halloween Design Tape and Halloween Clipping Stickers to ground the Trick Or Treater, matted the panel on to Silver Metallic KraftStock and fixed to a 5" x 7" white card blank covered with Idea-ology BlackOut Kraftstock.

It's Friday and the weekend beckons. Weather permitting I'm hoping to spend some time in the garden but my make-over plans for the border created by the removal of the conifers has somewhat ground to a halt so I suspect I may be grabbing that paintbrush and pot of paint for Coat No 2 on the fence.
In the meantime, I've created a little garden area just by the back door that I can enjoy while I have my morning coffee.
Enjoy your weekend and have fun whatever you have planned.
Hugs Kath xxx


Where available I use compensated affiliate links which means if you make a purchase I receive a small commission at no extra cost to you. You can find my affiliate and product disclosure HERE

Thursday, July 2, 2020

Making A Dent In The Backgrounds Box...

Hi my friends, I'm currently on a mission to make a dent in the pile of backgrounds I've made inspired by all the fabulous Facebook Live Demos from Tim Holtz over the last 16 weeks starting off with some of  the panels I created using Alcohol/Alcohol Pearl and Alcohol Alloy Inks.
I had great fun trying out some of the techniques Tim shared in the Facebook Live Alcohol Ink Part 2 Q+A using Alcohol Lift Ink, Bubblewrap, Cling Film, Isopropyl, Distress Resist Spray and Embossing Ink. If you missed these fabulous Alcohol Ink masterclasses, you can catch up over on Tim's Blog HERE and HERE.
I'm sharing 3 cards I made from the backgrounds and let's just say some were more successful than others.

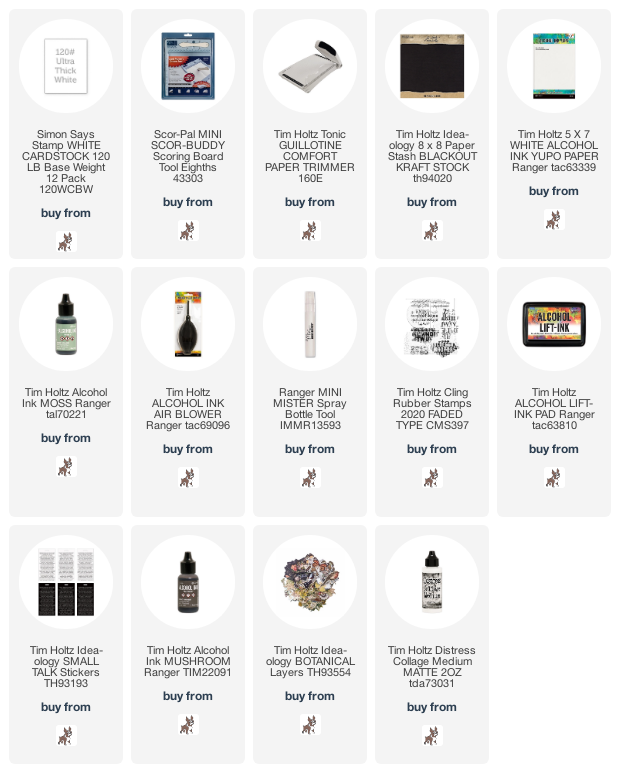
The backgrounds on the first two cards were created by dripping Isopropyl on to 3.1/4" x 5" panels of Tim Holtz White Yupo followed by drips of Moss Alcohol Ink moved around with the Distress Air Blower, spritzed lightly with Isopropyl using a Ranger Mini Mister and dried with a hair drier. After decorating, the panels were fixed to panels of Idea-ology BlackOut KraftStock trimmed to 4.1/4" x 5.3/4" and fixed to 4.1/4" x 6" White Card Blanks.
For the first card I stamped the image from Tim Holtz/Stampers Anonymous Faded Type inked with Alcohol Lift Ink, patted the area with kitchen towel, repeated with a clean section of the towel until all the ink had been removed and buffed with a clean cloth. I stamped the script image from Faded Type and the face image from Nature's Walk both inked with Black Soot Distress Archival.
I added Idea-ology Small Talk Stickers, trimmed and sanded around the edges to reveal the white core.

On the second card, I used the Mushroom Alcohol Ink which had been lifted from the panel on the right created using bubble wrap. After removing the bubble wrap from the panel, I reactivated the ink left behind with a spritz of Isopropyl and stamped randomly on the background on the left.
I stamped the images and sentiment text from Tim Holtz/Stampers Anonymous Nature's Walk with Black Soot and Vintage Photo Distress Archival inks.
 and added Idea-ology Small Talk Stickers as before
The third card uses one of the "not so happy with" background panels
created in the same way as the first 2 but with Mushroom Alcohol Ink. I spritzed the bubble wrap with Isopropyl using a Ranger Mini Mister, pressed it on to the panel and left to dry overnight. It created all these fabulous bubbly circles. I'm not sure what happened in the centre but it was an instant "no likey" moment.
Things don't always go to plan but I'm an old hand at getting over myself and help is never far away. I added a floral panel and butterfly from Idea-ology Botanical Layers, splatters of White Gesso and more Idea-ology Small Talk Stickers.

I'll be back soon to share more cards made from my Alcohol Ink Playtime, in the meantime, have fun with whatever you are creating.
Hugs Kath xxx


Where available I use compensated affiliate links which means if you make a purchase I receive a small commission at no extra cost to you. You can find my affiliate and product disclosure HERE

Wednesday, July 1, 2020

Doing Battle With The Weather

Hi my friends, I've been doing battle with the unpredictable weather. What started out as beautiful hot sunshine mornings, sitting outside enjoying the first cuppa of the day, turned, in the flick of a cow's tail, into horrendous monsoon downpours which continued off and on for 3 days but I grabbed every sunshine opportunity and finally managed to complete the first coat on the inside of the fence. I've always been a "once I've started on a task, I'm all out to get it finished" kind of a person but hey, life has thrown us all the biggest curve ball lately and life is too short to stress about when Coat No 2 gets done or the fact that painting the outside will have to wait until the man from the Council on his big ride-on grass cutting machine arrives to chop down the 3 foot high overgrown jungle on the other side.
And when the heavens opened, I ditched the paintbrush and headed to the cubbyhole to try out some of the techniques that Tim shared in his Facebook Live Alcohol Ink Part 2 Q+A demo which if you missed it, you can re-watch over on Tim's Blog HERE.
Some went well, others not so but I'm embracing my imperfections and am on a mission to turn them all into cards come what may and will share soon.
And woohoo, Tim will be launching his Seasonal Sizzix Chapter 3 Dies in a Facebook Live 2-Day Extravaganza so make sure to tune in tonight at 10.00am PST, 6.00pm if you're in the UK and 7.00pm for Europe for Halloween
and the same time on Thursday for Christmas
I've booked my seat and hope to see you there
Hugs Kath xxx