Monday, November 20, 2023

Simon Says - Tag It

Hi Everyone...welcome to another week on the Simon Says Stamp Monday Challenge Blog. Thank you for joining us for last week's challenge and we hope you can join us this week too because


and the theme for this week is...
TAG IT
I created quick and easy to make, collage style tags using Tim Holtz/Stampers Anonymous Ticking and Grain and Retro Flakes, Idea-ology Christmas Layer Frames, Christmas Layers and Paper Dolls, Christmas Remnant Rubs and sentiments from the 2023 Christmas Sticker Book.
die-cut the tags from Distress Media HeavyStock, placed the Tim Holtz/Stampers Anonymous Ticking Background stamp on my Glass Media Mat, inked with Lumberjack Plaid Distress Oxide ink, spritzed with water and pressed the tag on to the stamp. I repeated for the second tag and reinked with Rustic Wilderness Distress Oxide ink for the third tag. I inked around the edges of the tags using a mini round blending tool. I coloured a scrap of Distress Watercolor card with the inks using the direct to paper method, die-cut the hole reinforcers and fixed in place with Distress Collage Medium.
I fixed vellum behind the Tim Holtz/Idea-ology Layer Frames, fixed to the tags and trimmed off the excess.
I stamped Tim Holtz/Stampers Anonymous Retro Flakes, inked with Versamark ink, sprinkled with Simon Says White Detail Embossing Powder and heat set.
I added botanicals from Tim Holtz/Idea-ology Christmas Layers and Christmas Remnant Rubs.
I fixed the sentiment stickers from Tim Holtz/Idea-ology Christmas 2023 Sticker Book on to scraps of Distress Watercolor card, trimmed, sanded the edges to reveal the white core and fixed to the tags with Distress Collage Medium.
To finish I tied twine on to the tags


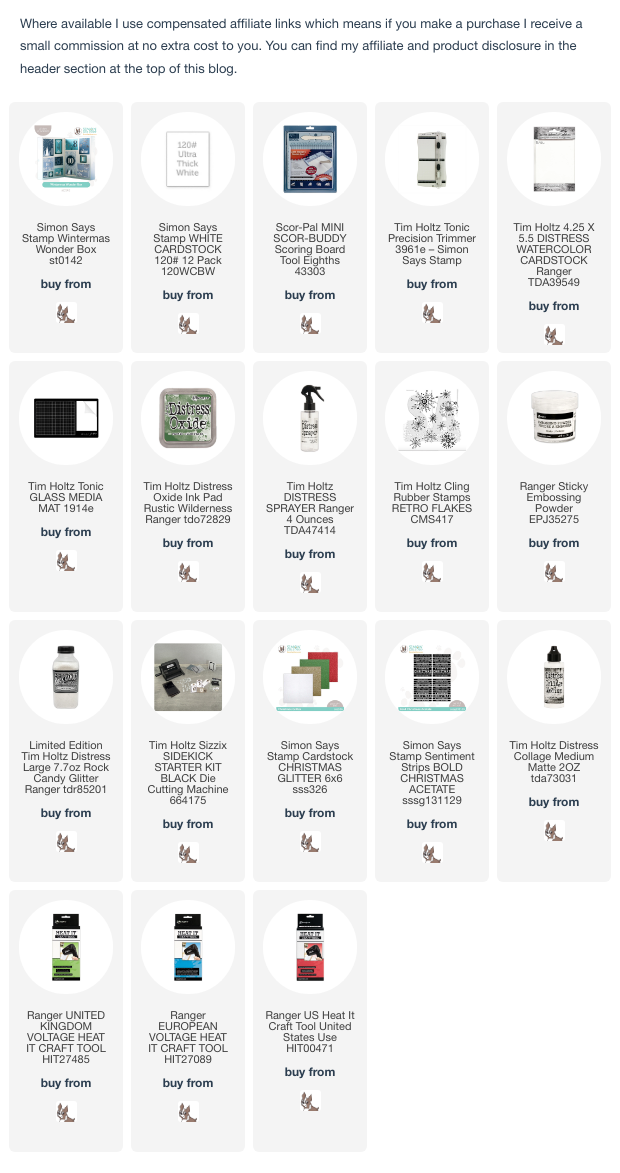
You can find all the products I used over at Simon Says Stamp, just click on the links below


Why don't you pop over to the Monday Challenge Blog and check out the amazing creations from my very talented Design Team mates and as always you have until Monday 8am Ohio time...1pm UK time...2pm CET to join in with the chance to win a $25 voucher to spend online at Simon Says Stamp


You can also follow Simon Says Stamp on Instagram
and if you use Instagram...
please add #sssmchallenge to your entry uploads so we can see them on there too

I look forward to seeing what you create this week...
Have Fun and Happy Crafting
Hugs Kath xxx
Wednesday, November 15, 2023

Wintermas Countdown to Christmas - Day 4

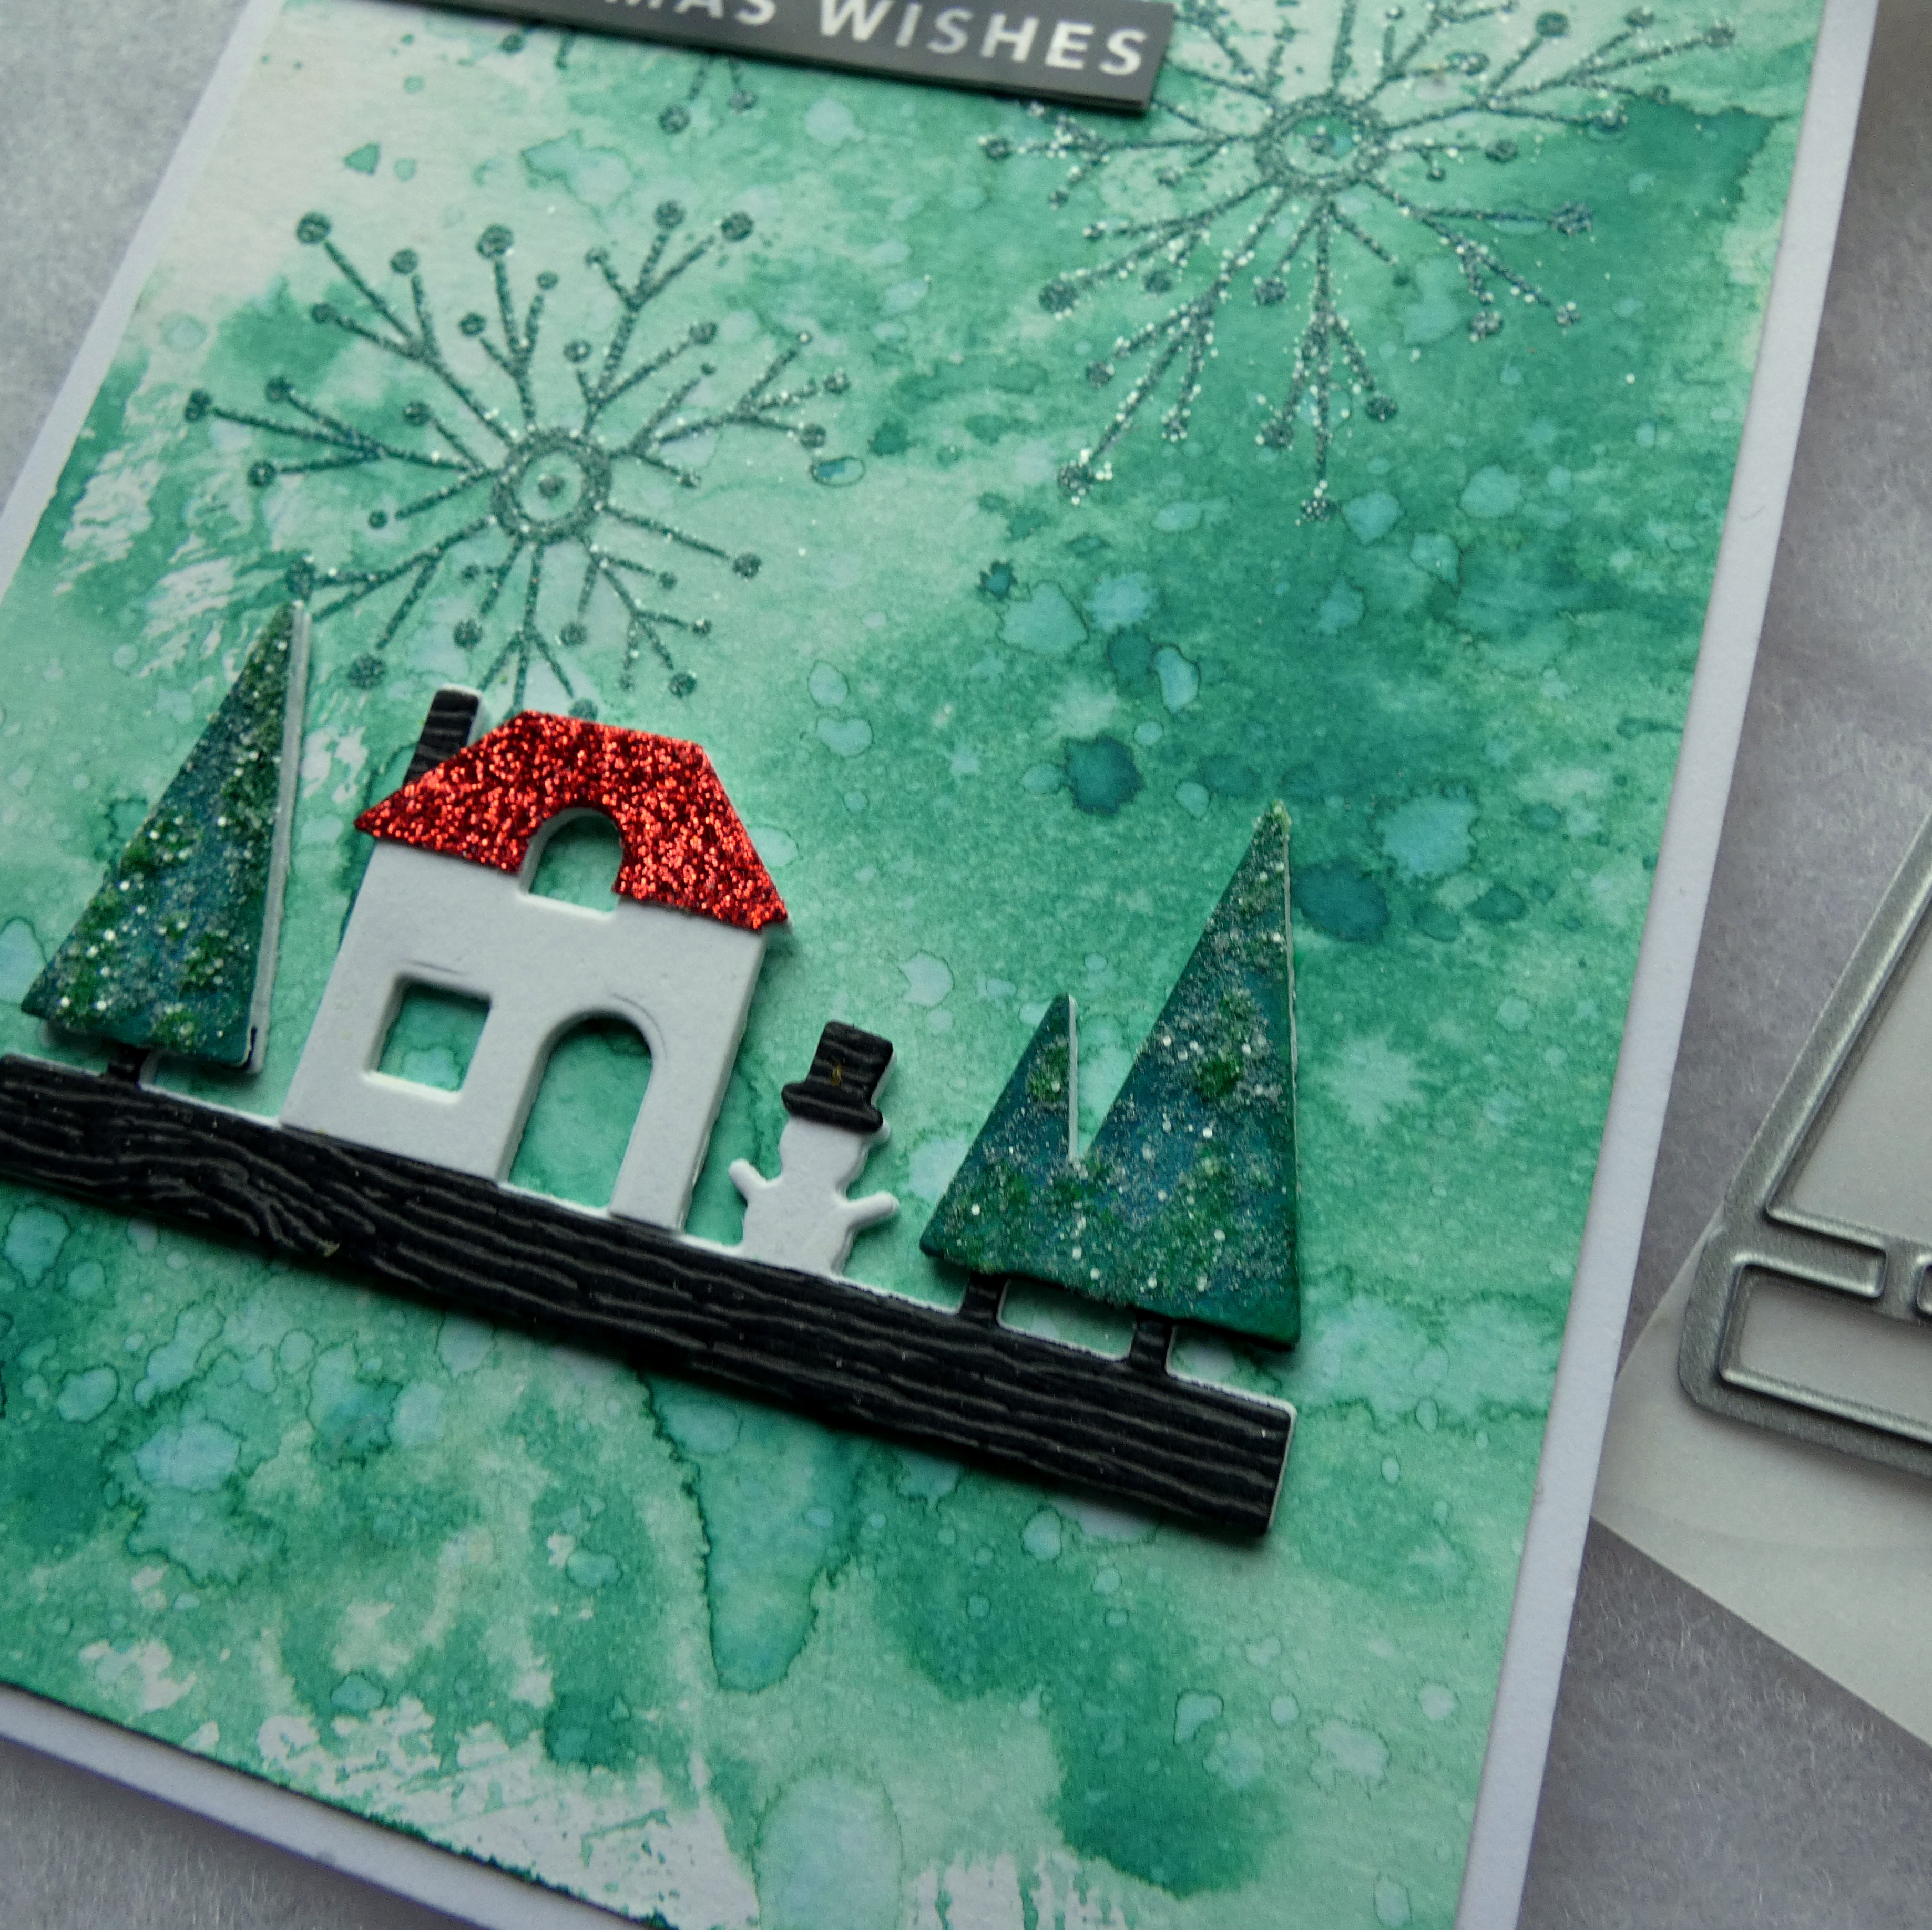
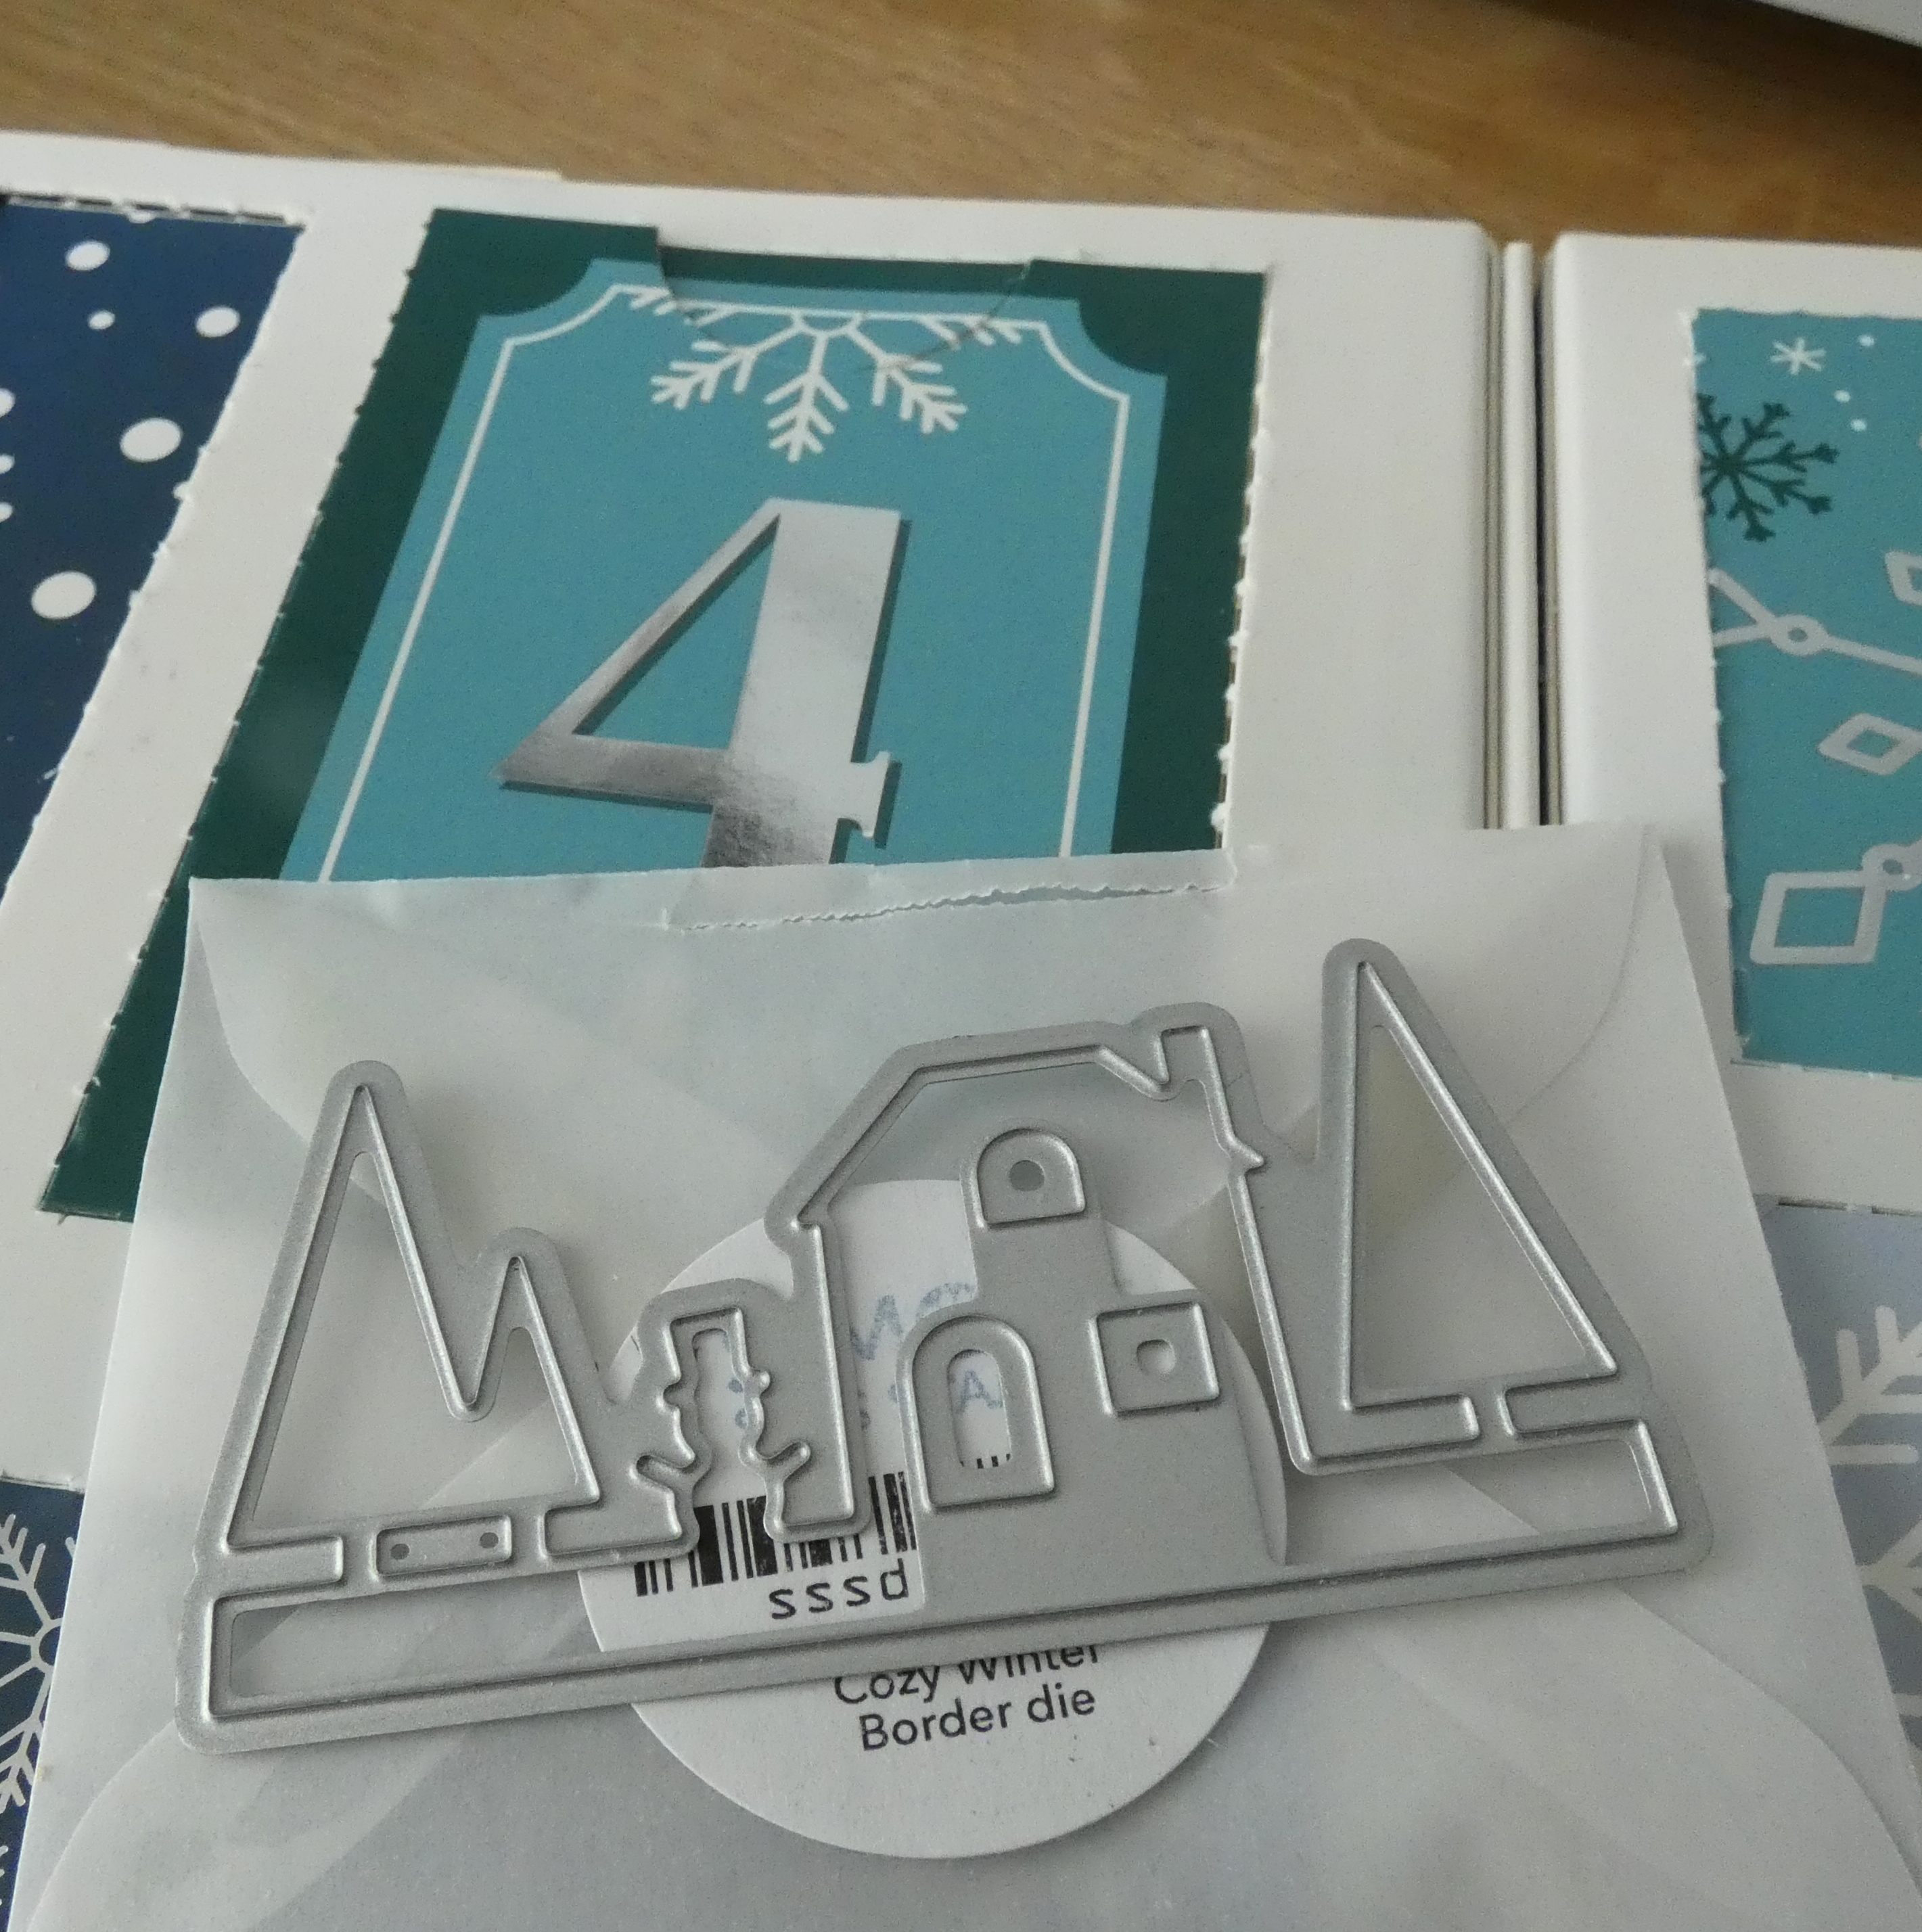
Hello my friends, here we are already halfway through November, the countdown to Christmas is truly on and I'm back to share another make using the next surprise from the Simon Says Stamp Wintermas Wonder Box and behind Day 4 was this adorable Cozy Winter Border die with a house, trees and a cute snowman.

Here's what I made
I trimmed Distress Watercolor card to 4" x 5.1/4", smooshed Pine Needles Distress Oxide ink on to the craft mat on my Glass Media Mat, spritzed with water and dragged the card through the ink, dried and tapped repeatedly back into the ink to pick up the remaining droplets. I stamped Tim Holtz/Stampers Anonymous Retro Flakes, inked with the Rustic Wilderness Distress Oxide ink, sprinkled with Ranger Sticky Embossing Powder, heat set and sprinkled with Distress Rock Candy Glitter.
I die-cut the Cozy Winter Border die from Distress Watercolor card, Black Woodgrain cardstock, card coloured with Rustic Wilderness Distress Oxide ink, Simon Says Red Glitter cardstock, trimmed out the individual pieces and fixed to the Distress Watercolor card die-cut. I applied Distress Collage Medium with my finger to the Rustic Wilderness Trees and sprinkled with Distress Rock Candy Glitter.
To finish I trimmed a Simon Says Stamp Bold Acetate Christmas Sentiment Strip, fixed to a strip of Distress Watercolor card, fixed in place to the background with Distress Collage Medium and matted the panel to an A2 white card blank.

I'll be back soon to share what I found behind Box 5, in the meantime, have fun with whatever you're making.
Hugs Kath xxx

Monday, November 13, 2023

Simon Says - Thanks/Thanksgiving

Hi Everyone...welcome to another week on the Simon Says Stamp Monday Challenge Blog. Thank you for joining us for last week's challenge and we hope you can join us this week too because


and the theme for this week is...
THANKS/THANKSGIVING
I returned to my Dylusions Small Creative Journal this week to create a Thankful Art Journal page with an Autumn colour palette using Tim Holtz/Sizzix Leaf Fragments and Alphanumeric Stretch Upper Thinlits, Idea-ology Backdrops Vol 2 Paper, Urban Layers, Transparent Layers and Transparent Things.
I applied a coat of White Gesso to the pages of my art journal, die-cut Tim Holtz/Sizzix Leaf Fragments from Gina K Masking Magic Sheet and fixed mainly on the left page with portions of the leaves fixed around the edges on the right page. I spritzed the pages with Old Paper and Rusty Hinge Distress Spray Stains and removed the masks. The colours were lighter than I wanted once the spray stains had dried, so I spritzed Peeled Paint and Rusty Hinge Distress Oxide Sprays on to my glass Media Mat, picked up the colour on a piece of plastic and pressed on to the pages randomly.
I stamped the script and Specimen circle from Tim Holtz/Stampers Anonymous Tiny Toadstools randomly on the pages inked with Ground Espresso and Black Soot Distress Archival inks.
I doodled around the leaf images on the background with a black marker pen. I trimmed pieces from Idea-ology Urban Layers, darkened the edges by dragging the Ground Espresso Distress Archival ink pad over the surface, fixed to the pages and added the butterfly trimmed out from Idea-ology Transparent Layers.
I inked around the edges of the pages using the Ground Espresso Distress Archival ink pad and added Distress Black Texture Paste through the Bubble Mini Layering Stencil from Set 5. As an afterthought I re-stamped the Specimen circle inked with Crackling Campfire Distress Oxide ink.
I die cut Tim Holtz/Sizzix Leaf Fragments Thinlits from a Distress Watercolor card background I created previously using Fossilized Amber, Spiced Marmalade, Peeled Paint, Crackling Campfire and Ground Espresso Distress Oxide inks.
I die-cut Tim Holtz/Sizzix Stretch Upper Thinlits 3 times from Distress Black HeavyStock and I'm sharing a little tip if you are cutting a sentiment multiple times to layer - fix the letters onto to low tack tape and you won't have to re-arrange the letters for each cut. 
I fixed the letters in place using Distress Collage Medium.
I added the leaves and a sentiment trimmed from Simon Says Thanks Reverse Sentiment Strips.
To finish I added splatters of Mulled Cider Distress Mica Stain

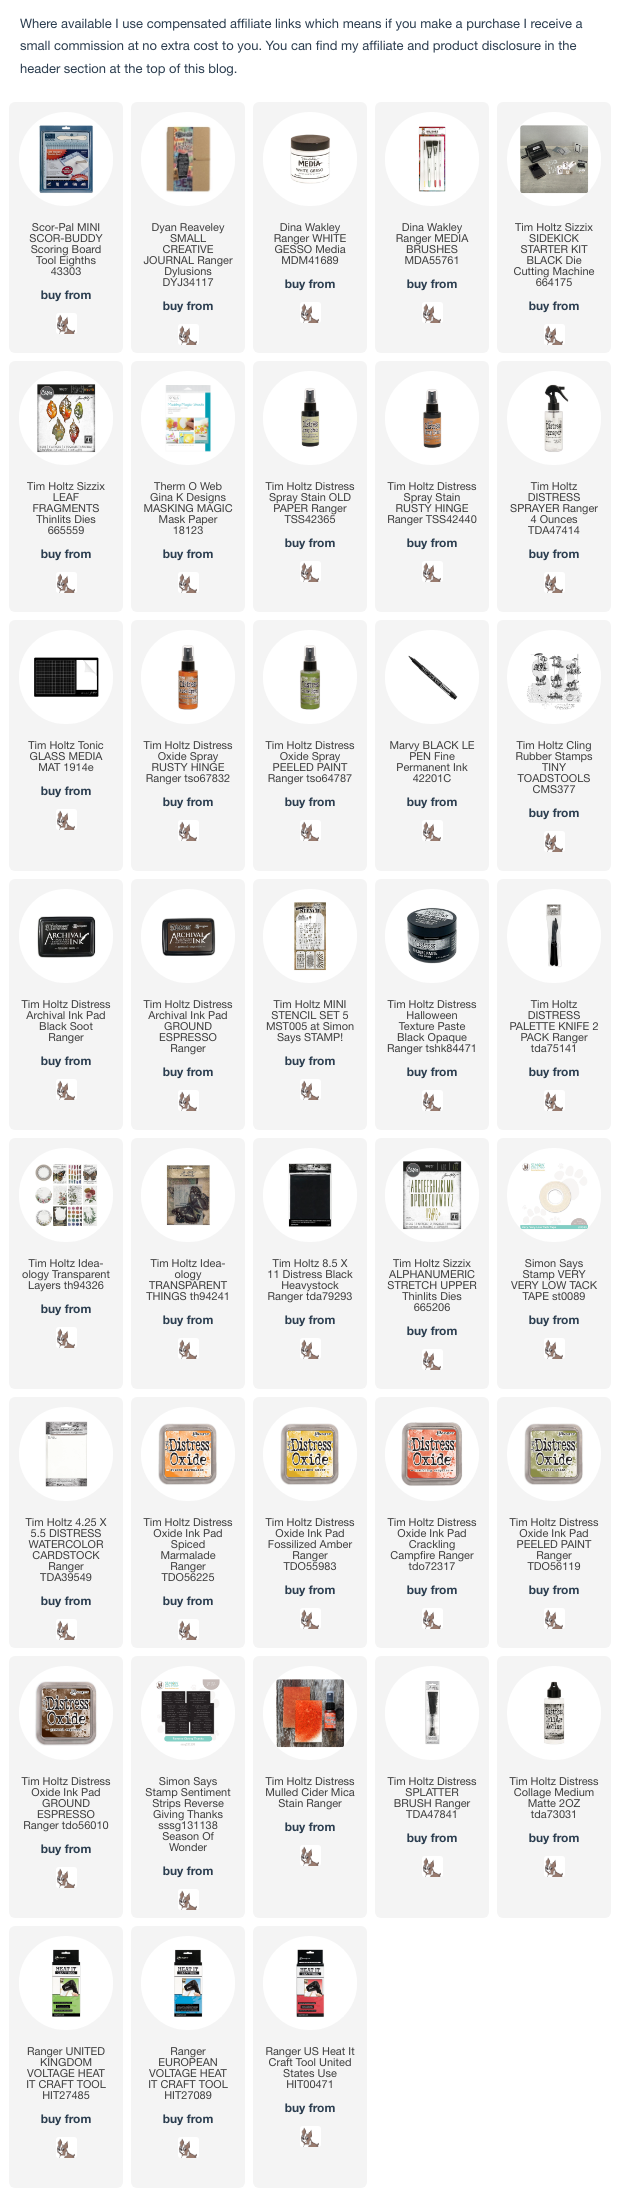
You can find all the products I used over at Simon Says Stamp, just click on the links below


Why don't you pop over to the Monday Challenge Blog and check out the amazing creations from my very talented Design Team mates and as always you have until Monday 8am Ohio time...1pm UK time...2pm CET to join in with the chance to win a $25 voucher to spend online at Simon Says Stamp


You can also follow Simon Says Stamp on Instagram
and if you use Instagram...
please add #sssmchallenge to your entry uploads so we can see them on there too

I look forward to seeing what you create this week...
Have Fun and Happy Crafting
Hugs Kath xxx

Friday, November 10, 2023

Wintermas Countdown to Christmas - Day 3

Hello my friends, it's Friday already and time to share what I made with the surprise behind Door No 3 of the Simon Says Stamp Wintermas Wonder Box.

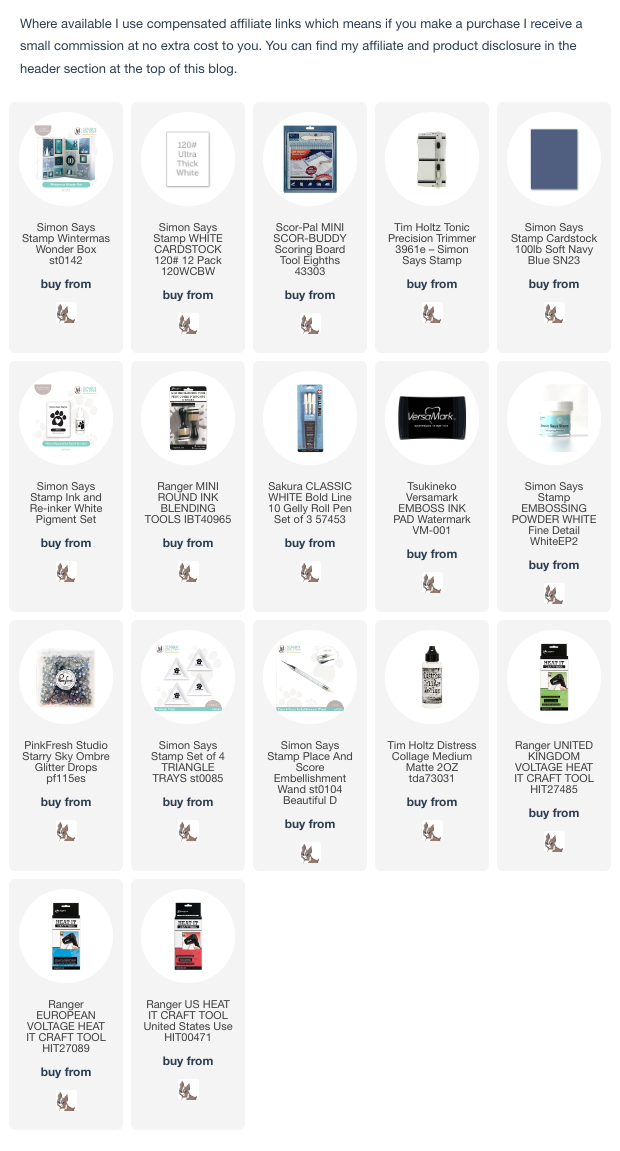
I made a card using the iSilver Pigment ink pad along with the Winter Wonderland stamps from Day 1 and the stencil set from Day 2.
I trimmed Simon Says Soft Navy cardstock to 4" x 5.1/4", inked the snowflakes with the mini silver ink pad and Simon Says White Pigment ink and stamped randomly across the top half of the panel.
I used the white pigment ink with a mini round blending tool to add the stencilled trees, inked the sentiment from Winter Wonderland with Versamark ink, sprinkled with Simon Says White Detail Embossing Powder and heat set. I used a Sakura White Gelly Roll Pen to draw dashes around the trees to make them pop from the background. I sprinkled Stampendous Frantage Chunky White Embossing Enamel randomly over the background and heat set. (If you don't have this embossing powder, you could use Ranger White Ultra Thick Embossing Enamel)
To finish I added Pink Fresh Studio Starry Sky Glitter Drops which are so pretty and sparkly and matted the panel on to an A2 white card blank.


Enjoy your weekend whatever you have planned and I'll be back on Monday to share my DT project for Simon Says Stamp Monday Challenge. In the meantime, have fun with whatever you're making.
Hugs Kath xxx

Wednesday, November 8, 2023

Wintermas Countdown to Christmas - Day 2

Hello my friends, it's time to reveal what was behind Door No 2 of Simon Says Stamp Wintermas Wonder Box and share what I made with that surprise.

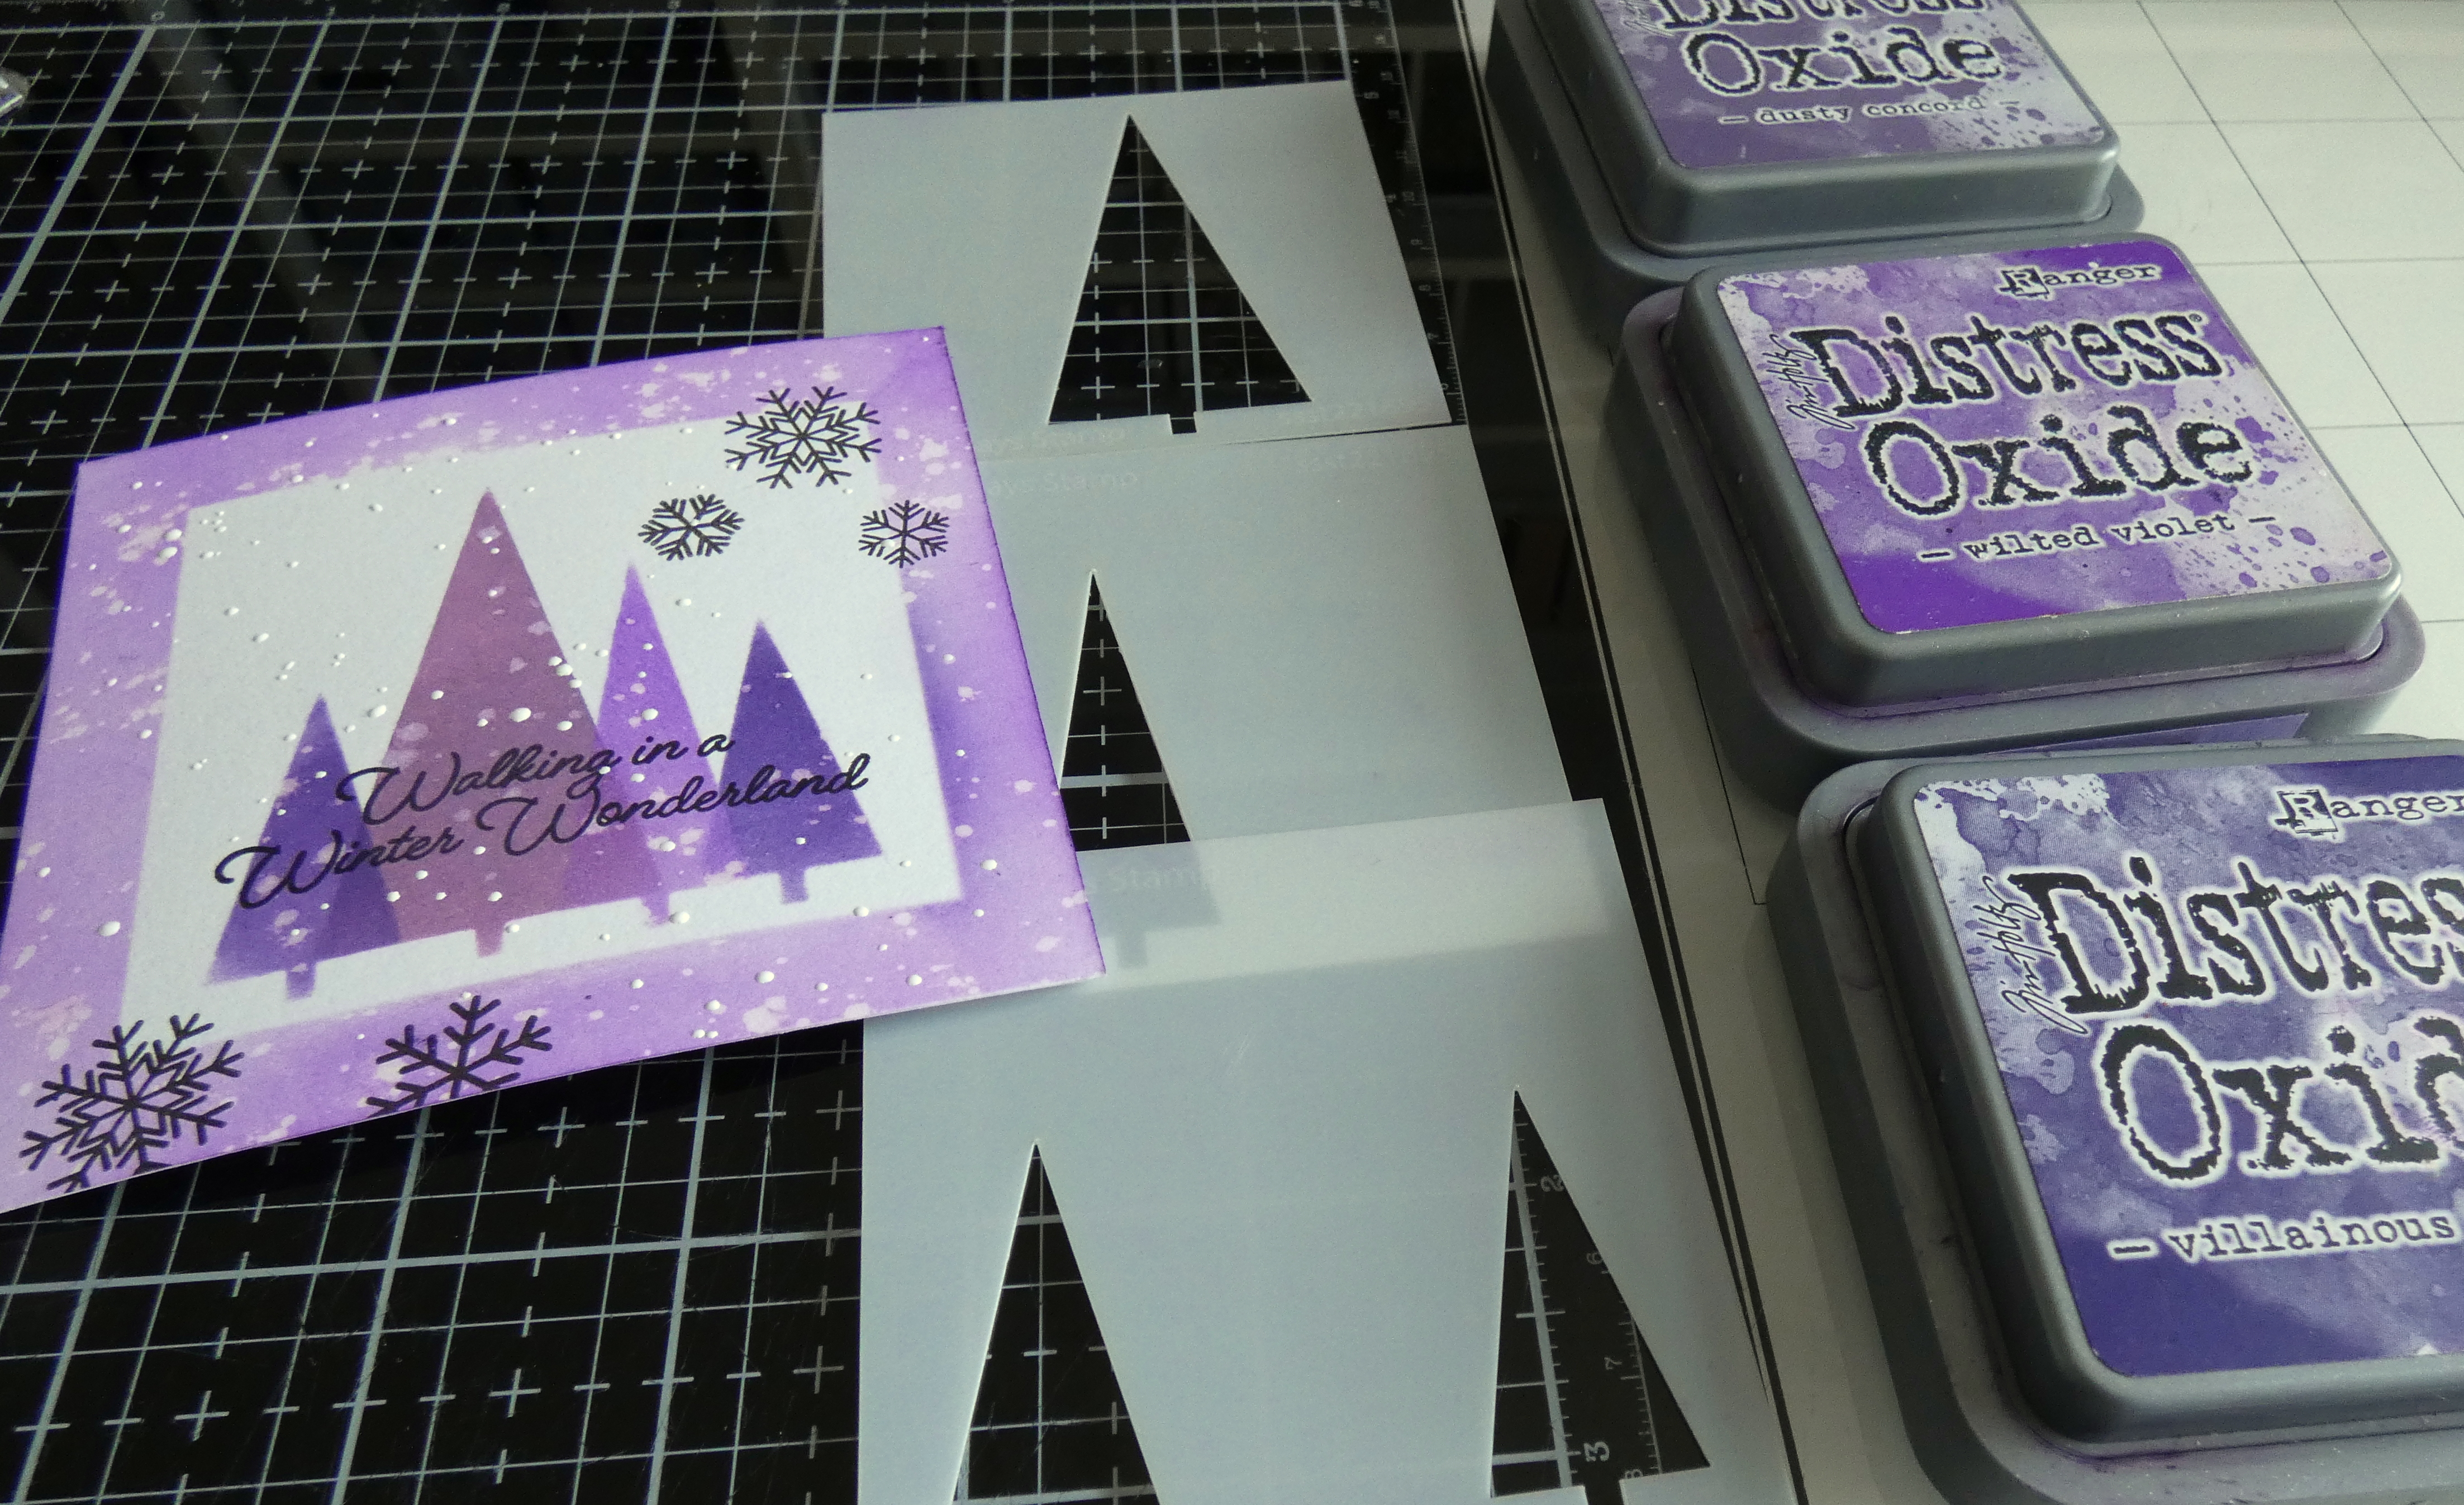
A set of 3 Tree Layering Stencils and a Falling Snow Stencil and here's what I made
I trimmed Distress Watercolor card to make 2 - 4" square panels and for the top card, placed one of the stencils in the centre of the card panel, held in place with magnets and inked around the edge using Wilted Violet Distress Oxide ink and a mini round blending tool. I stencilled the trees using the 3 layering stencils using Dusty Concord, Wilted Violet andVillainous Potion  Distress Oxide inks and spritzed the border with water to create the waterdroplet effect. I stamped the sentiment and snowman using the Winter Wonderland stamp set from Day 1 inked with Simon Says Intense Black ink.

For the 2nd card, I stencilled the trees as before using Wilted Violet, Villainous Potion and Black Soot Distress Oxide inks. 
I placed the falling snow stencil on top and applied Black Soot Distress Oxide ink using a mini round blending tool.
I stamped the snowflakes and sentiment again, inked with Villainous Potion Distress Oxide ink and inked around the edges as before.
I sprinkled Stampendous Frantage Chunky White Embossing Enamel over the panels and heat set from underneath. I added Silver Pearls to the snowflakes and matted the panels on to 4.1/4" square top folding white card blanks.


Have fun with whatever you are making
Hugs Kath xxx