Wednesday, August 22, 2018

Who Knew Stencils Could Be So Much Fun...

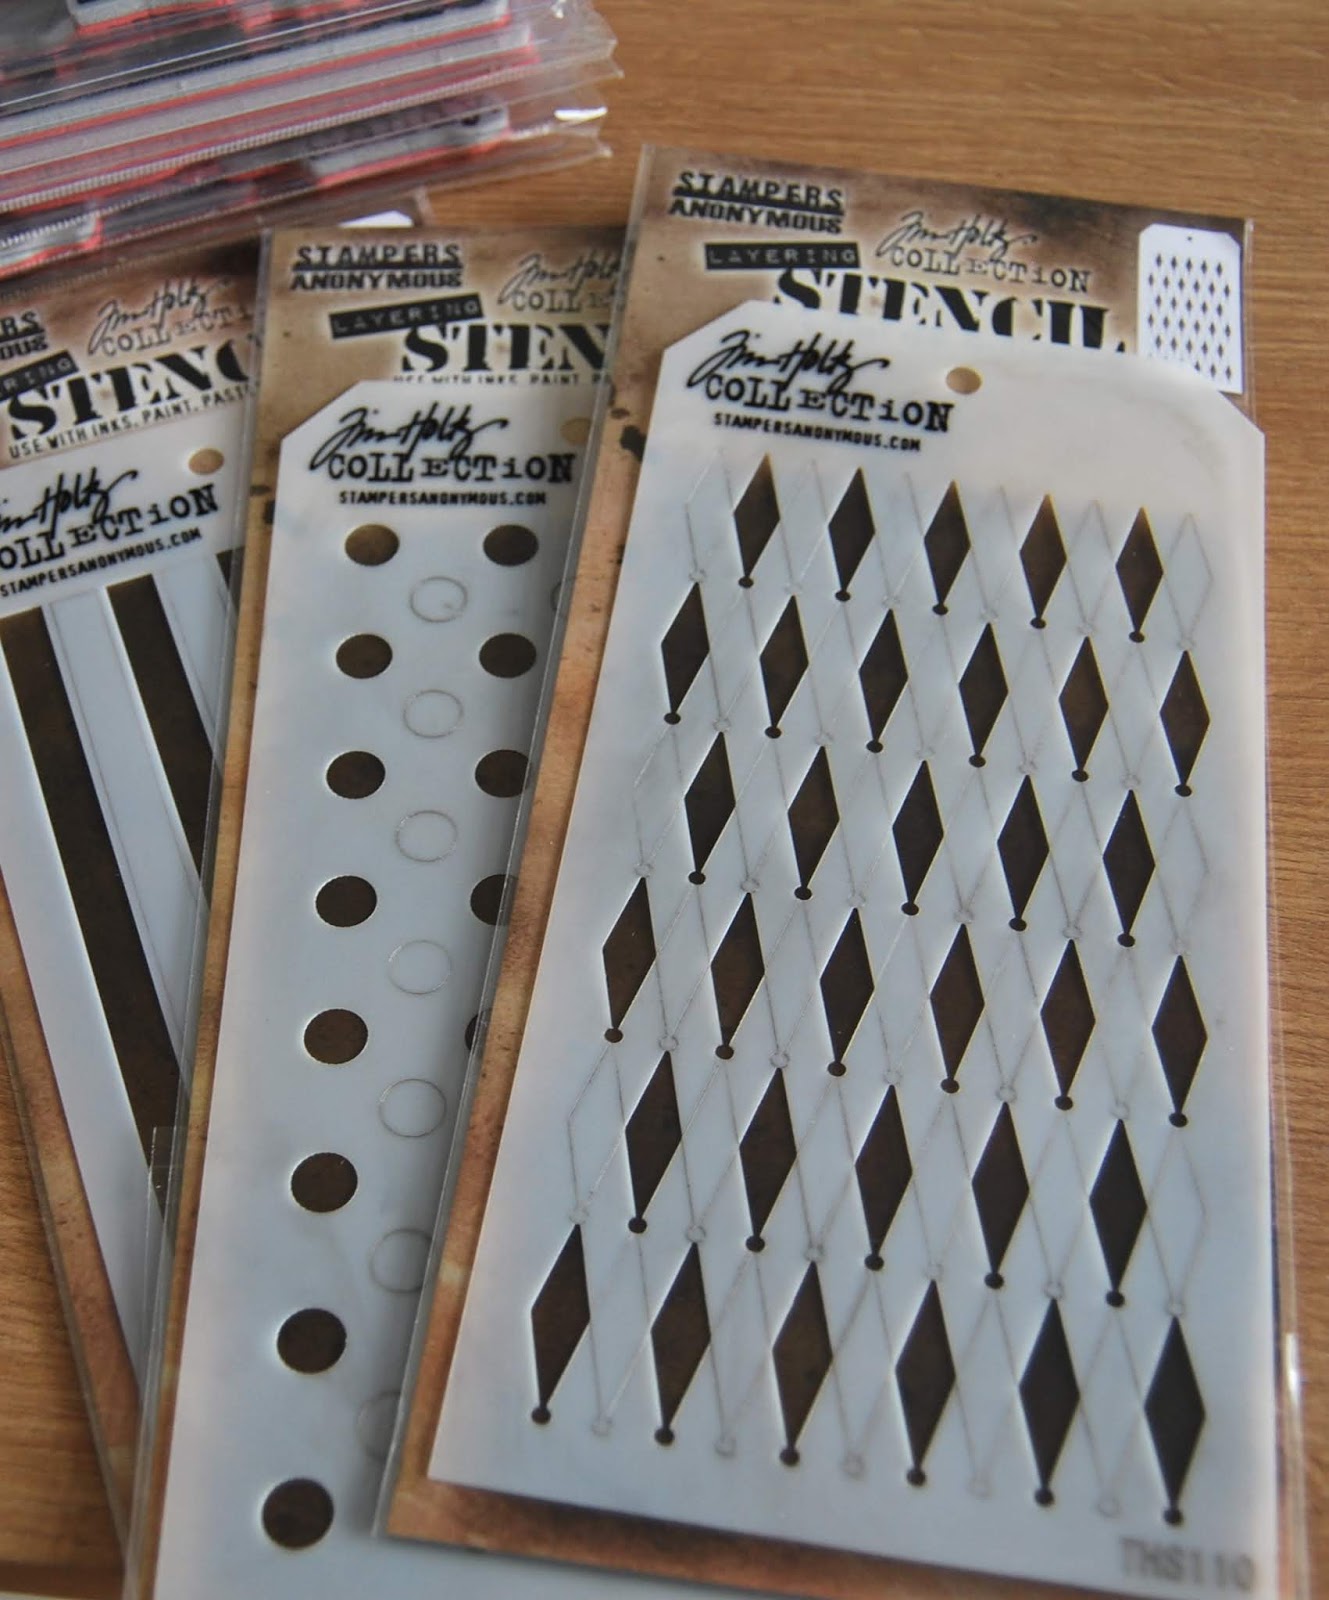
Hi folks, I'm a bit late to the blog party today but you can blame the dodgy Furry Alarm clock for that. I'm sharing a tag book I made to store the new Shifter Stencils from Tim Holtz and Stampers Anonymous
I was jumping up and down with excitement when the new Halloween release stamps and stencils from Tim Holtz and Stampers Anonymous arrived in the cubbyhole.
I'm always excited about new red rubber but I have to say, after watching Tim's Facebook Live video, which you can watch HERE, (the stencil reveal is around 17m.45s) I was even more excited than usual about the amazing Shifter Stencils. I'm a huge fan of Layering Stencils but oh boy, stencils have just been taken to a whole new level and I couldn't wait to try them out.
I store all my Layering and Mini Layering Stencils in tag shaped books using book rings. They are easy to flip to find the one you want, the stencils are easy to remove and replace when you're done but these new guys are very special, a little bit different from the normal layering stencil and when Tim mentioned that there are more shifter stencils in the pipeline, I knew that they were going to need their very own storage.
and here is the latest edition to the Layering Stencil storage collection, decorated, of course, with the Shifter stencils.

I used thick matboard for the covers, trimmed to 4.1/4" x 8.3/4", slightly larger than the stencils and using the stencil carrier sheet as a template, snipped off the corners. But before the fun could begin, I needed to follow the advice of our adorable Professor to make the grid lines more visible. I painted over the stencil area with Black Soot Distress Paint, quickly wiped it off with a paper towel which leaves the paint in the grid lines. As Distress paint is permanent when dry, you will only have to do this once and believe me, it does make matching up the grid lines easier.
I wanted to go for a neutral colour palette so I lined up the Stripes Stencil on the cover, held in place with washi tape and applied a light coat of Frayed Burlap Distress Oxide ink using a mini round blending tool.
I removed the stencil, wiped any excess ink off with a paper towel to make sure it was clean and ready for the next colour.
I lined up the stencil using the grid lines, applied Antique Linen Distress Oxide ink, removed the stencil and wow you get this amazing effect. I then applied Antique Linen Distress Oxide around the edges.
This was so much fun that I decided to use all 3 stencils on the cover. I repeated the process with the Diamonds Stencil using Frayed Burlap and Hickory Smoke (remember Distress Oxide inks are a fusion of dye and pigment inks so will layer beautifully on top of each other.
By this stage, I'm on a "having the best fun" roll so decided to add a little bit of plaid using the Stripes Stencil sideways but only stencilled once with Frayed Burlap. Then it was the turn of the Dots Stencil, again using Frayed Burlap and Hickory Smoke.
I stamped the script background image from Tim Holtz/Stampers Anonymous Entomology inked with Black Soot Archival randomly on the cover
I added white circles by tapping a Distress Paint dabber top into Picket Fence Distress Paint and splatters of Black Soot Distress Paint using the Distress Splatter Brush
I die-cut Tim Holtz/Sizzix Wildflowers Thinlits from white and black card and fixed in place with small dots of Distress Collage Medium Matte using a Ranger Fine Applicator Tool.
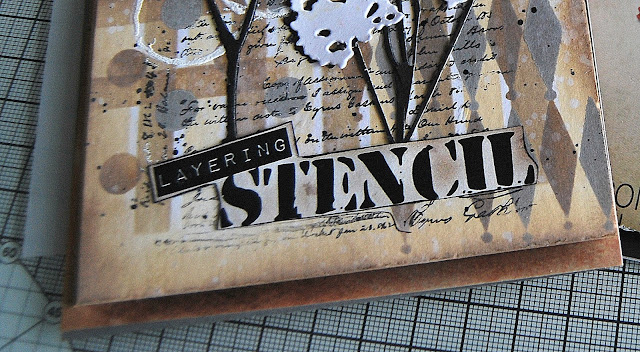
I trimmed down the carrier sheets which come in the packaging to use as a backing for the stencils in the tag book and as luck would have it, was left with the heading section with lots of cool typography, too good to throw away, so I trimmed them out, edged them with Black Soot Archival ink pad and fixed to the cover.

I added an Idea-ology Heart Charm strung with twine and a twine bow
an Ideaology Philosophy Tag fixed in place with a brad, used the Tiny Attacher to add staples around the cover and used a Black Soot Paint Dabber around the edges.
The reverse side of the matboard was a dark grey so I painted the outside of the back cover with Hickory Distress Paint, fixed a book ring and the job's a good un. 
The new boys are looking a little bit lonely in their new home but fingers crossed "hint...hint Mr H" there will be more new additions coming VERY SOON. In the meantime, I'm itching to get inky with the new stamps and will be sharing some spooky creations with you all in the not too distant future
Toodle-oo for now
Hugs Kath xxx

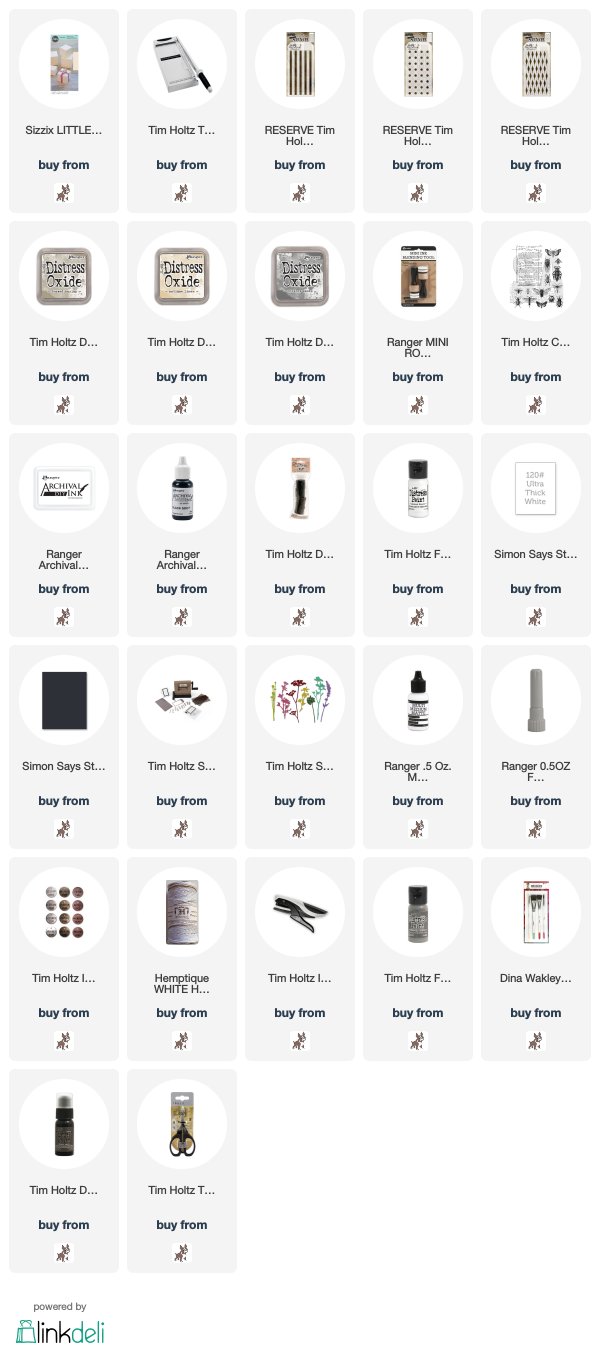
Edited to add: I use matboard for making journal and book covers because it's nice and sturdy and holds up well to inks, paints and mixed media techniques without warping. I got loads of offcuts from a local picture framing store so it may be worth enquiring in your area. If that's not an option, Sizzix Matboard is a great quality alternative and I have linked it below.
Tuesday, August 21, 2018

Fun With A Turnabout Stamp

Hi folks, it looks like we may have seen the last of Summer, at least in my neck of the woods. The heatwave has gone, replaced by more comfortable temperatures and I'm so looking forward to Autum and Winter, my favourite seasons. There are definite signs that the leaves on the trees are getting ready to change colour and I can't wait for Mother Nature to share her spectacular colour palette with us again.
With that in mind, I decided to have some fun with Concord & 9th's Wreath Turnabout Stamp Set and create a card using Autumnal shades from the Distress Oxide ink colour palette.

My first time using a Turnabout stamp so I followed the instructions on the stamp set, matched up the stamp with the template provided in the pack and marked the criss cross lines on to the back of the stamp using a Sharpie Black Permanent Pen.
I trimmed white card to 5" square, added pencil lines from corner to corner and laid the stamp on the card, matching up the lines. I closed the Stamp Platform, transferring the stamp on to the lid and flipped over the card ready for stamping.
 I inked the stamp with Wild Honey Distress Oxide ink and then rotated the card one quarter turn,
I cleaned the stamp, re-inked and stamped with Ripe Persimmon.
 I repeated the process with Twisted Citron and Vintage Photo rotating the card each time
I coloured scraps of card with the same three colours and die cut the words using Tim Holtz/Sizzix Alphanumeric Thinlits. I fixed the letters to a scrap of vellum, added dots of Multi Medium Matte behind the letters and fixed to the card.
I stamped the sentiment from the stamp set with Simon Says Stamp Intense Black ink on to vellum and attached in the same way. To finish off I added Simon Says Stamp Summer Gold sequins, matted the panel on to a slightly larger panel of white card coloured around the edges with Twisted Citron Distress Oxide ink using the direct to paper technique and then fixed to a white card blank.
Toodle-oo for now
Hugs Kath xxx

Monday, August 20, 2018

Simon Says...Back To School

Hi Everyone...welcome to another week on the Simon Says Stamp Monday Challenge Blog...thank you for joining us for last week's challenge...we hope you can join us this week too because...

and the theme for this week is...
BACK TO SCHOOL
I made a "tongue in cheek" Vintage Card for a friend's grandson who will be moving up to Secondary School tomorrow when our local schools return from their Summer break.
This wordly wise 13 year old was fascinated by the tales that his Grandma and I told of our schooldays, learning without the aid of computers, calculators and mobile phones, no Internet or Google to help us out with homework and a visit to the Headmaster's Office for six of the belt if you misbehaved or a star added to your book if the teacher was happy with your work. At the end of it all, he said...THIS IS COOL, YOU TWO ARE VINTAGE and we're thinking hoping that VINTAGE may have an entirely different meaning in this world of  modern day speak. He will probably be even more surprised to learn that this is exactly how the lads in our class used to dress for school, short trousers and long socks, summer or winter, whatever the weather.
I trimmed a panel of Idea-ology French Industrial paper to 5" x 7" and applied a light coat of White Gesso using a brayer.
I die-cut 3 layers of Tim Holtz/Sizzix Alphanumeric Thinlits from white cardstock and fixed in place with Distress Collage Medium Matte.
I added scraps of French Industrial and Dapper papers, more layers of letters and applied a coat of Distress Collage Medium Matte over the whole panel.
I added a torn scrap of dictionary paper with the definition of school, created shadows around the lettering with a Candied Apple Distress Crayon and Walnut Stain Distress Crayon around the paper scraps. I stamped the images from Tim Holtz/Stampers Anonymous Mini Blueprints 8 with Black Soot Archival ink.
I applied a coat of Distress Collage Vintage Medium Matte on to a scrap of French Industrial paper, re-stamped the images, coloured with Candied Apple, Peeled Paint and Twisted Citron Distress Markers and fussy cut
I stamped the script from Tim Holtz/Stampers Anonymous Entomology with Versamark ink on to the background and a scrap of card coloured with Candied Apple and Twisted Citron Distress Oxide inks, heat embossed with Ranger Super Fine White Embossing Powder and added splatters of White Gesso. I die cut the letters from the coloured scrap of card and fixed in place with Distress Collage Medium Matte.
I added Idea-ology Number Remnant Rubs, stars from Idea-ology Typography and an Idea-ology "schoolboy from back in the day" cute Paper Doll.
I roughed up the edges of the panel with a Paper Distresser, added to a panel of French Industrial paper and matted on to a 5.1/2" x 7.1/2" white card blank.

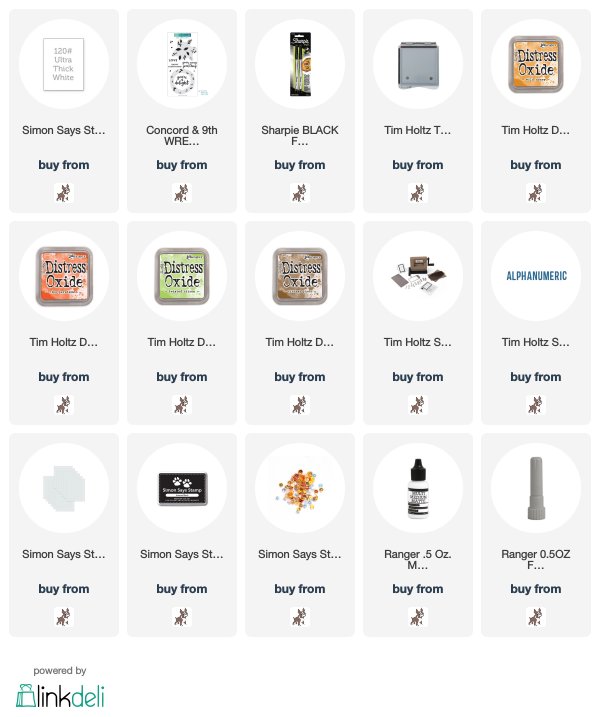
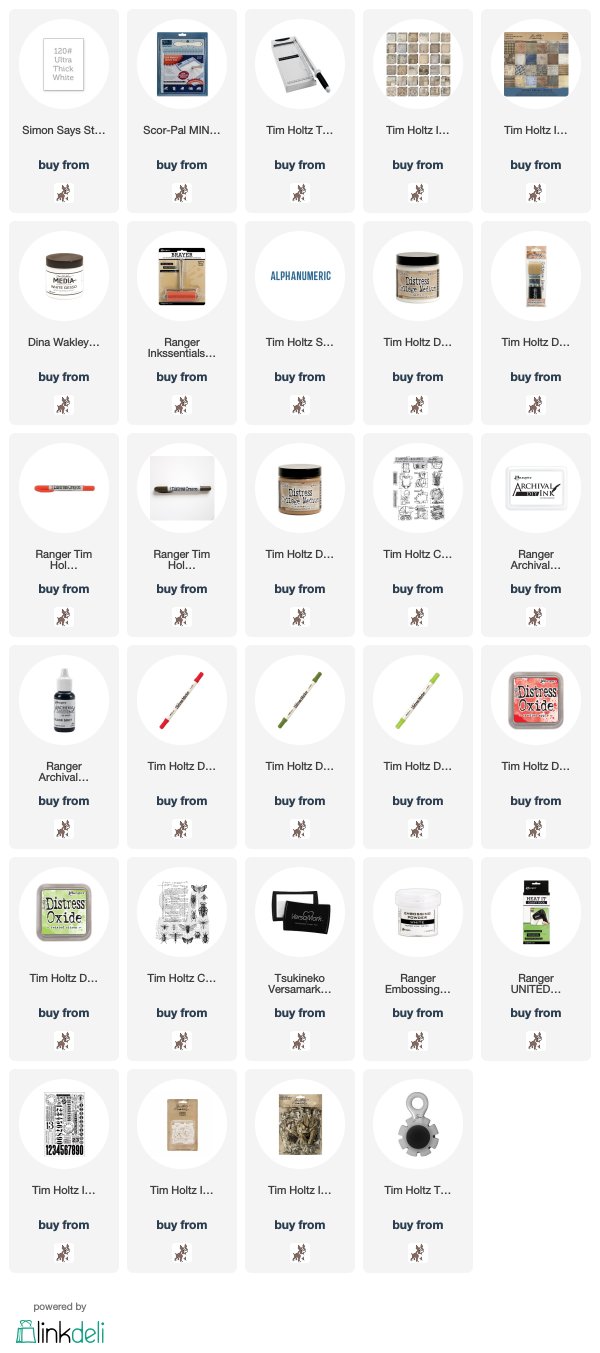
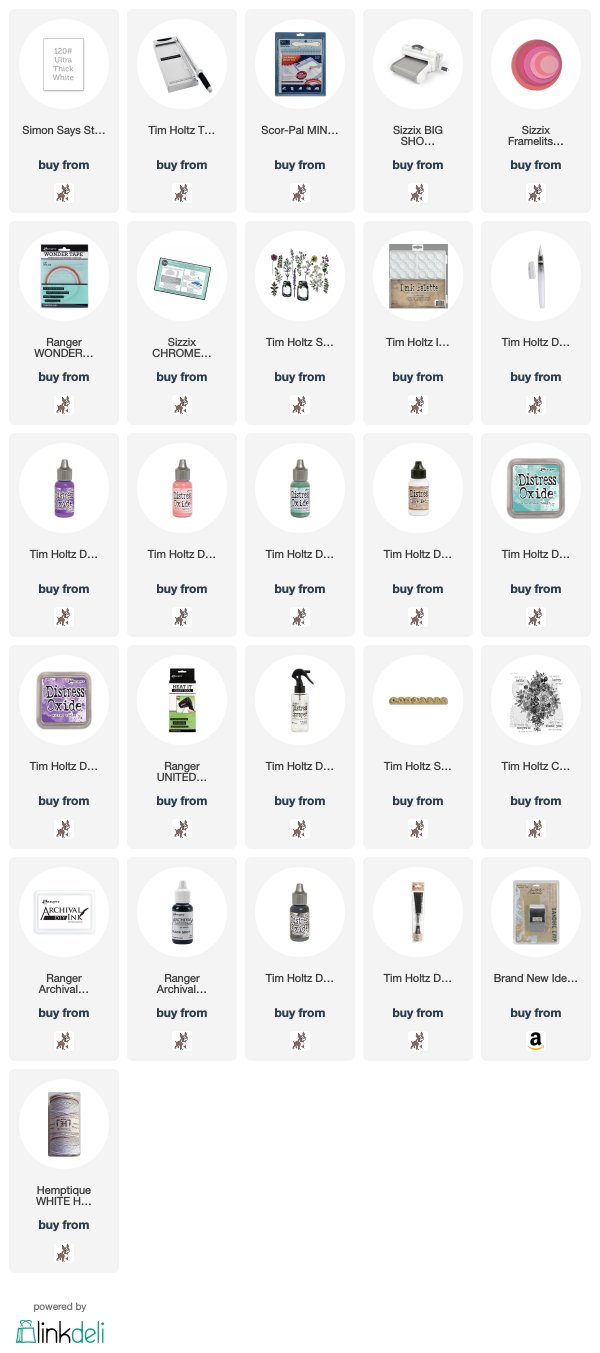
You can find all the products I used over at the fabulous Simon Says Stamp online store...just click on the links below...

Why don't you pop over to the Monday Challenge Blog and check out the amazing creations from my very talented Design Team mates and as always you all have the chance to win a $50 gift voucher to spend at Simon Says StampYou have until Monday 8am Ohio time...1pm UK time...2 pm CET to join in...

You can also follow Simon Says Stamp on Instagram
and if you use Instagram...
please add #sssmchallenge to your entry uploads so we can see them on there too
I look forward to seeing what you create this week...
Have Fun and Happy Crafting
Hugs Kath xxx

Friday, August 17, 2018

Inside Tunnel Card...

Hi folks, not a very catchy blog post title today but I couldn't think of a better one to describe today's card. I'm sharing an Inside Tunnel card inspired by Jennifer McGuire, decorated with Tim Holtz/Sizzix Flower Jar Framelits in a clean and simple style.


It's years since I have made this type of card but it was so easy and you can find Jennifer's excellent step-by-step video on how to create the tunnel insert HERE.
I used Sizzix Framelits Circle Dies to create the apertures for the insert, Ranger Wonder Tape to make sure it all stayed together and was rather surprised that this person who is not known for following instructions, nailed it on the first attempt.
I coloured a panel for the back of the insert and a die-cut circle for the front of the card with Evergreen Bough and Wilted Violet Distress Oxide inks using the familiar smooshing, drying, spritzing and picking up the left over droplets technique. I should have added the back panel before I assembled the tunnel insert but I trimmed a sliver off the side, added Distress Collage Medium Matte and managed to slide it into place.
I die-cut a selection of Flower Jar Framelits from white cardstock, fixed to the back panel and circle on the front of the card, coloured the rest with Worn Lipstick, Wilted Violet and Evergreen Bough Distress Oxide re-inkers using a Distress Detailer Brush to get a variation of colours and fixed to the circle apertures.


I added splatters of Black Soot re-inker using the Distress Splatter Brush and stamped the sentiments from Tim Holtz/Stampers Anonymous Glorious Bouquet on to white card with Black Soot Archival,trimmed, edged with the archival ink and fixed in place with Distress Collage Medium Matte.

I coloured a strip of white card to match the circle, die cut using the Tim Holtz/Sizzix Mini Scallop 3D Impresslits and sanded back the detail.
I added it to the side of the card with a twine bow and one of the die cuts flowers.
The card folds flat for postage which is always a bonus and I have a sneaky feeling I may be making Halloween and Christmas versions for the special little people in my life. Have a great weekend whatever your plans are and I'll see you all on Monday with my project for Simon Says Stamp Monday Challenge, in the meantime, here's a little sneaky peek...
Toodle-oo for now
Hugs Kath xxx