Saturday, October 22, 2022

Tim Holtz/Stampers Anonymous - Festive Collage

Hi my friends, I'm sharing the cards I made for the YouTube Live launch of Tim Holtz/Stampers Anonymous Christmas release using the gorgeous Festive Collage stamp set, coloured with Tim Holtz Distress Watercolor pencils. When you can't decide which image to use, you go with the easy option and use all four. If you missed the Live, you can catch up with all the new stamps and stencils and check out the amazing projects from the Makers on Tim's YouTube Channel HERE or Tim's Blog HERE.
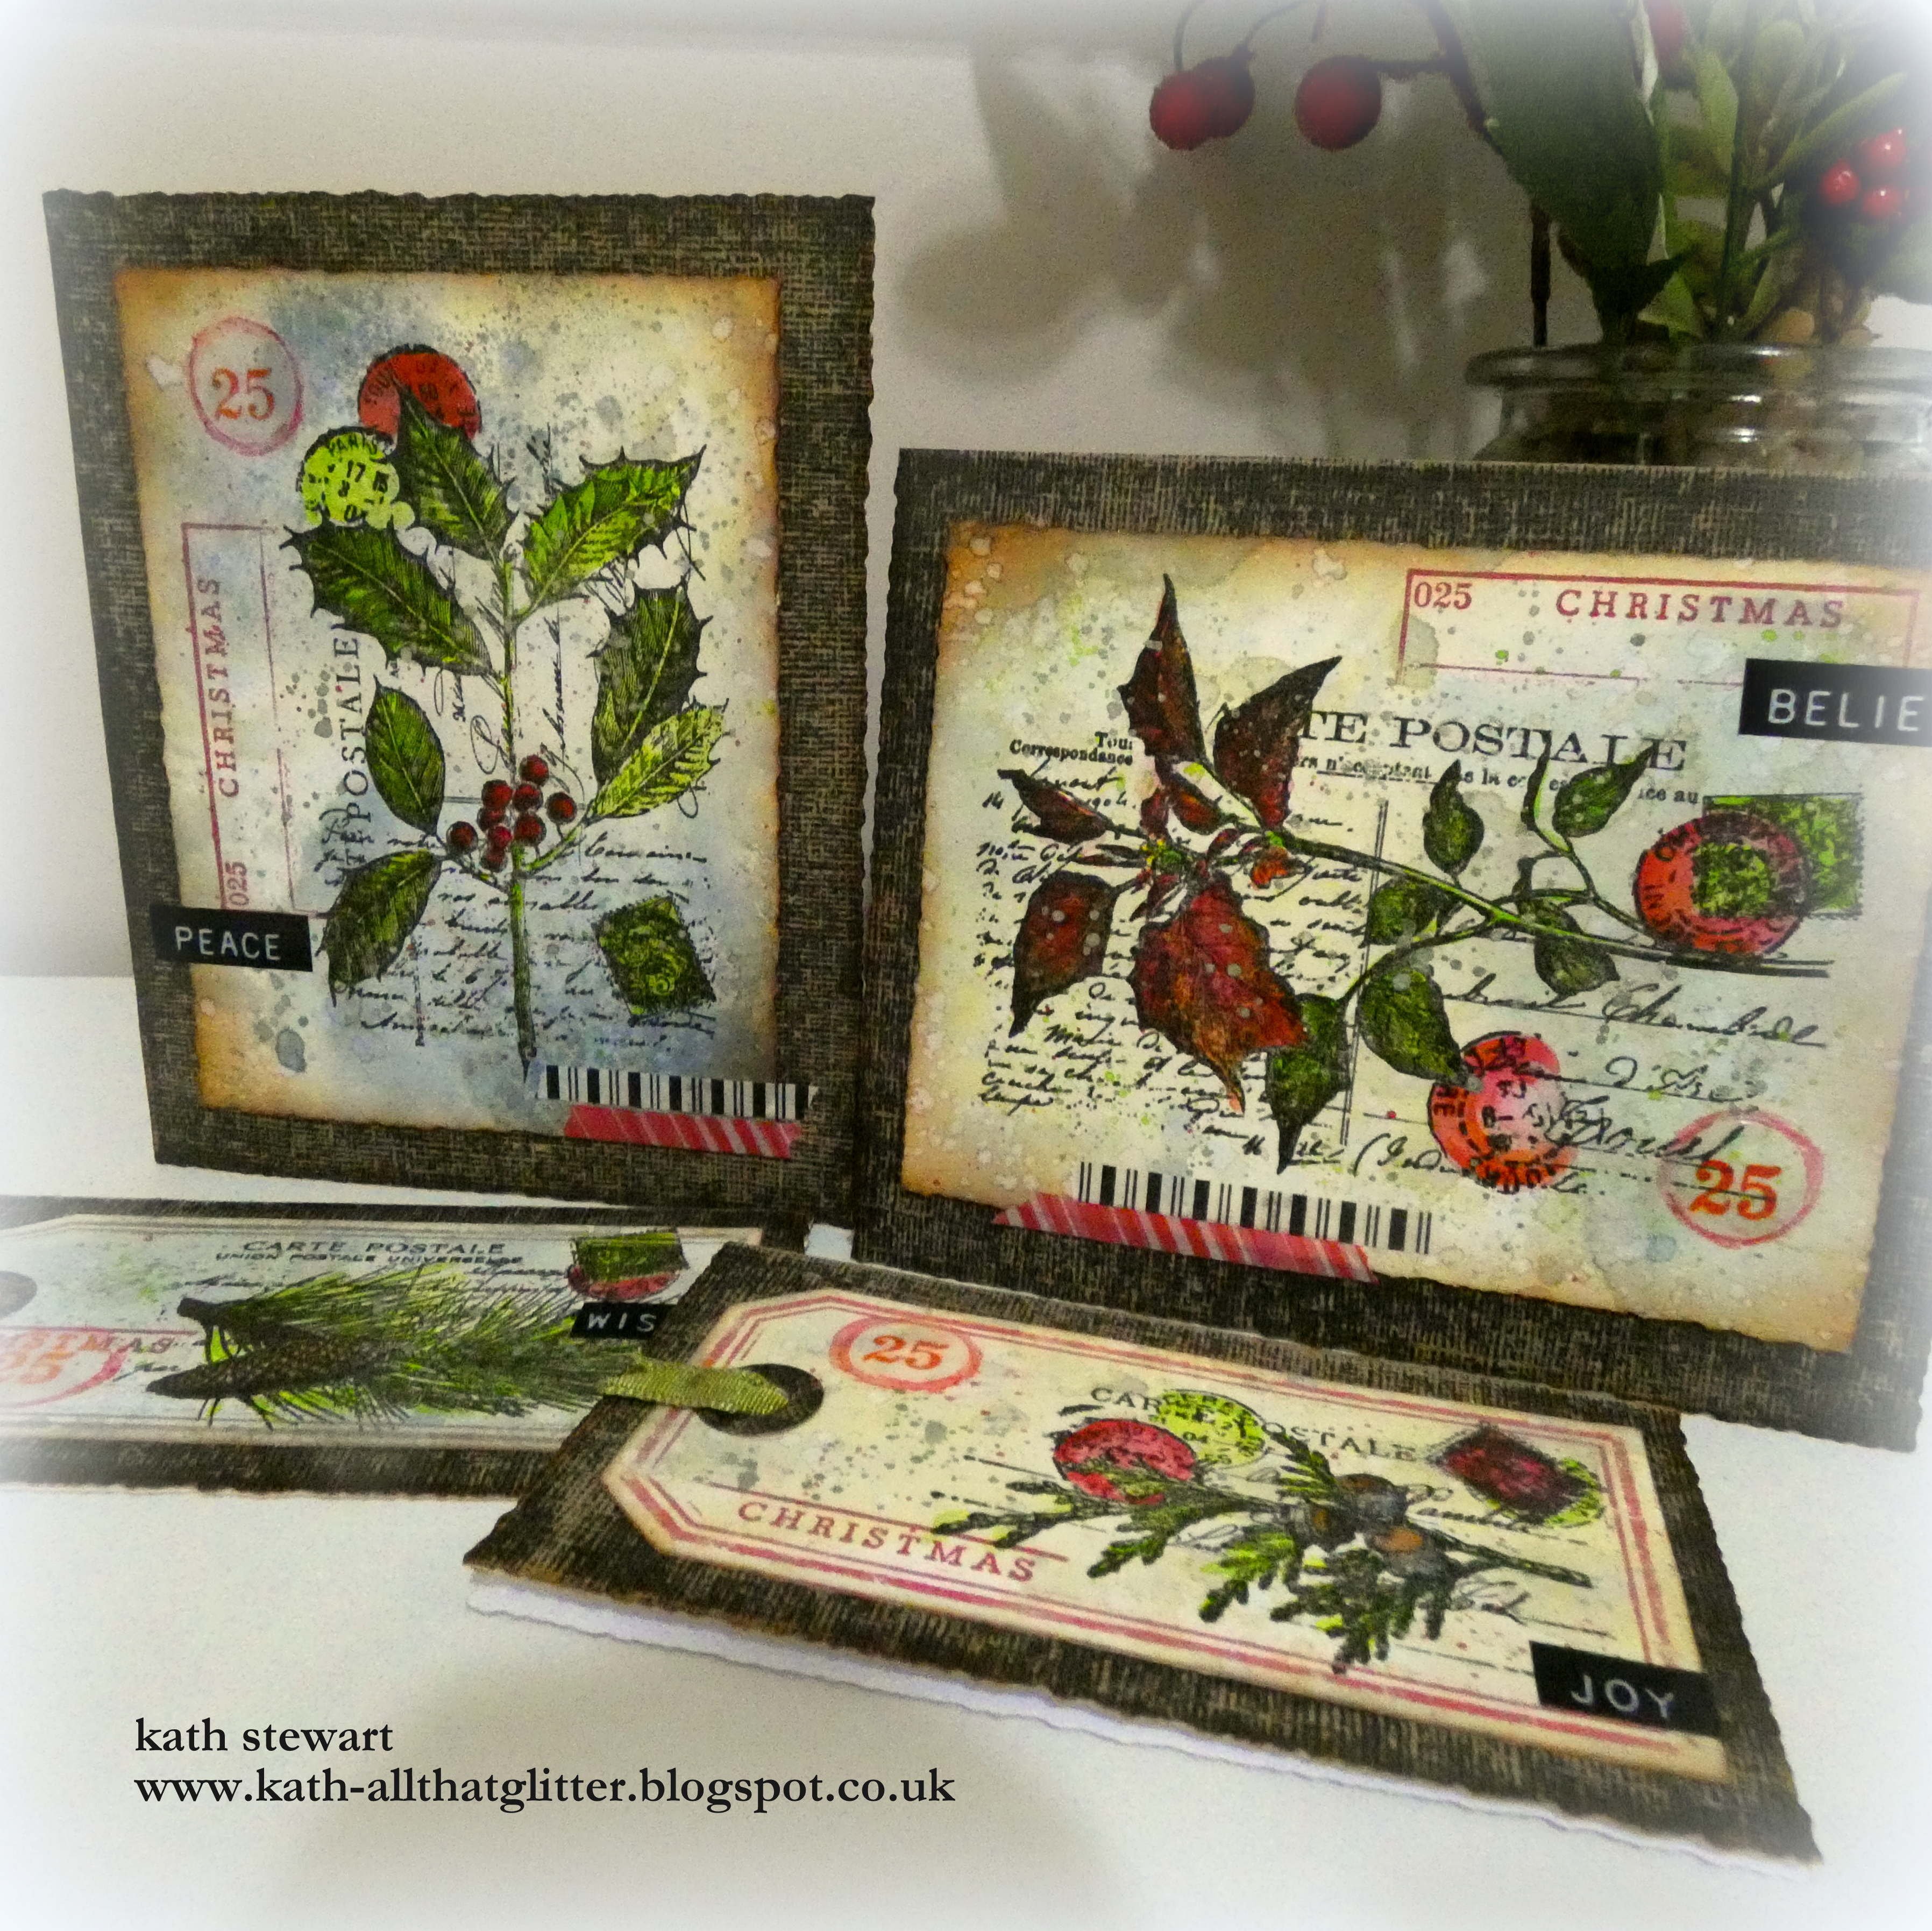
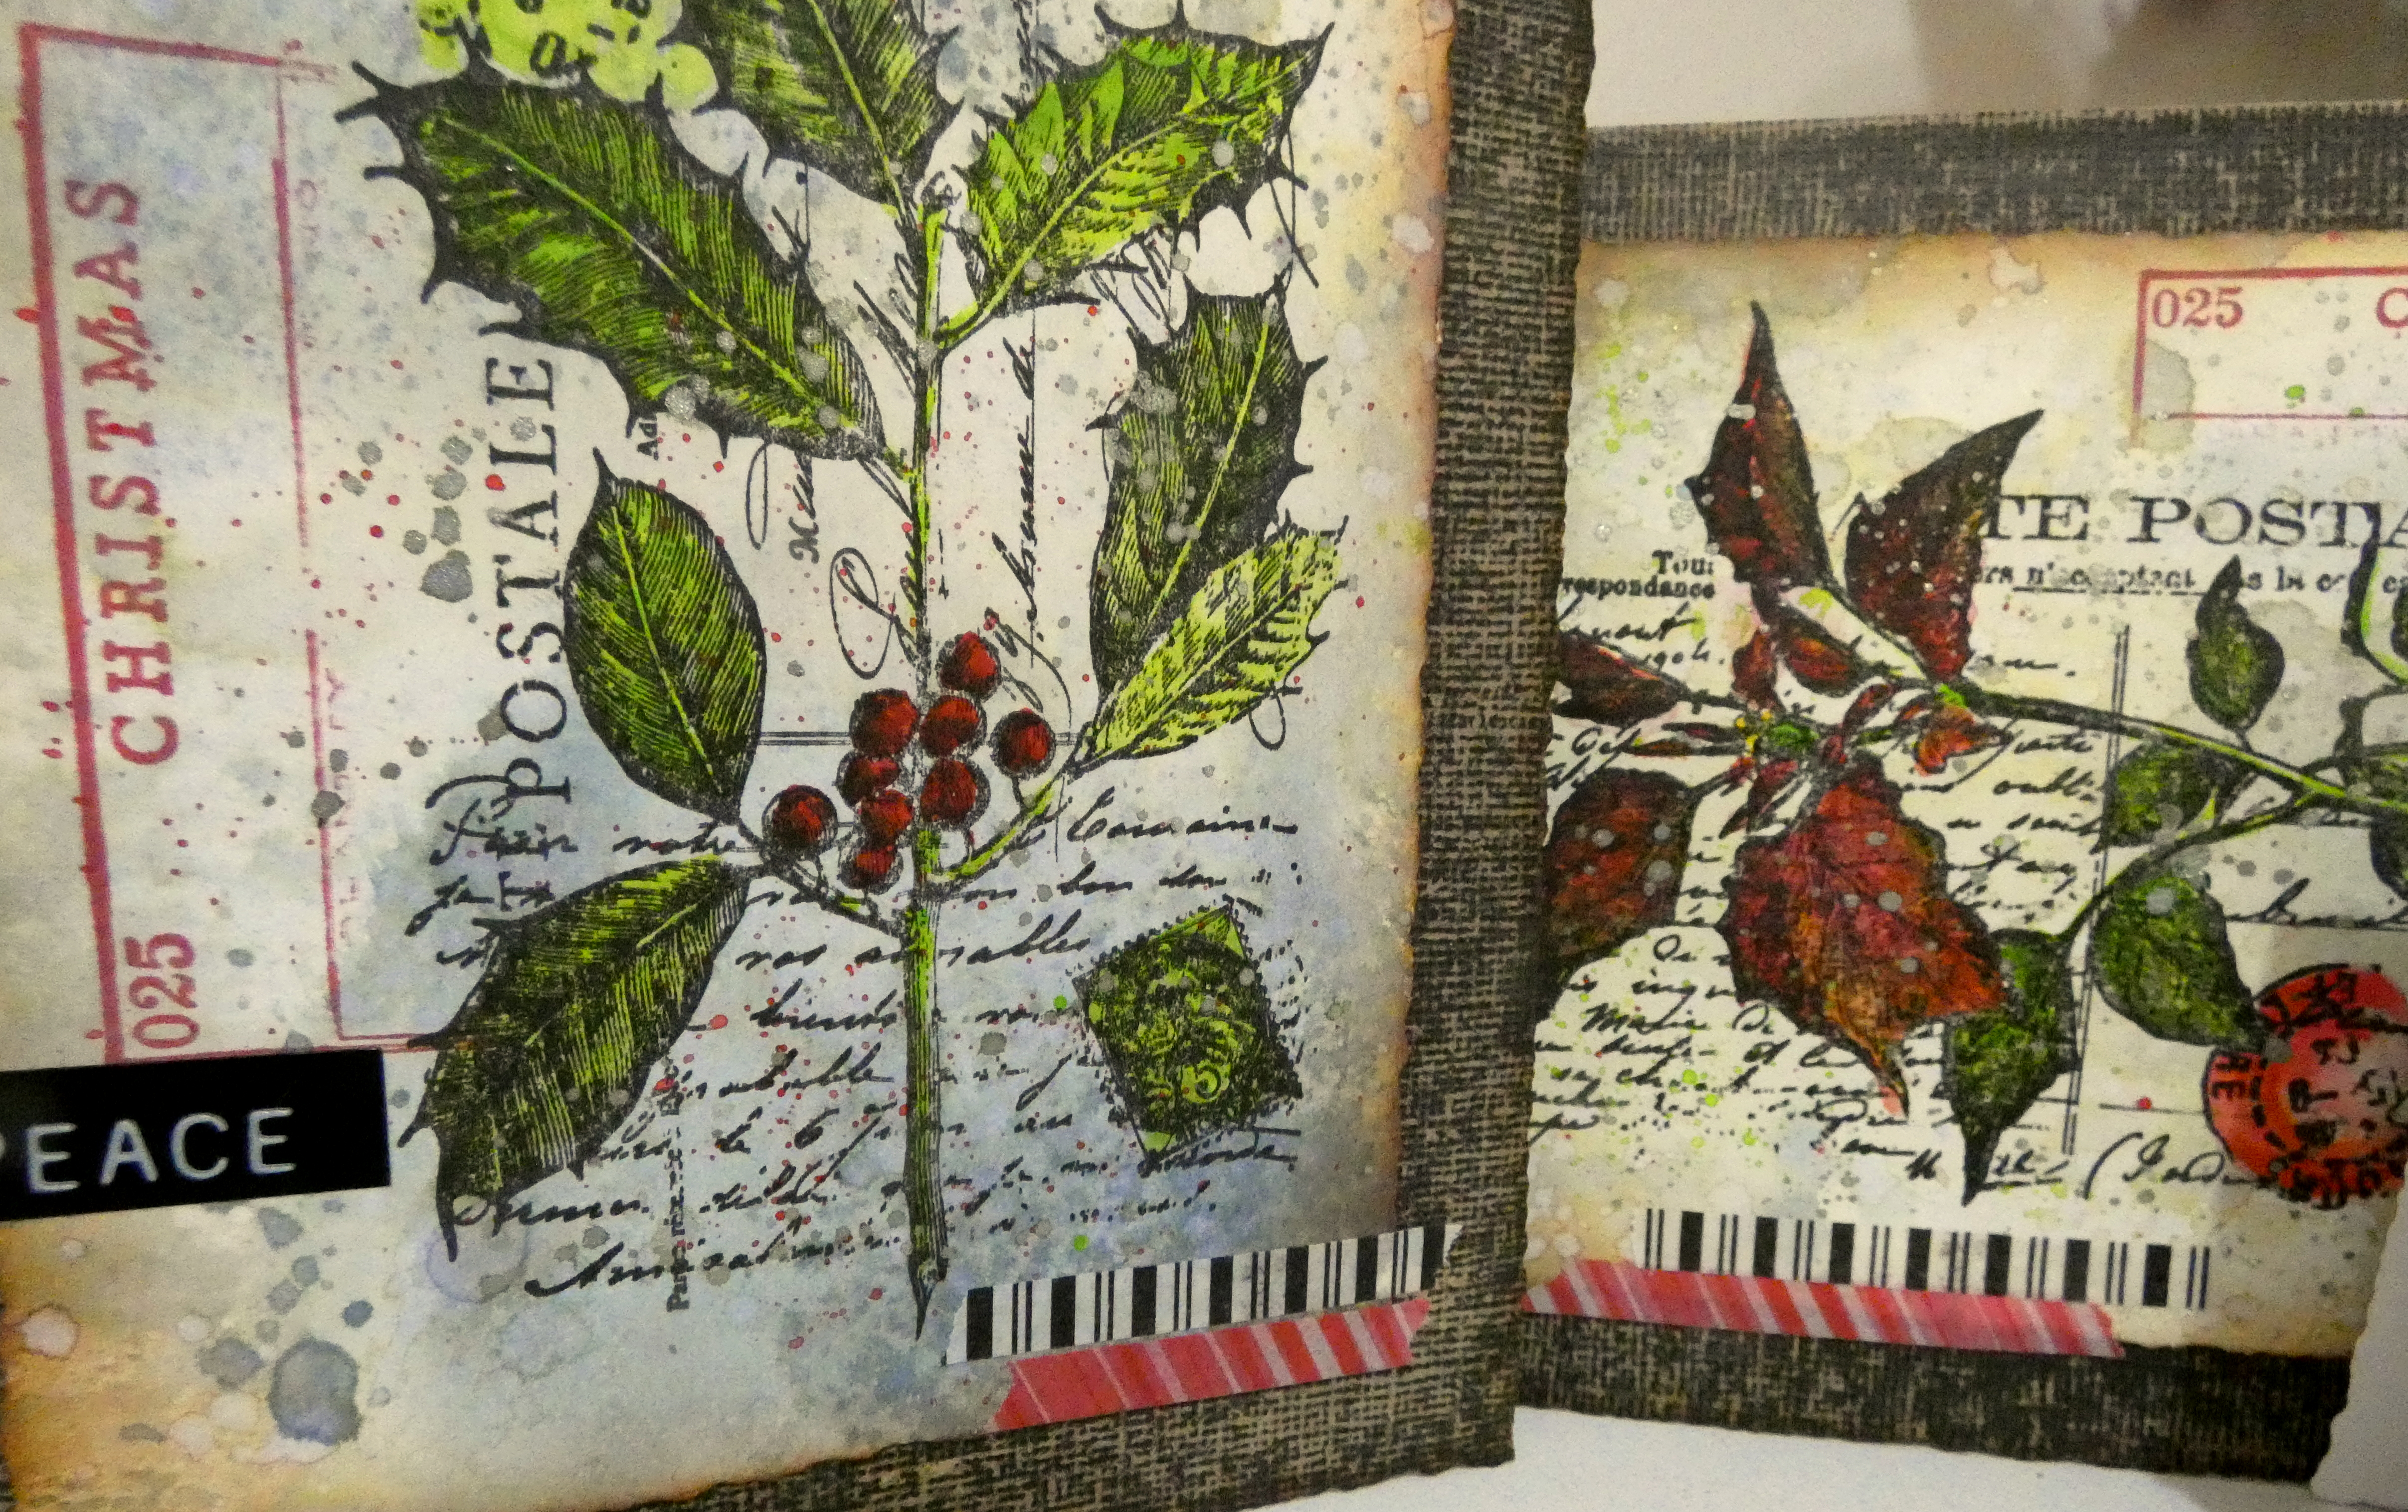
coloured A2 panels of Distress Watercolor card by smooshing Antique Linen and Iced Spruce Distress Oxide ink pads on to my Tim Holtz Glass Media Mat and spritzing with water. This is a combo I go back to again and again, a Christmas background favourite. I stamped the 2 larger images from Festive Collage on to the panels, inked with Black Soot Distress Archival inks and left the stamps in place on the lid of my stamp platform for later.
I coloured the images with Candied Apple and Twisted Citron Distress Watercolor Pencils using a wet brush to pick up the colour from the pencils. I dried the first layer of colour and repeated to add shading in certain sections of the images. I replaced the panels in my stamp platform and re-stamped to re-define the detail.
used the same process as before to colour 2 scraps of Distress Watercolor card. I applied Barn Door and Vintage Photo Distress Archival inks to the raised edges of the middle sized Tim Holtz/Sizzix Framed Tag using Tim Holtz Distress Small Brayer. I ran the die through my die-cutting machine, stamped the other 2 images from Festive Collage and coloured as before with Candied Apple, Twisted Citron, Antique Linen and Vintage Photo Distress Watercolor Pencils.
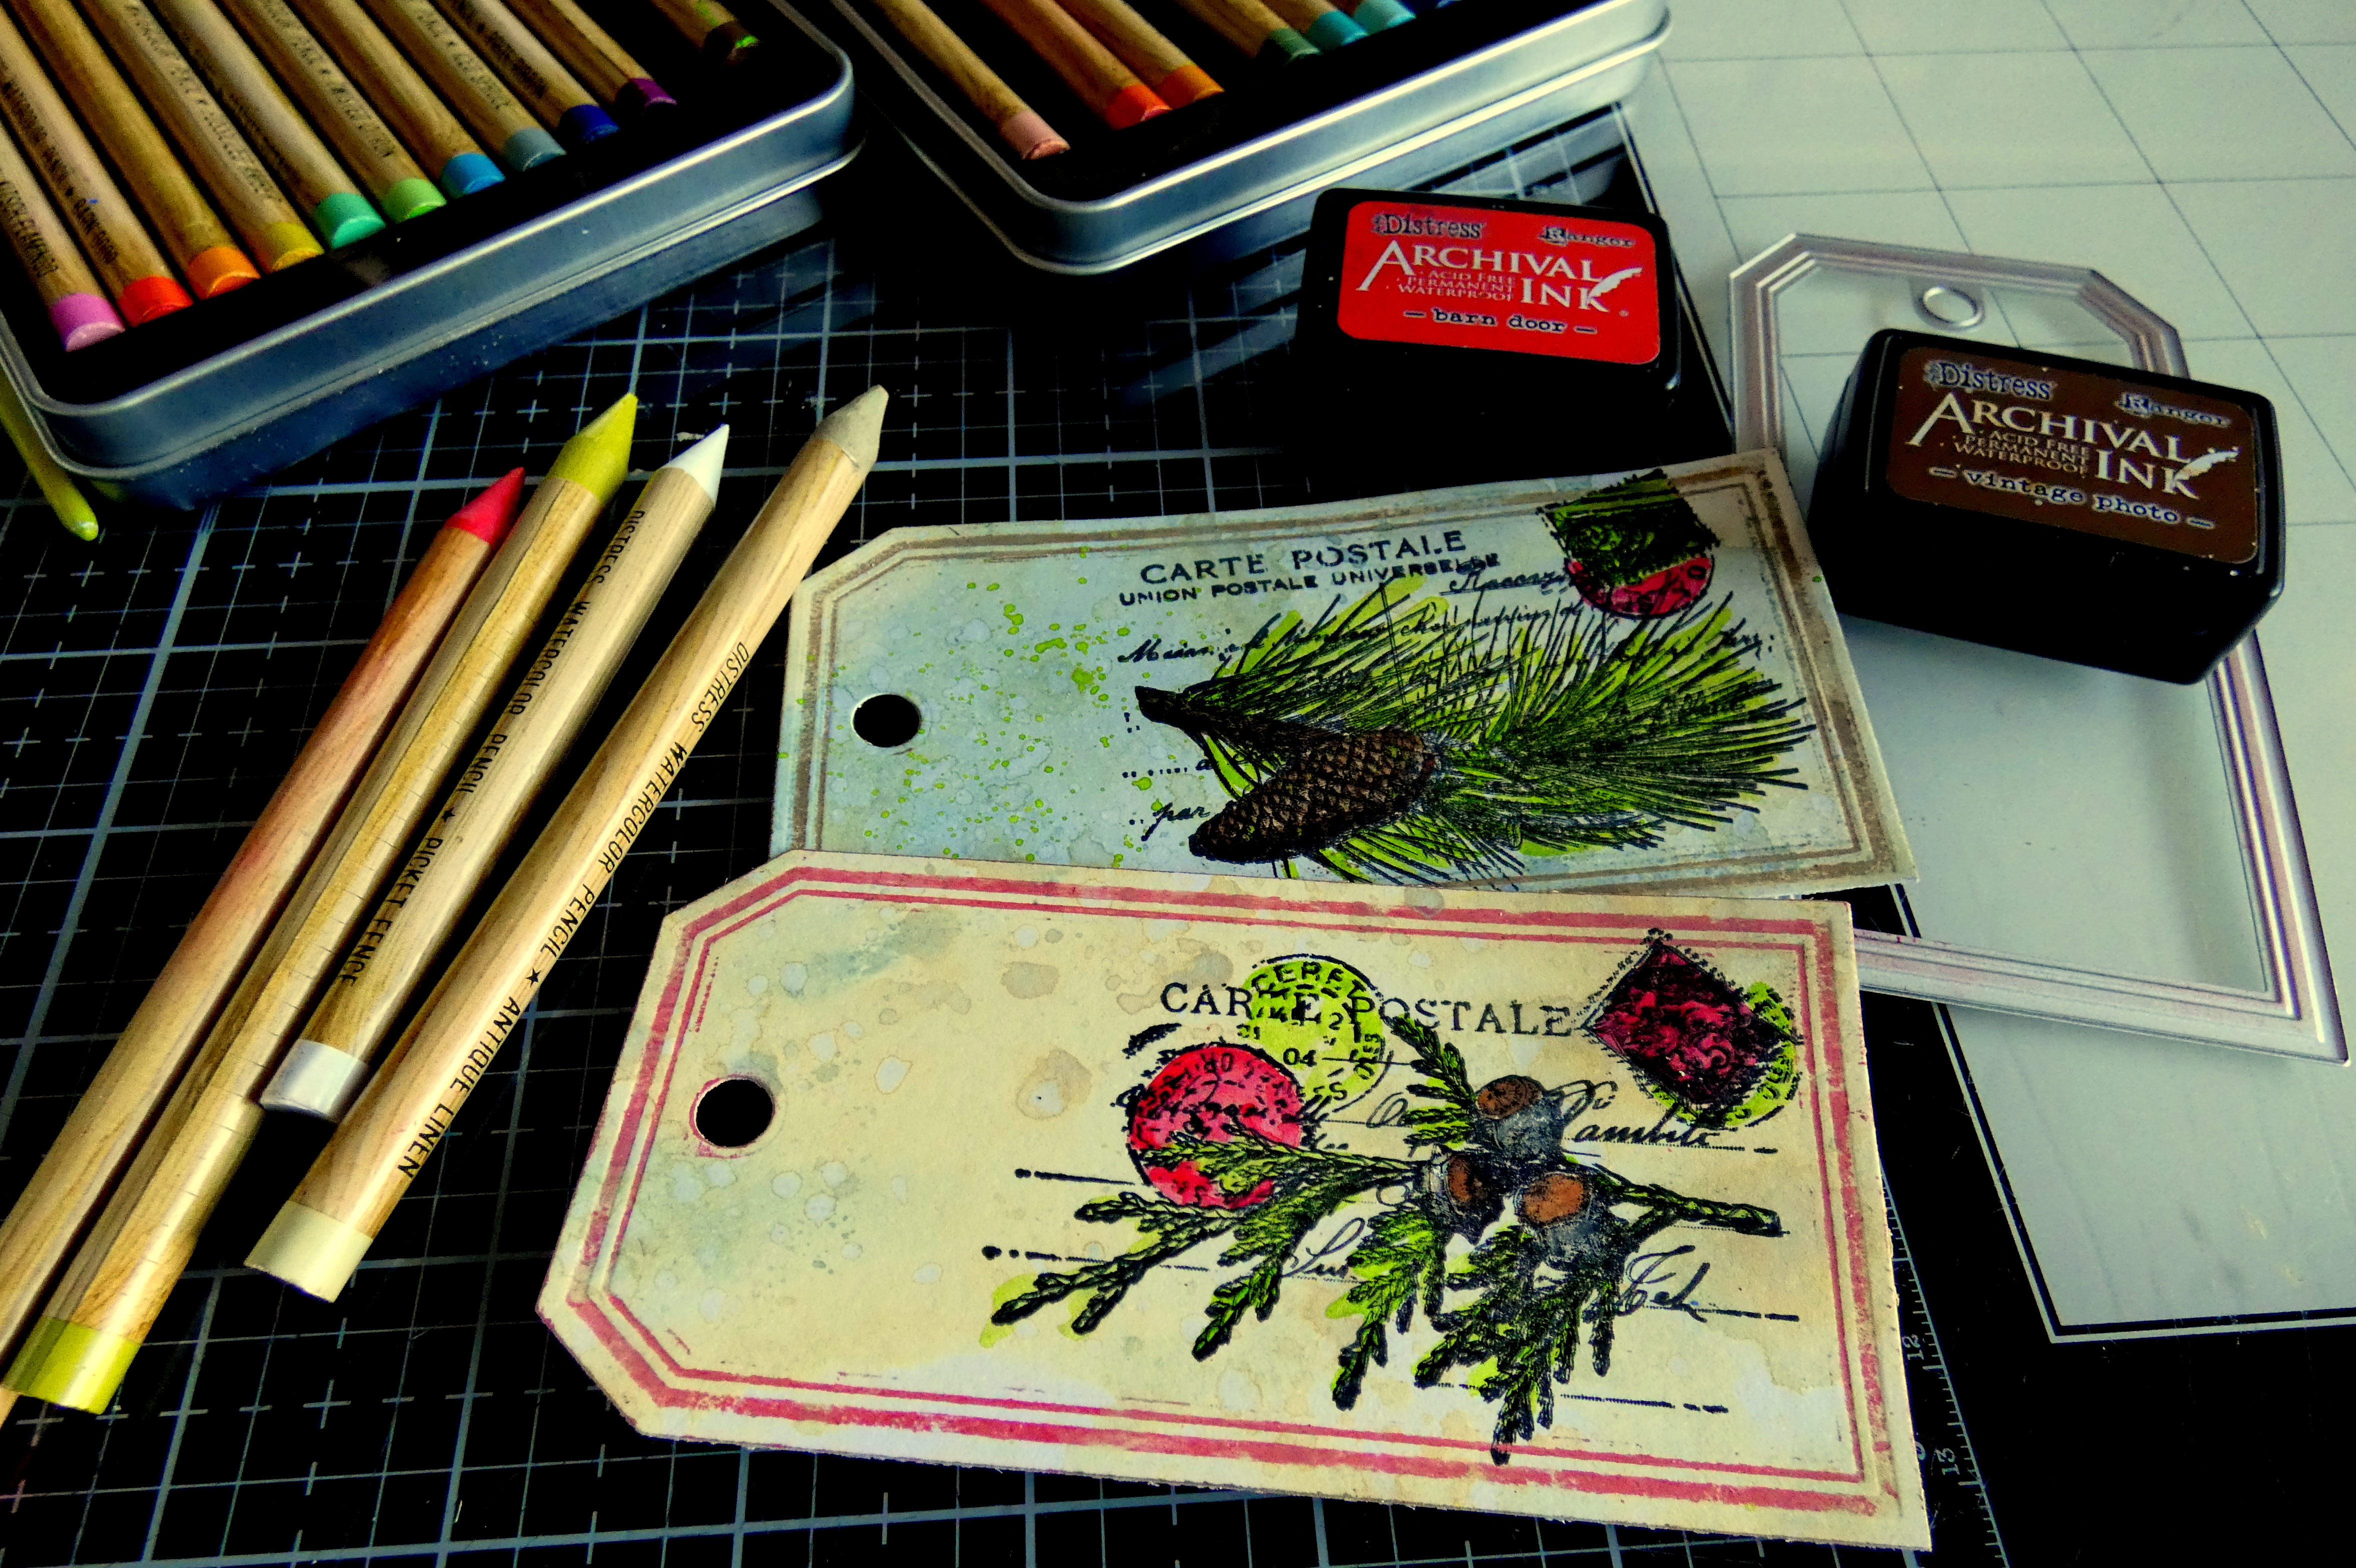
I scribbled Candied Apple and Twisted Citron Distress Watercolor Pencils on to my Glass Media Mat, spritzed with water and used the small paintbrush to add teeny splatters. I stamped the label and "25" from Tim Holtz/Stampers Anonymous Department Store on all 4 panels, inked with Barn Door Distress Archival ink.
covered white card blanks with Idea-ology BlackOut KraftStock, sanded back to reveal the kraft core and trimmed 3 of the edges using Tim Holtz/Tonic Studios Deckle Edge Trimmer.
I used the Deckle Edge Trimmer on the 2 larger panels and added hole re-inforcers to the two tags die-cut from the sanded back Idea-ology BlackOut KraftStock using Tim Holtz/Sizzix Framed Tag Thinlits. Then I had one of those "what if" moments and using the negative space on the hole re-inforcer panel, applied Distress Translucent Texture Paste over the stamped "25" on each panel and set aside to dry.
I spritzed Fresh Balsam Distress Mica Stain on to my Glass Media Mat, added a little water and used a small brush to add splatters.
At this stage, I realised I had made a major boo boo with the colouring on one of the panels, a poinsettia is not green for heaven's sake, so it was back to the drawing board to create another panel, this time using Candied Apple, Crackling Campfire and Mustard Seed Distress Watercolor Pencils on the bracts of the poinsettia.


Happy Crafting
Hugs Kath xxx
Friday, October 21, 2022

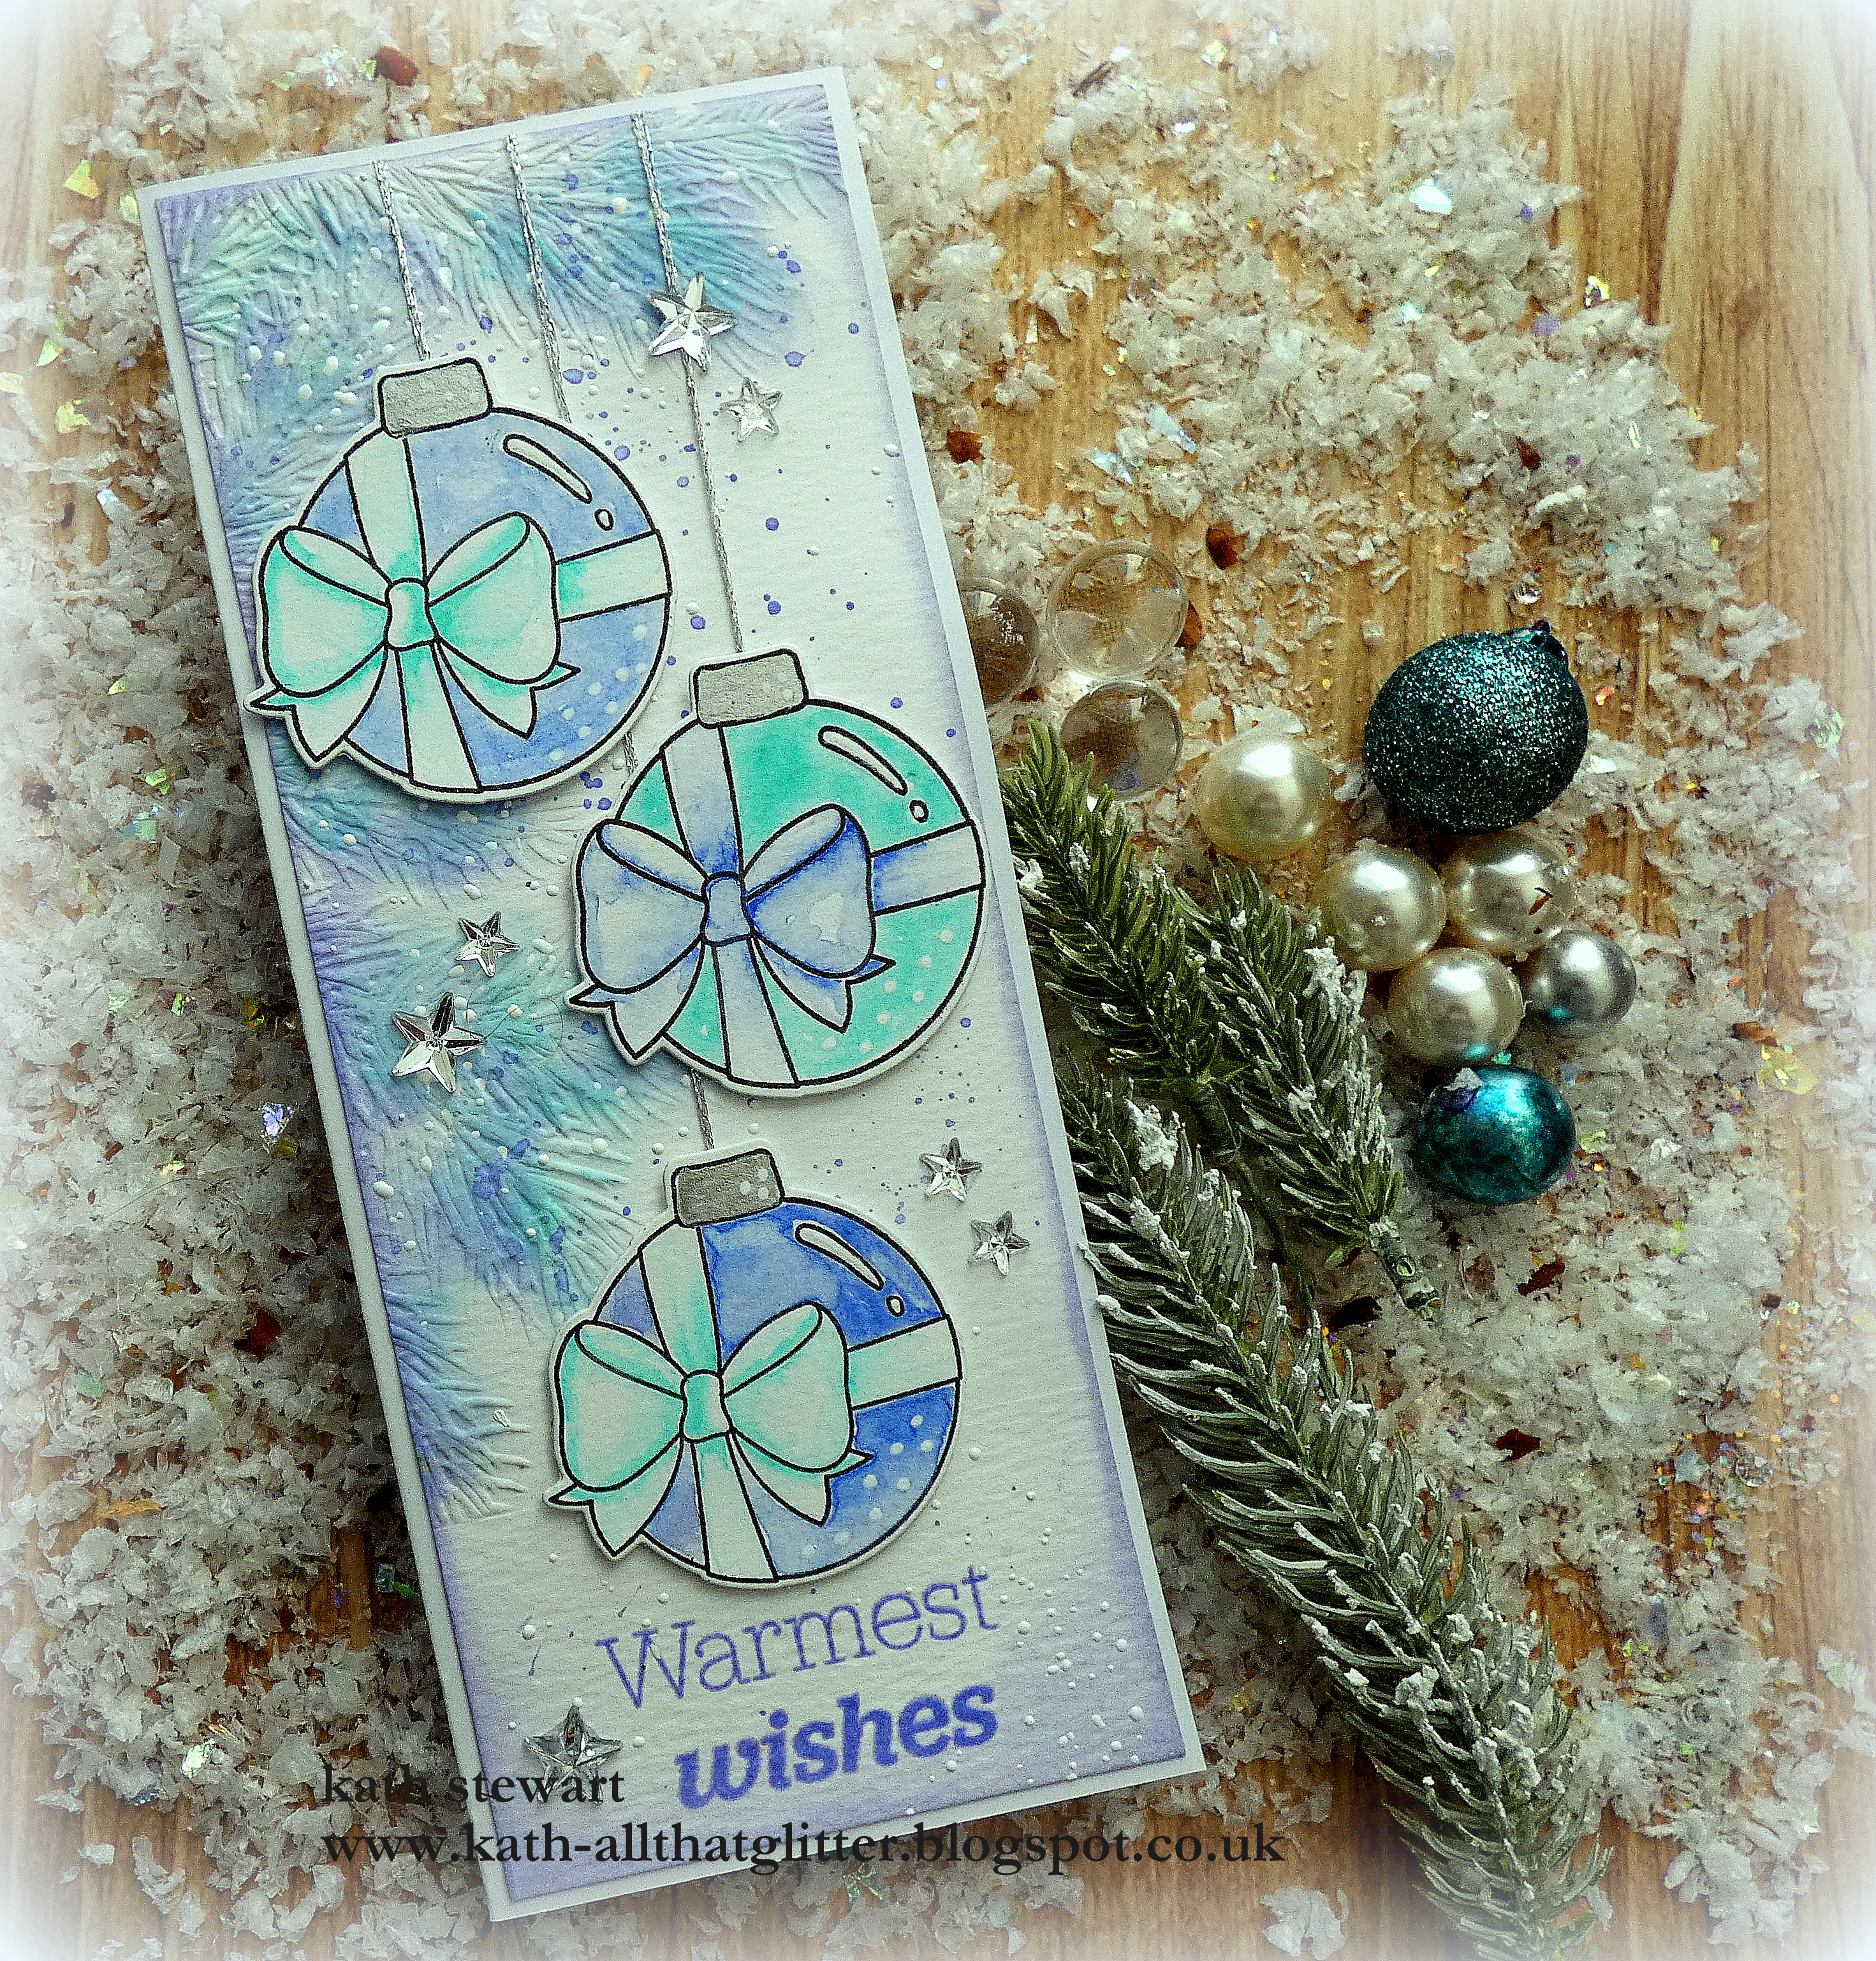
Simon Says - Holiday Ornaments Bauble

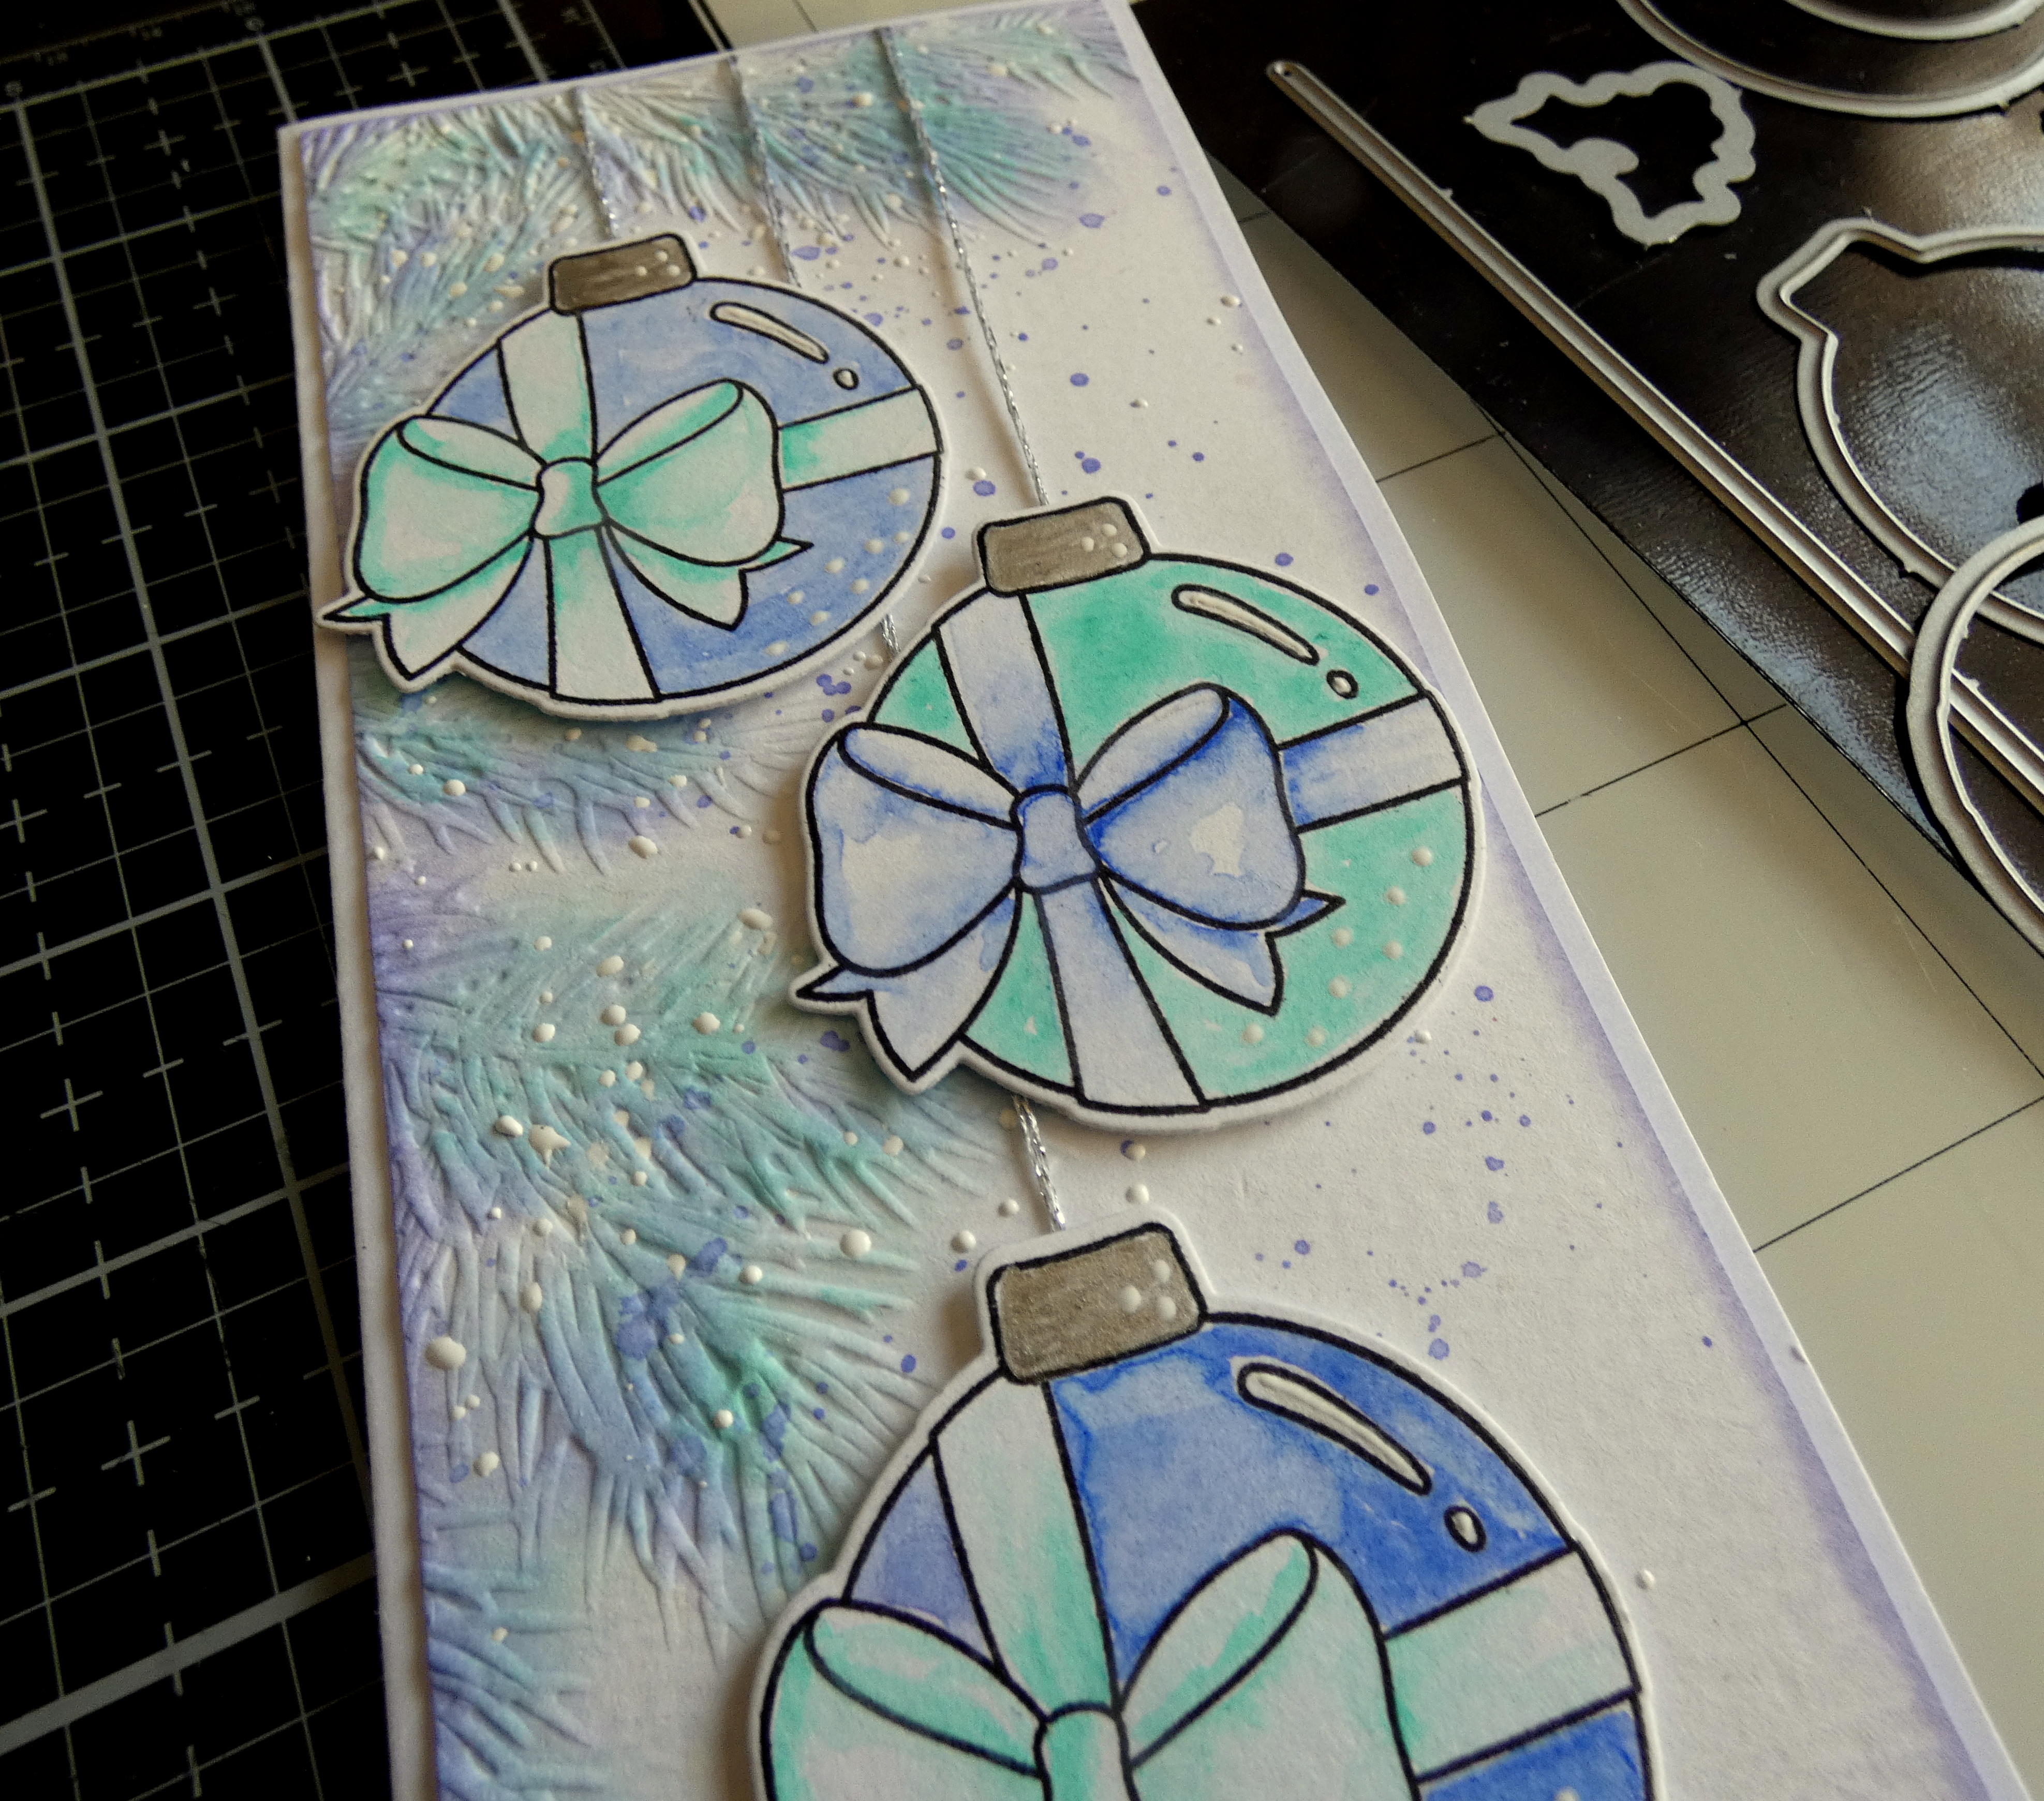
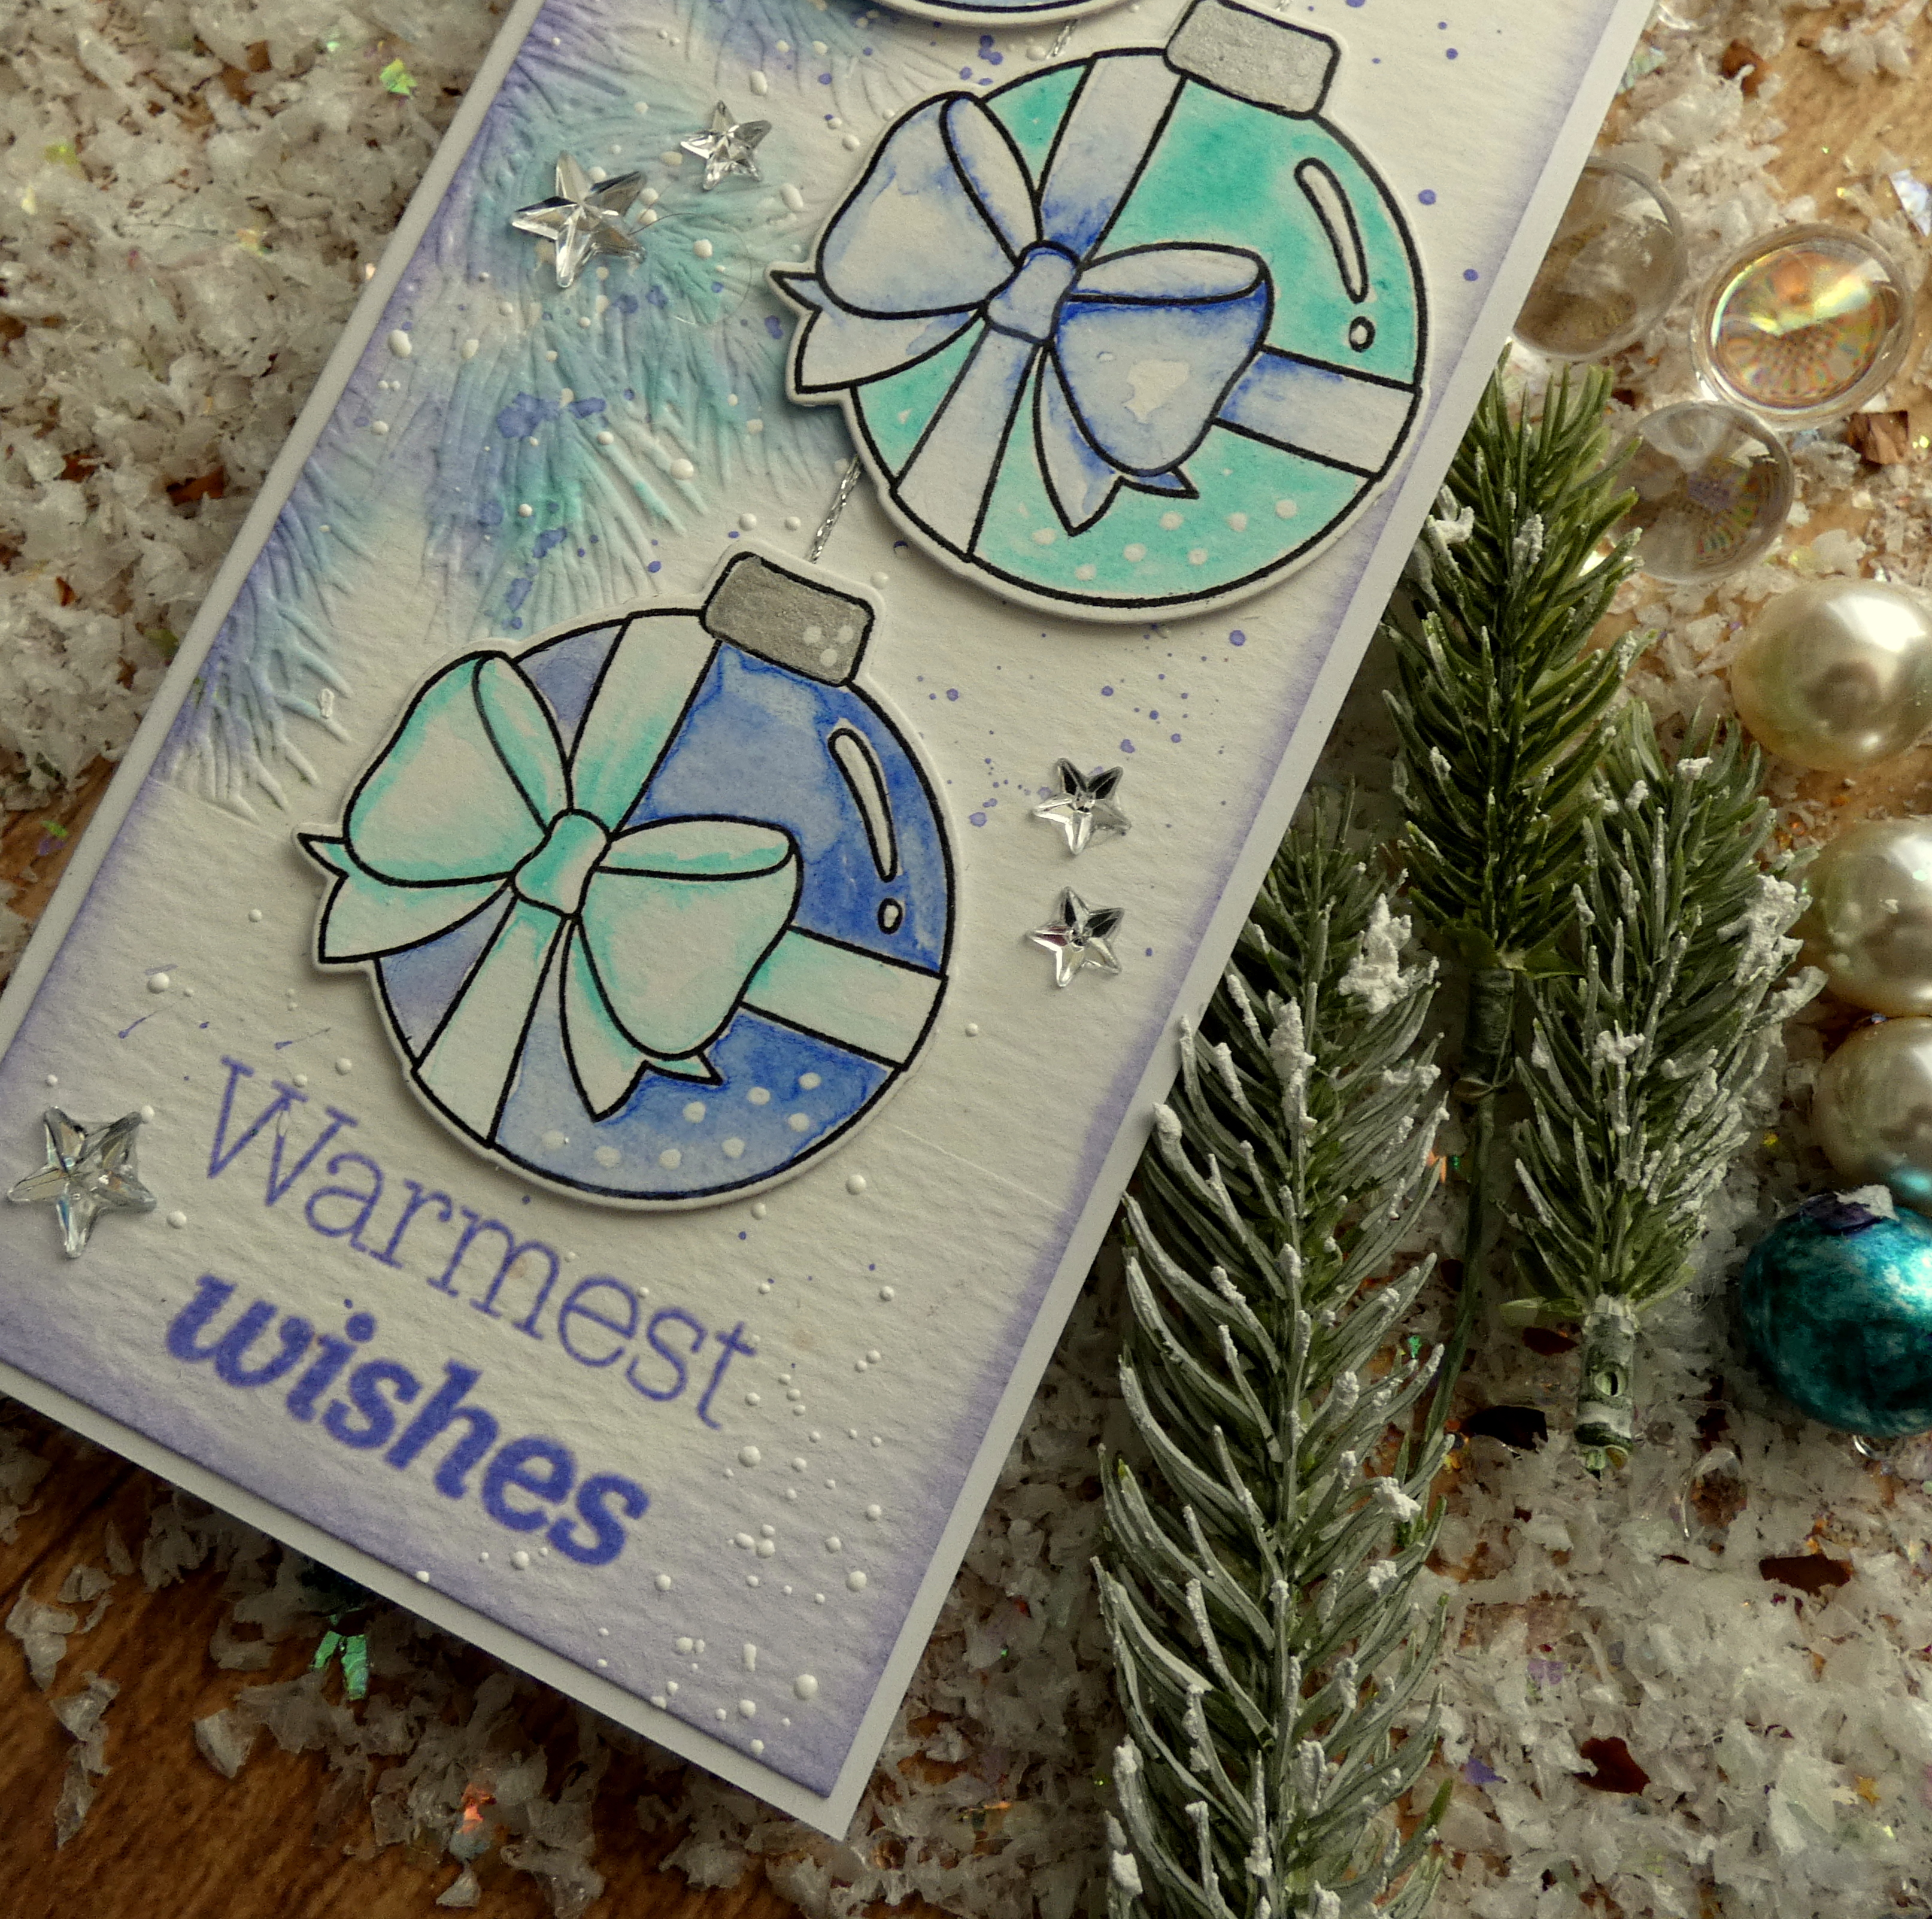
Woohoo it's Friday and I'm sharing the last of the series of cards made using the bauble ornament from the Holiday Ornaments stamp set and co-ordinating dies from Simon Says Stamp STAMPtember release and Tim Holtz/Sizzix Pine Branches 3D Texture Fade.


I trimmed Distress Watercolor card to 3" x 8", spritzed with water, placed in the Tim Holtz/Sizzix Pine Branches 3D Texture Fade and ran through my die-cutting machine. I coloured lightly over the embossed area with Shaded Lilac and Salvaged Patina Distress Oxide inks using Simon Says Round Detail Blending Brushes.
I stamped the bauble ornament from the Holiday Ornaments stamp set on to Distress Watercolor card, inked with Simon Says Intense Black ink and coloured with the same colours as I used on the 3D Texture Fade from my Distress Watercolor Pencils palette and Brushed Pewter Distress Paint for the ornament top.
I stamped the sentiment, inked with Shaded Lilac Distress Oxide ink, added splatters of the same colour and splatter of Distress Resist Spray. I sprinkled Simon Says White Embossing Powder over the Distress Resist Spray and heat set. I die-cut the bauble ornaments using the co-ordinating Holiday Ornaments dies.
I added Silver Sparkle thread as hangers, fixed the ornaments in place with Simon Says Foam Squares and used a mini round blending tool to add Shaded Lilac Distress Oxide ink lightly around the edges.
I added white dots to the baubles using a Sakura White Gelly Roll Pen and added Idea-ology Mirrored Stars fixed in place with Distress Collage Medium.

To finish, I matted the panel on to a White Slimline card.
Enjoy your weekend whatever you have planned. I'll be heading over to Tim and Mario's place for the Live Launch of Stampers Anonymous stamps and stencil on Tim's YouTube Channel 9am PT, 12pm ET and 5pm in the UK. Book your front row seat, stock up on your snacks and I'll see you there.
Hugs Kath xxx

Thursday, October 20, 2022

Simon Says - Holiday Ornaments Santa

Hi my friends, OK buckle up for another cutie, the third card in the series using Simon Says Holiday Ornaments stamp set and dies from the STAMPtember release, this time featuring Santa along with the Tim Holtz/Sizzix Pine Branches 3D Texture Fade, a match made in heaven.


I applied Rustic Wilderness and Peeled Paint Distress Oxide inks to the raised surface of Tim Holtz/Sizzix Pine Branches 3D Texture Fade using Simon Says Round Detail Blending Brushes and spritzed with water. I laid a 4" x 5.1/4" panel of Distress Watercolor card in to the folder and ran through my die-cutting machine.

I added splatters of Desist Resist Spray using the tube from the bottle, sprinkled with Simon Says White Embossing Powder and heat set. This is my go-to method of adding snow to Distress ink projects because it stays white.

I performed a little bit of surgery to separate different sentiments from the Holiday Ornaments set and stamped on the bottom corner of the panel, inked with Candied Apple Distress Oxide ink.

I added splatters of Distress Gilded Foundry Wax and heated until they turned shiny.

I stamped the images from Holiday Ornaments, inked with Simon Says Intense Black ink, on to scraps of Distress Watercolor card and coloured using my Distress Watercolor Pencils palette and a small brush.I die-cut the images using the co-ordinating Holiday Ornaments dies.

I added gold thread and fixed the die-cut images in place with Simon Says Foam Squares and Distress Collage Medium. It was at this stage I noticed that the Santa is not in fact an ornament so didn't need a hanger, oops, I won't tell if you don't.

I inked lightly around the edge of the panel with Rustic Wilderness Distress Oxide ink using a mini round blending tool and added white dots on the peppermint candies, holly berries, the fur on Santa's hat and his beard using a Sakura White Gelly Roll Pen and Sakura Black Glaze Pen on his eyes. Once dry, I applied Ranger Glossy Accents and matted the panel on to an A2 white card panel.
I'll be back tomorrow to complete the series using the bauble ornament from the set. Have fun with whatever you're making. I'm thinking that at the rate I'm going, my Christmas card box will be filled and ready to go in no time.
Hugs Kath xxx

Wednesday, October 19, 2022

Simon Says - Holiday Ornaments - Reindeer

Hi my friends, it's going to be a whole week of cute and I'm sharing another card using the adorable Reindeer from Simon Says Holiday Ornaments stamp set and matching dies from the STAMPtember release and the gorgeous Tim Holtz/Sizzix Pine Branches 3D Texture Fade which is perfect for adding subtle details to the background.


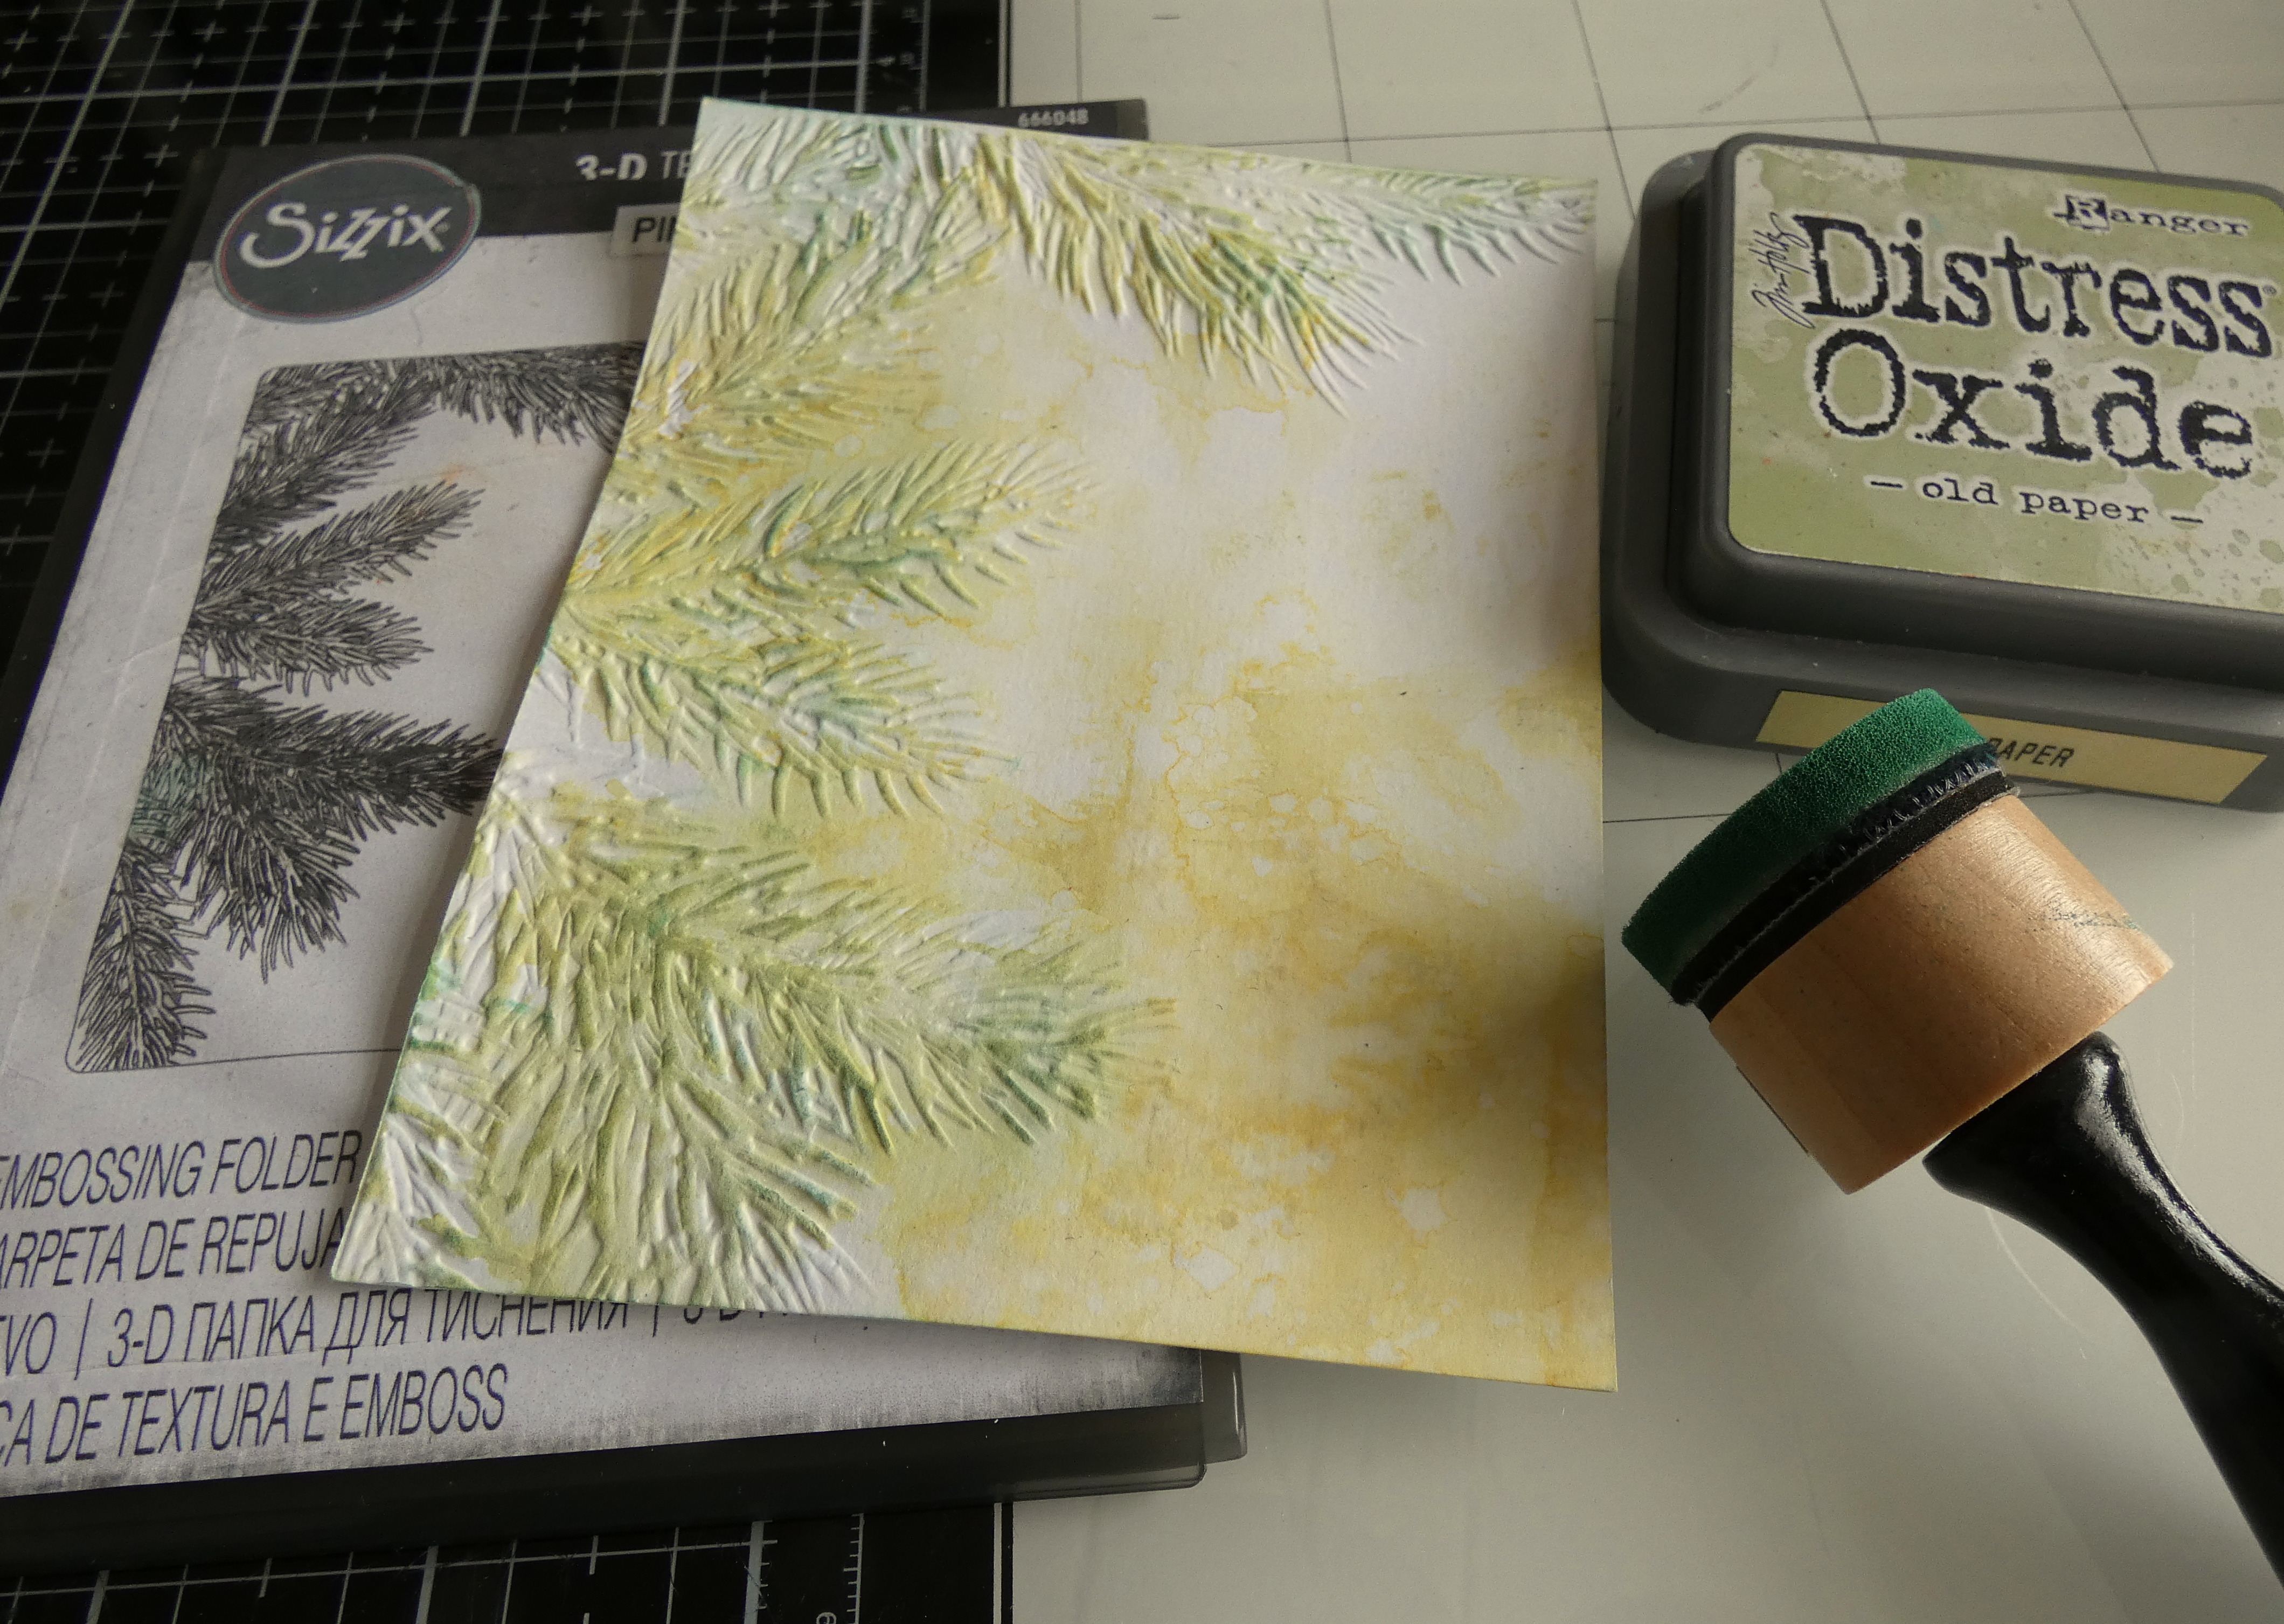
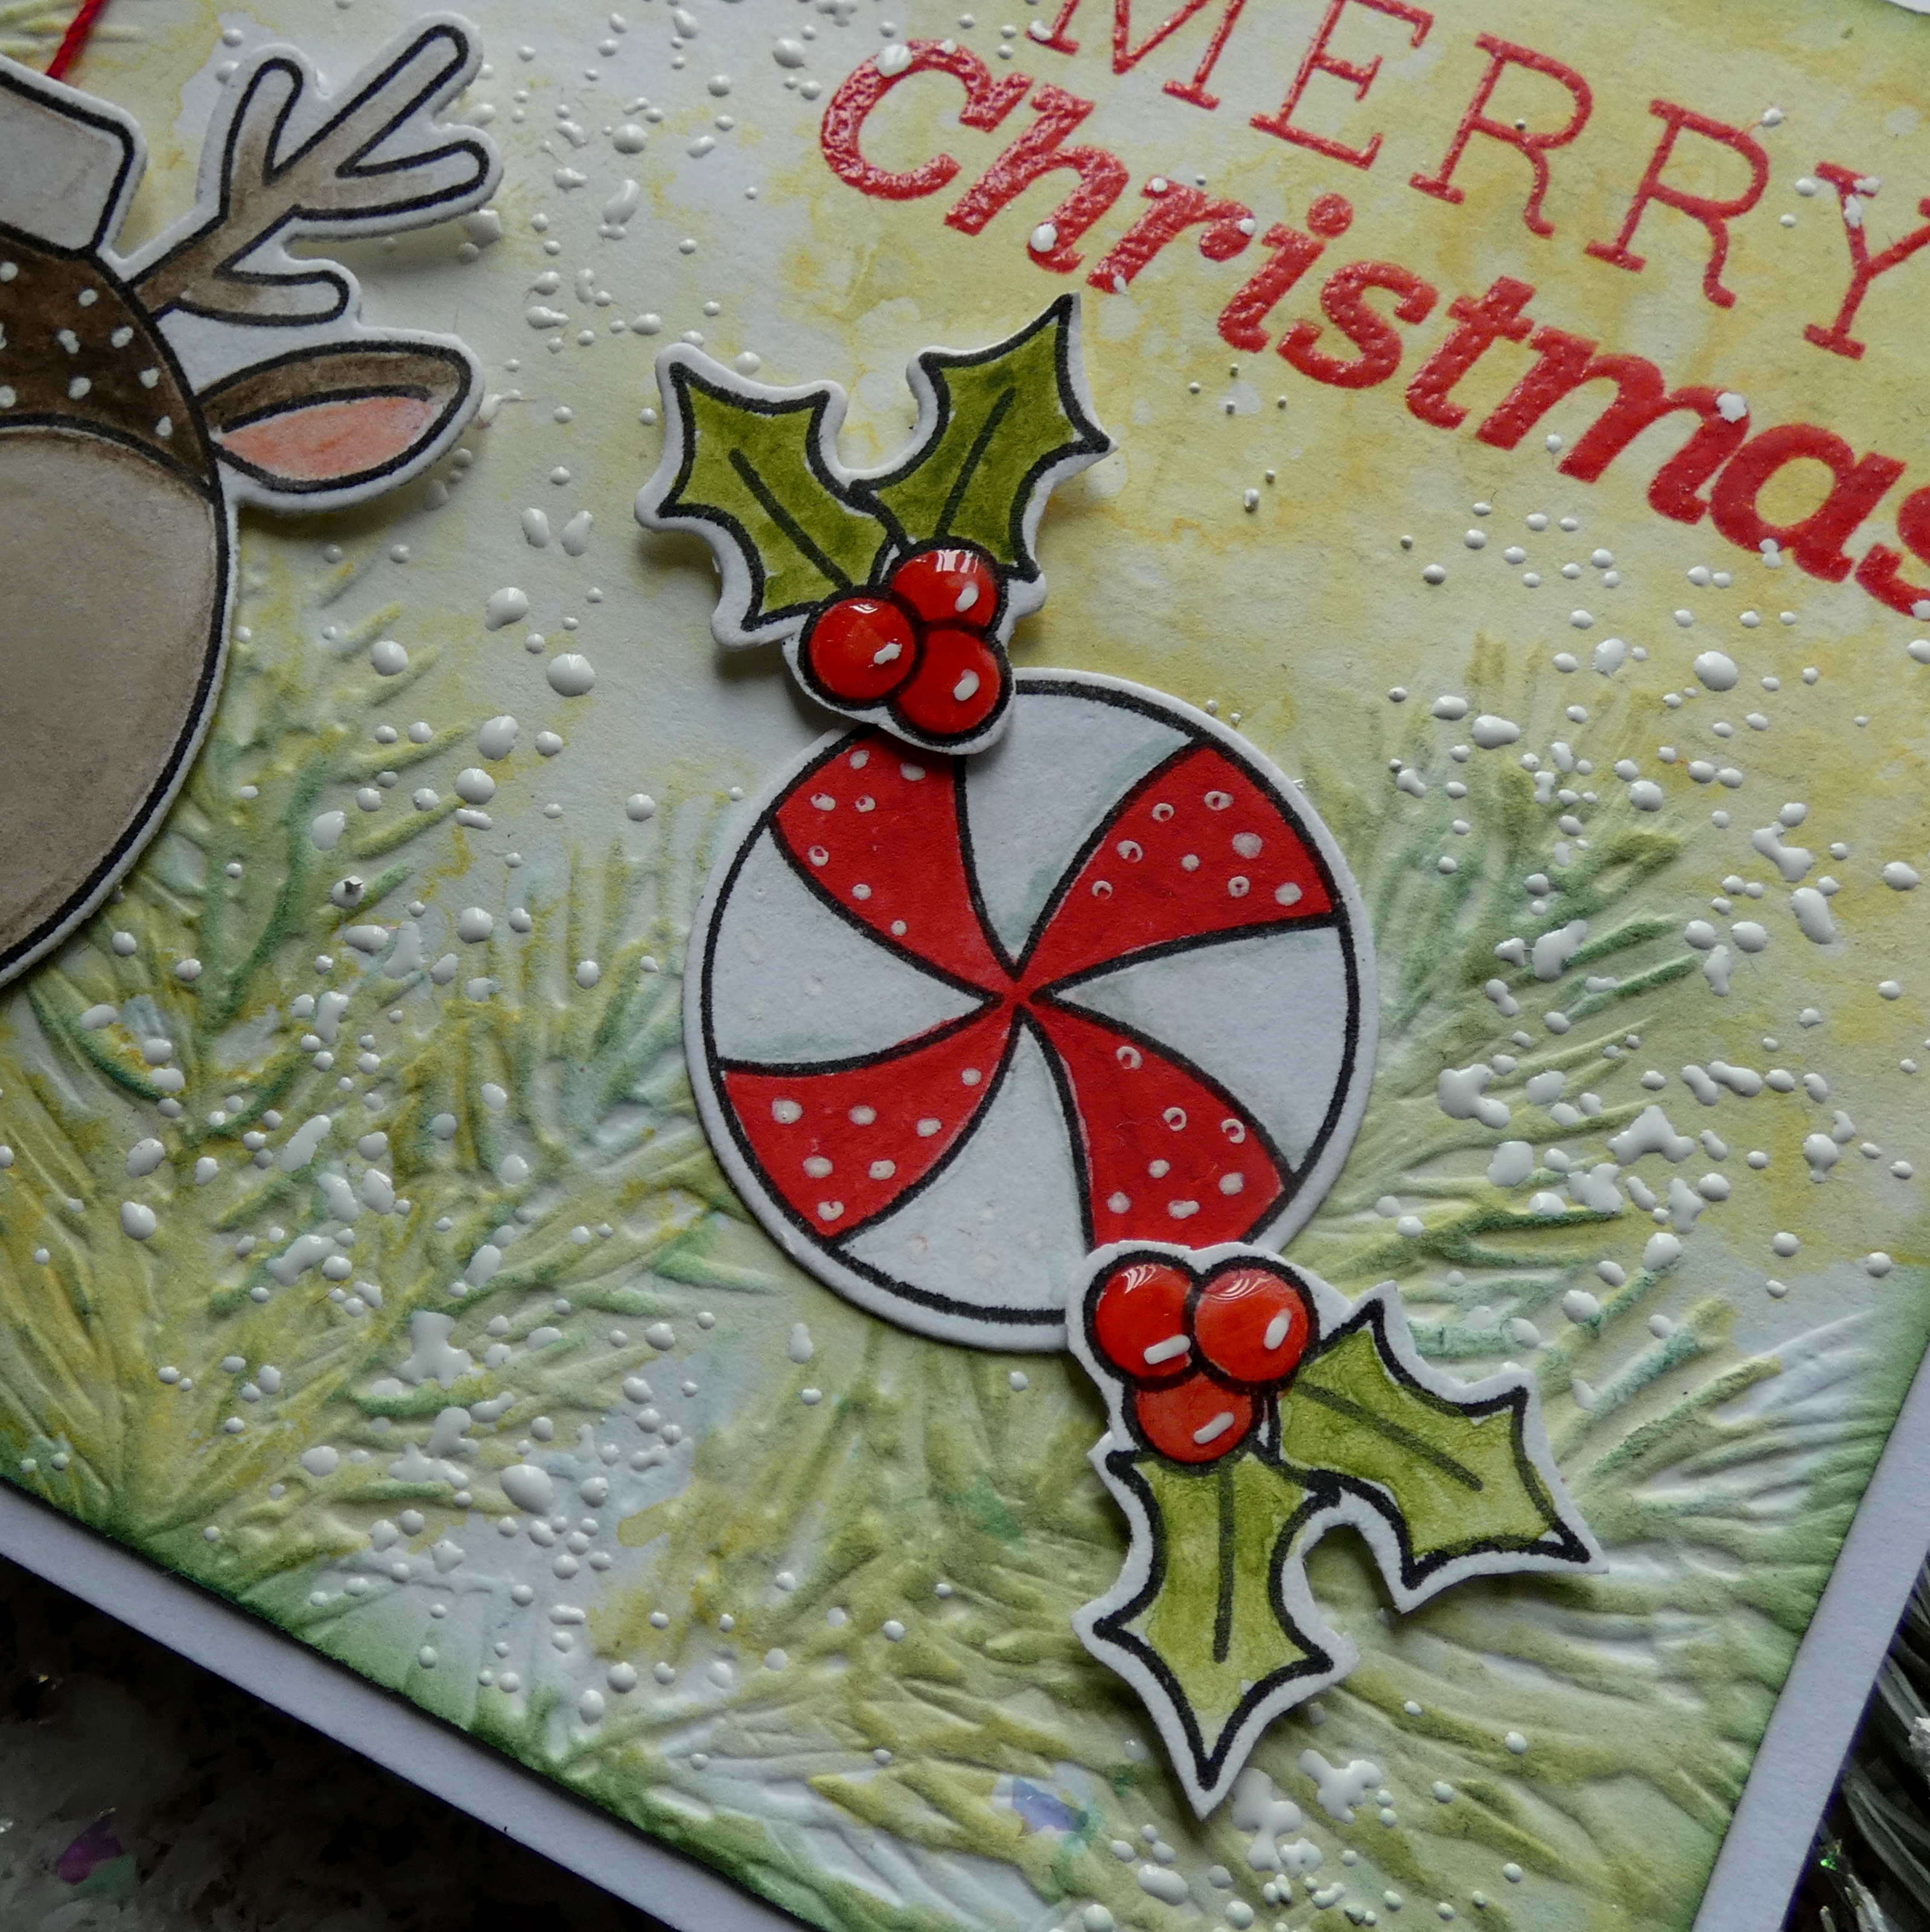
I trimmed Distress Watercolor card to 4" x 5.1/4", smooshed Old Paper Distress Oxide ink on to my Glass Media Mat, spritzed with water and dragged the panel through the ink, dried and tapped back in to pick up the remaining ink droplets. I spritzed the back of the panel with water, placed in the Tim Holtz/Sizzix Pine Branches 3D Texture Fade and ran through my die-cutting machine. I added Rustic Wilderness Distress Oxide ink over the detail on the branches using a mini round blending tool to accent and darken slightly.
I stamped the sentiment from  Holiday Ornaments, inked with Candied Apple Distress Oxide ink, on to the panel, sprinkled with Simon Says Clear Embossing Powder and heat set.
I stamped the images on to Distress Watercolor card with Simon Says Intense Black ink, coloured using my Distress Watercolor Pencils palette and die-cut using the matching Holiday Ornaments dies.
I added splatters of Distress Resist Spray to the background, sprinkled with Simon Says White Embossing Powder and heat set. I fixed red thread to the panel as a hanger for the ornament and fixed all the die-cuts in place using Simon Says Foam Squares.
I applied Sakura Black Glaze Pen to the reindeer eyes and added white dots to the reindeer, peppermint candies and holly berries using a Sakura White Gelly Roll Pen.
To finish I added Ranger Glossy Accents to the reindeer nose and holly berries, applied Rustic Wilderness Distress Oxide ink around the edges using a mini round blending tool and matted the panel on to an A2 white card blank.

I'll be back soon with the third in the series of the Holiday Ornaments card featuring the main man himself, yes the one with the red suit. Have fun with whatever you are making.
Hugs Kath xxx

Tuesday, October 18, 2022

Simon Says - Holiday Ornaments Snowman

Hi my friends, I'm jumping around from Halloween to Christmas, from spooky to cute and there's nothing cuter than the adorable Holiday Ornaments stamp set from Simon Says Stamp STAMPtember release, how could I resist popping them in my basket along with the matching dies. I'm sharing a "mixing lots of products" card using the cutest Snowman ornament ever, Tim Holtz/Sizzix Pine Branches 3D Texture Fade and snowflakes from Tim Holtz/Sizzix Twig and Stump Thinlits.
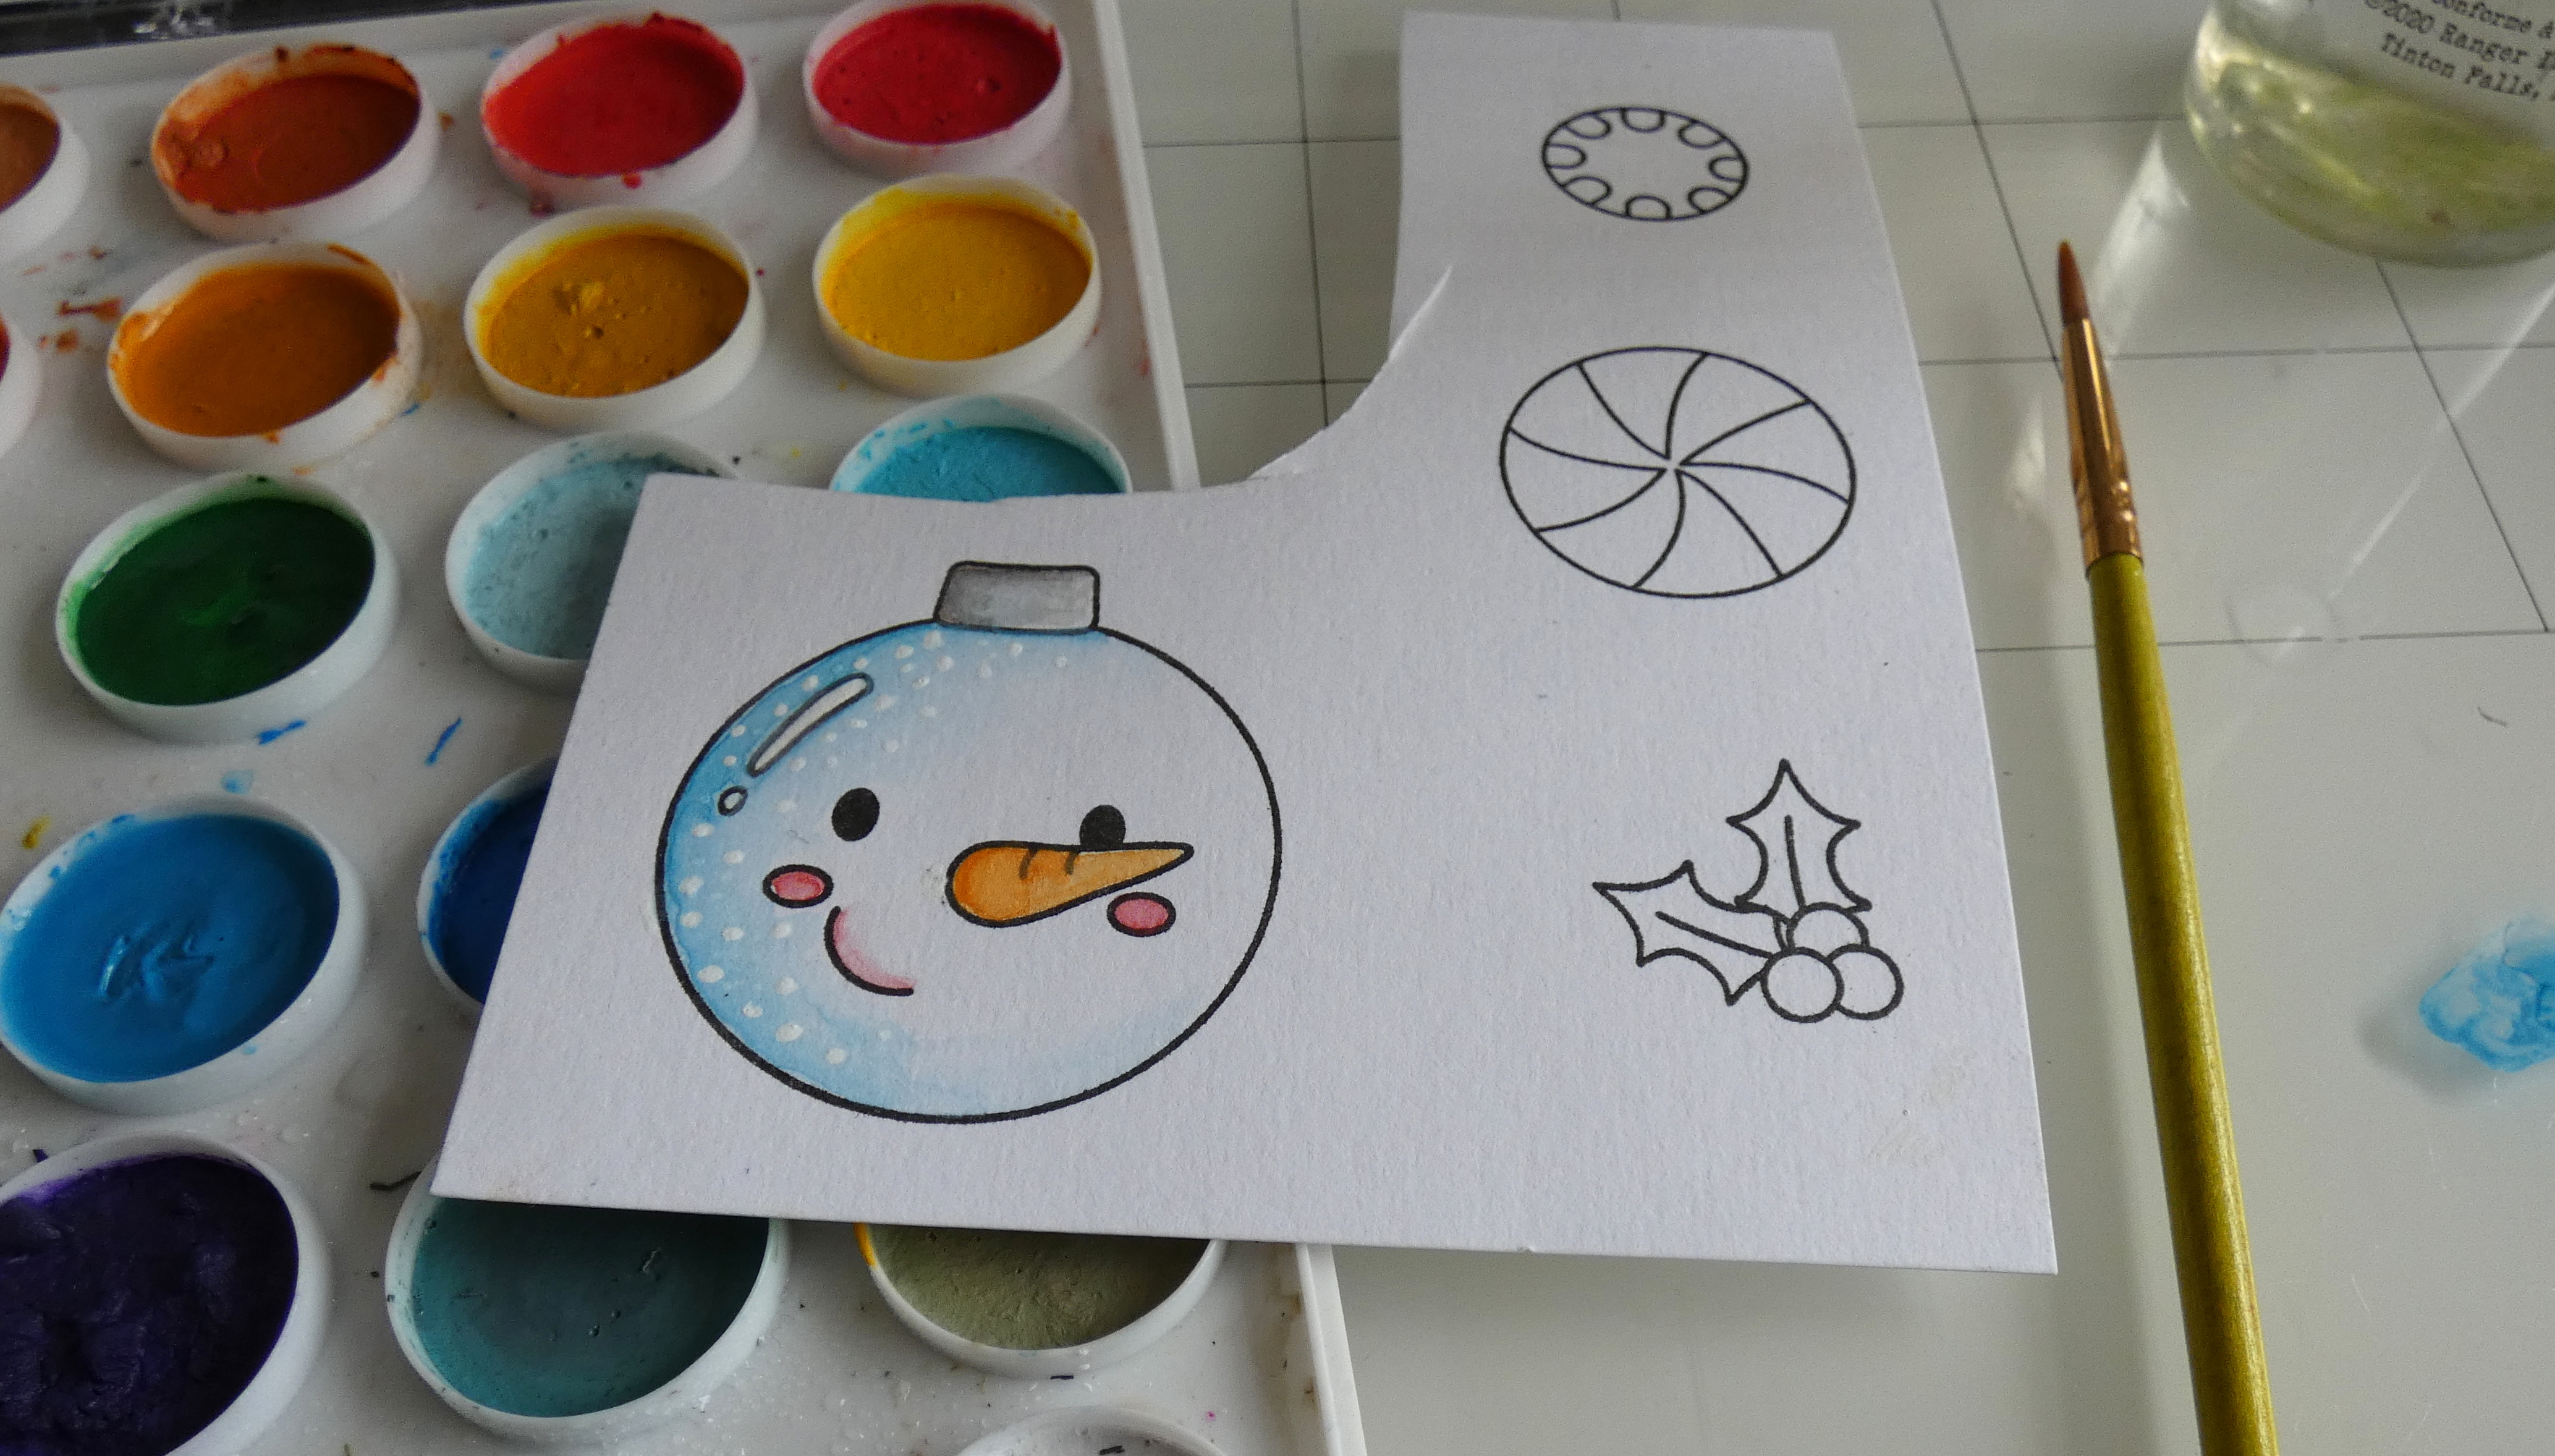

I trimmed Distress Watercolor card to 4" x 5.1/4", spritzed with Speckled Egg Distress Spray Stain and Winter Frost Distress Mica Stain and dried.I misted the back of the panel with water, placed it in the Tim Holt/Sizzix Pine Branches 3D Texture Fade and ran through my die-cutting machine. I dry-brushed the textured detail with White Gesso, added splatters of Distress Resist Spray, sprinkled with Simon Says White Embossing Powder and heat set.I stamped all the characters, holly berries and candies from Simon Says Holiday Ornaments several times, on to Distress Watercolor card, inked with Simon Says Intense Black ink and will store what I don't use, in the stamp packaging, ready to colour for future cards.The Winter Wishes sentiment in the stamp set was too long to fit on the panel, so I cut it in half and stamped, inked with Simon Says Intense Black ink. It's OK to cut your stamps apart, just make sure there is enough space to cut between the words and use sharp scissors. They can easily be re-positioned to stamp as originally intended.I coloured the snowman ornament using colours from the palette I made with shavings from my Distress Watercolor Pencils and a small paintbrush. This is now my favourite way of using watercolours and how did I ever manage without this handy go-to palette.
I added splatters of Winter Frost Distress Mica Stain to the background and die-cut the snowman and holly berries using the Holiday Ornaments dies. I added silver sparkly string as a hanger for the ornament and fixed the die-cuts in place with Simon Says Foam Squares. I die-cut the snowflakes from Simon Says Silver Glitter card using Tim Holtz/Sizzix Twig and Stump Thinlits and fixed in place with Distress Collage Medium.


I applied a Sakura Black Glaze Pen to the eyes, added white dots to the ornament and holly berries using a Sakura White Gelly Roll Pen and Ranger Glossy Accents to the nose, ornament top and holly berries and matted the panel on to an A2 white card blank.
How adorable is this little character !!! I'll be back tomorrow to share another cute card using the adorable reindeer from the stamp set. In the meantime, Have fun with whatever you are making.
Hugs Kath xxx