Saturday, January 6, 2024

Tim Holtz/Sizzix 2024 Vault Collection - Funky Floral Wreath

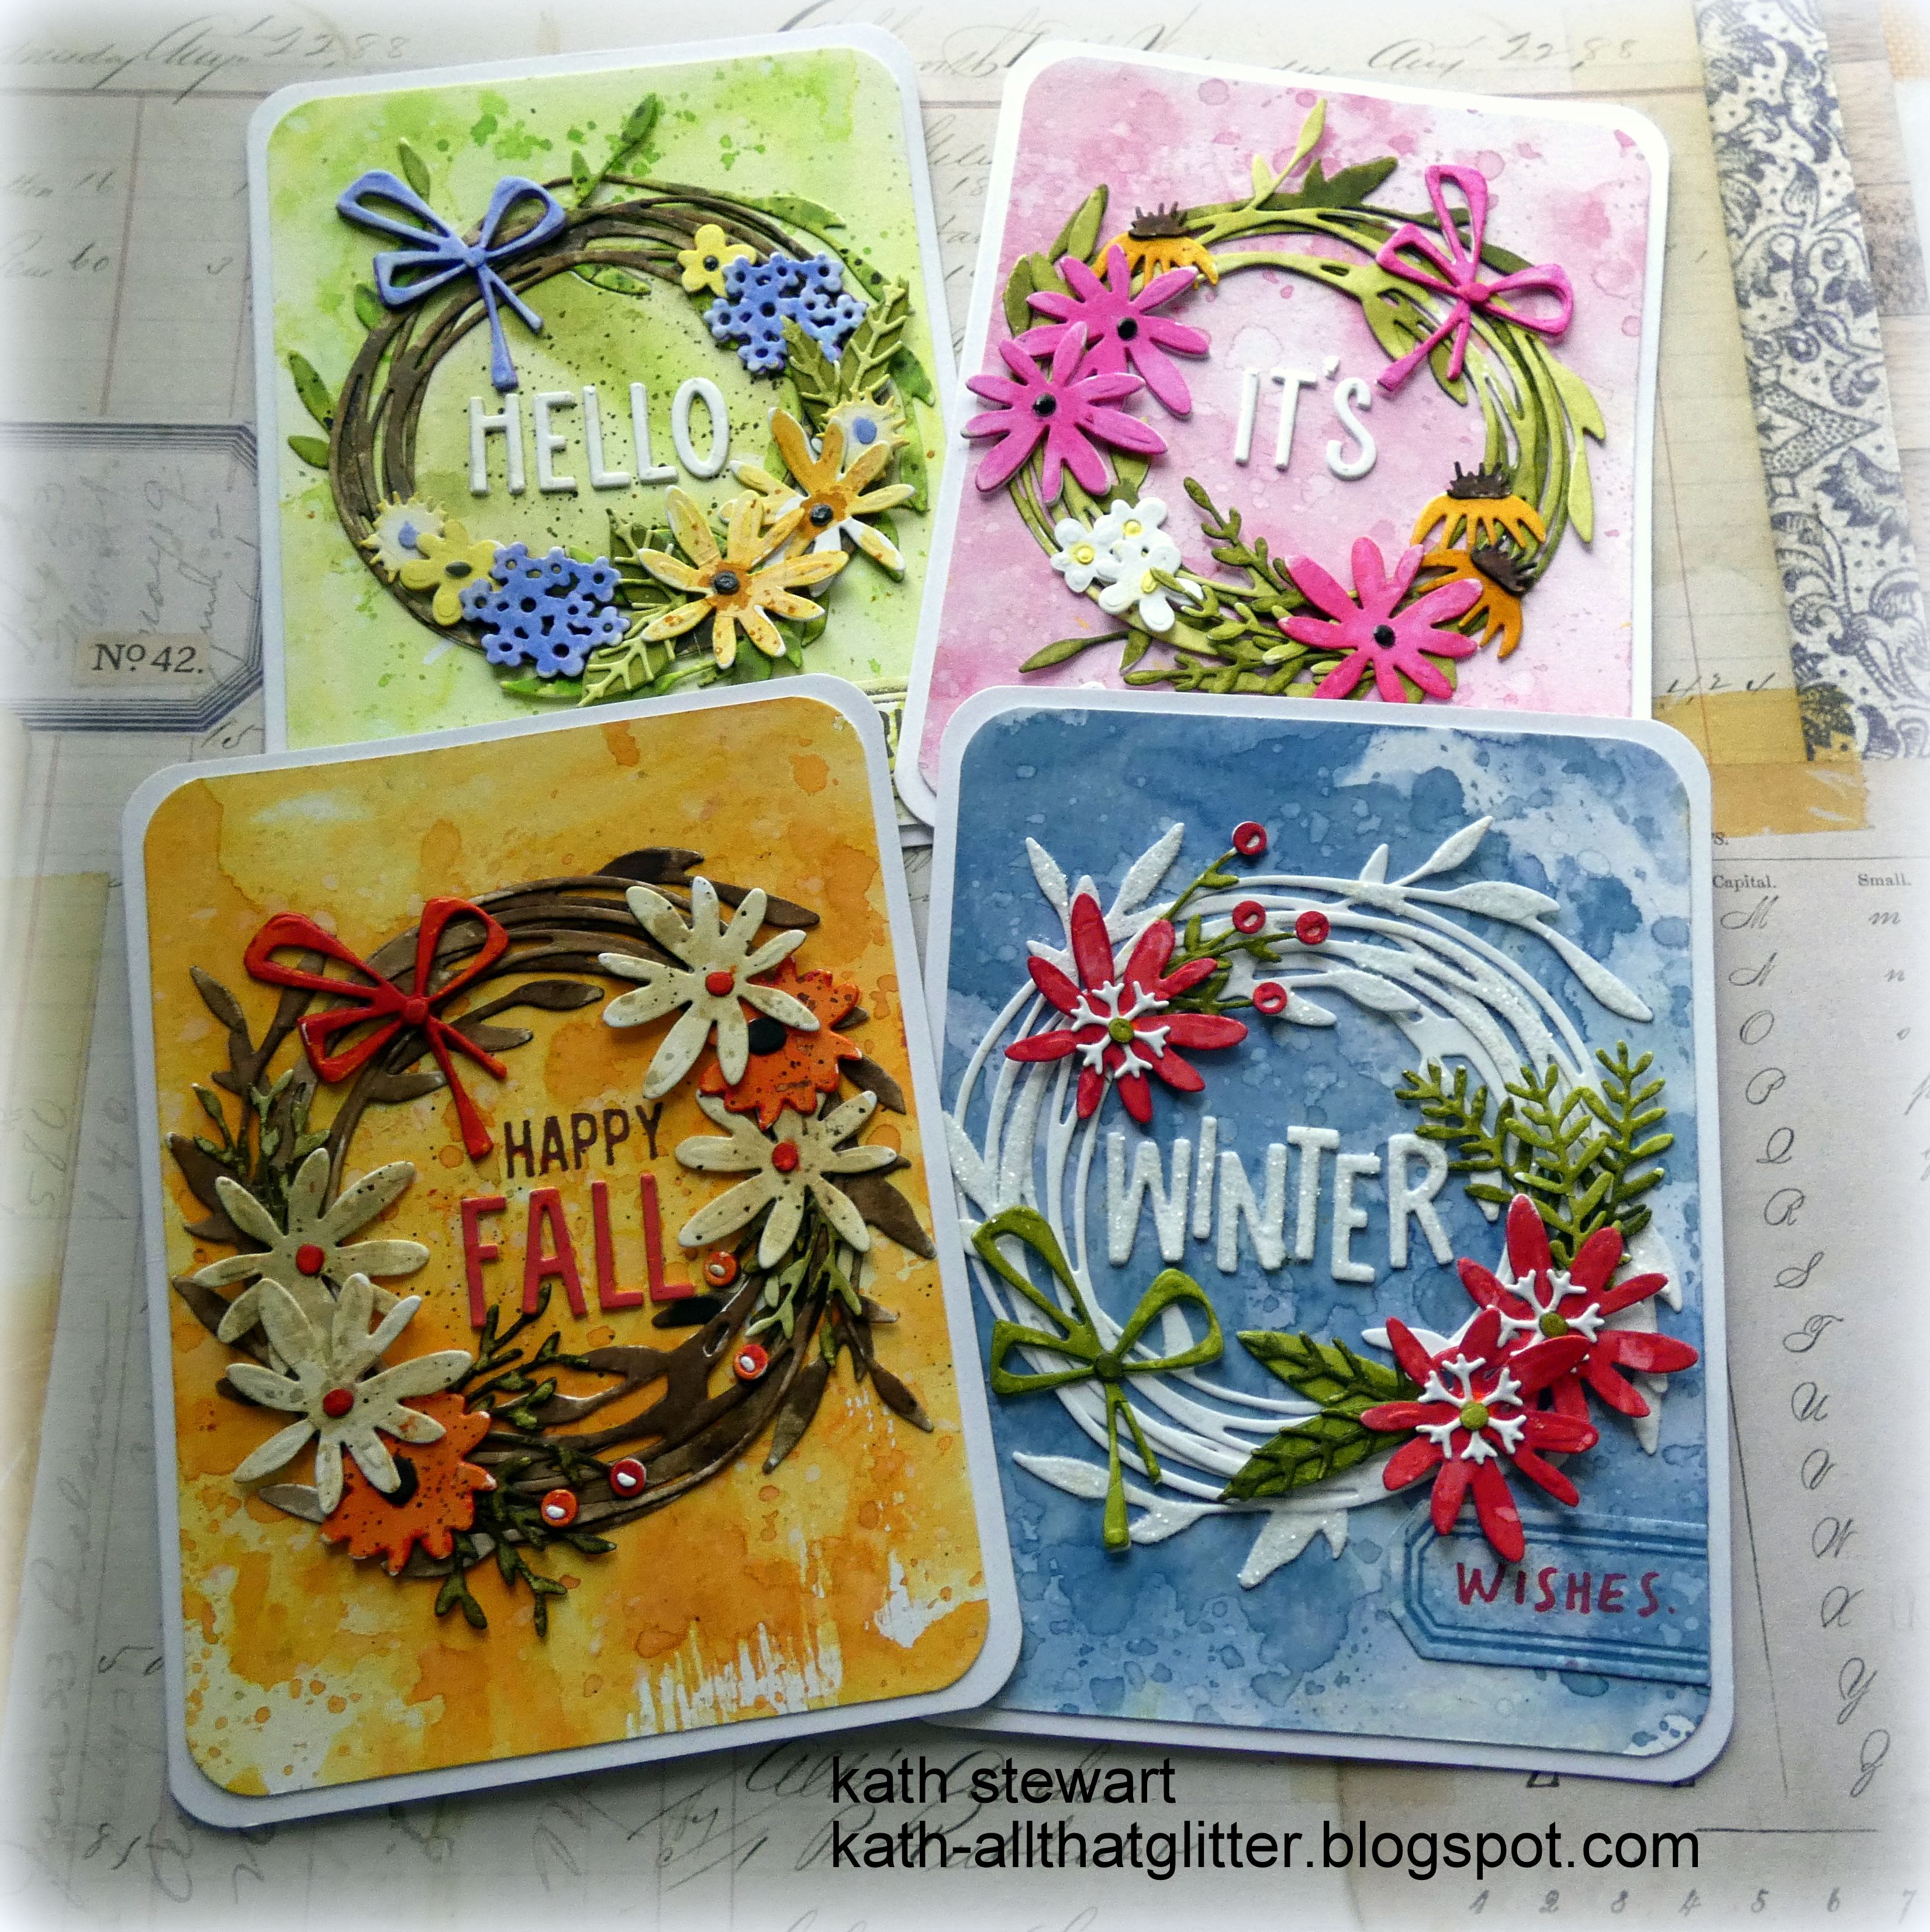
Hello my friends, if you've just come from the YouTube Live launch of the new Tim Holtz/Sizzix 2024 Vault Collection release, I can't tell you how excited I am that Tim has brought back some of his and my favourite dies, reimagined and resized to celebrate 15 years with Sizzix. I'm sharing the set of "A Card For All Seasons" cards I made for the Live using the gorgeous Vault Funky Floral Wreath Thinlits and the alphabet from Vault Hippity Hop Thinlits. Floral dies are so versatile and I had great fun changing up the colour palette and the placement of the die cuts on the wreaths to get a different look.

I began by fixing Sizzix Adhesive Sheets to Distress Watercolor card and die-cut multiples of the wreath and flowers using the Vault Funky Floral Wreath Thinlits.
I coloured the wreaths, flowers, greenery and bows using Distress Re-inkers with a Detailer Waterbrush and placed them temporarily on the backgrounds I had created from Distress Watercolor card, coloured with Distress Oxide inks in Spring, Summer, Autumn and Winter colours.
Once I was happy with the placement, I fixed the wreaths, greenery, bows and some of the flowers in place with Distress Collage Medium and added foam squares to the rest of the flowers to add dimension.
I die-cut the Season words from Distress Watercolor card 3 times using the alphabet from Tim Holtz/Sizzix Vault Hippity Hop Thinlits, stacked to create dimension and fixed in place with Distress Collage Medium. 
I coloured scraps of Distress Watercolor card to match the backgrounds on the Spring and Winter cards. I inked the label die from Tim Holtz/Sizzix Vault Pillow Box and Bag Thinlits with Distress Archival ink to match the background and die-cut. I stamped partial sentiments from Tim Holtz/Stampers Anonymous Simple Sayings, inked with Barn Door Distress Archival on the Winter card label and Ground Espresso Archival ink on the Spring card label and above the die-cut letters on the Fall Card. I fixed the labels in place with Distress Collage Medium and trimmed the excess.
I trimmed the panels to 4" x 5.1/4", rounded the corners and fixed to A2 white card blanks, also with rounded corners.


I'll be back tomorrow to share what I made with the Vault Pillow + Bag and Wildflowers Thinlits.
Hugs Kath xxx

Wednesday, January 3, 2024

Miss Memory's 2024 Notebook

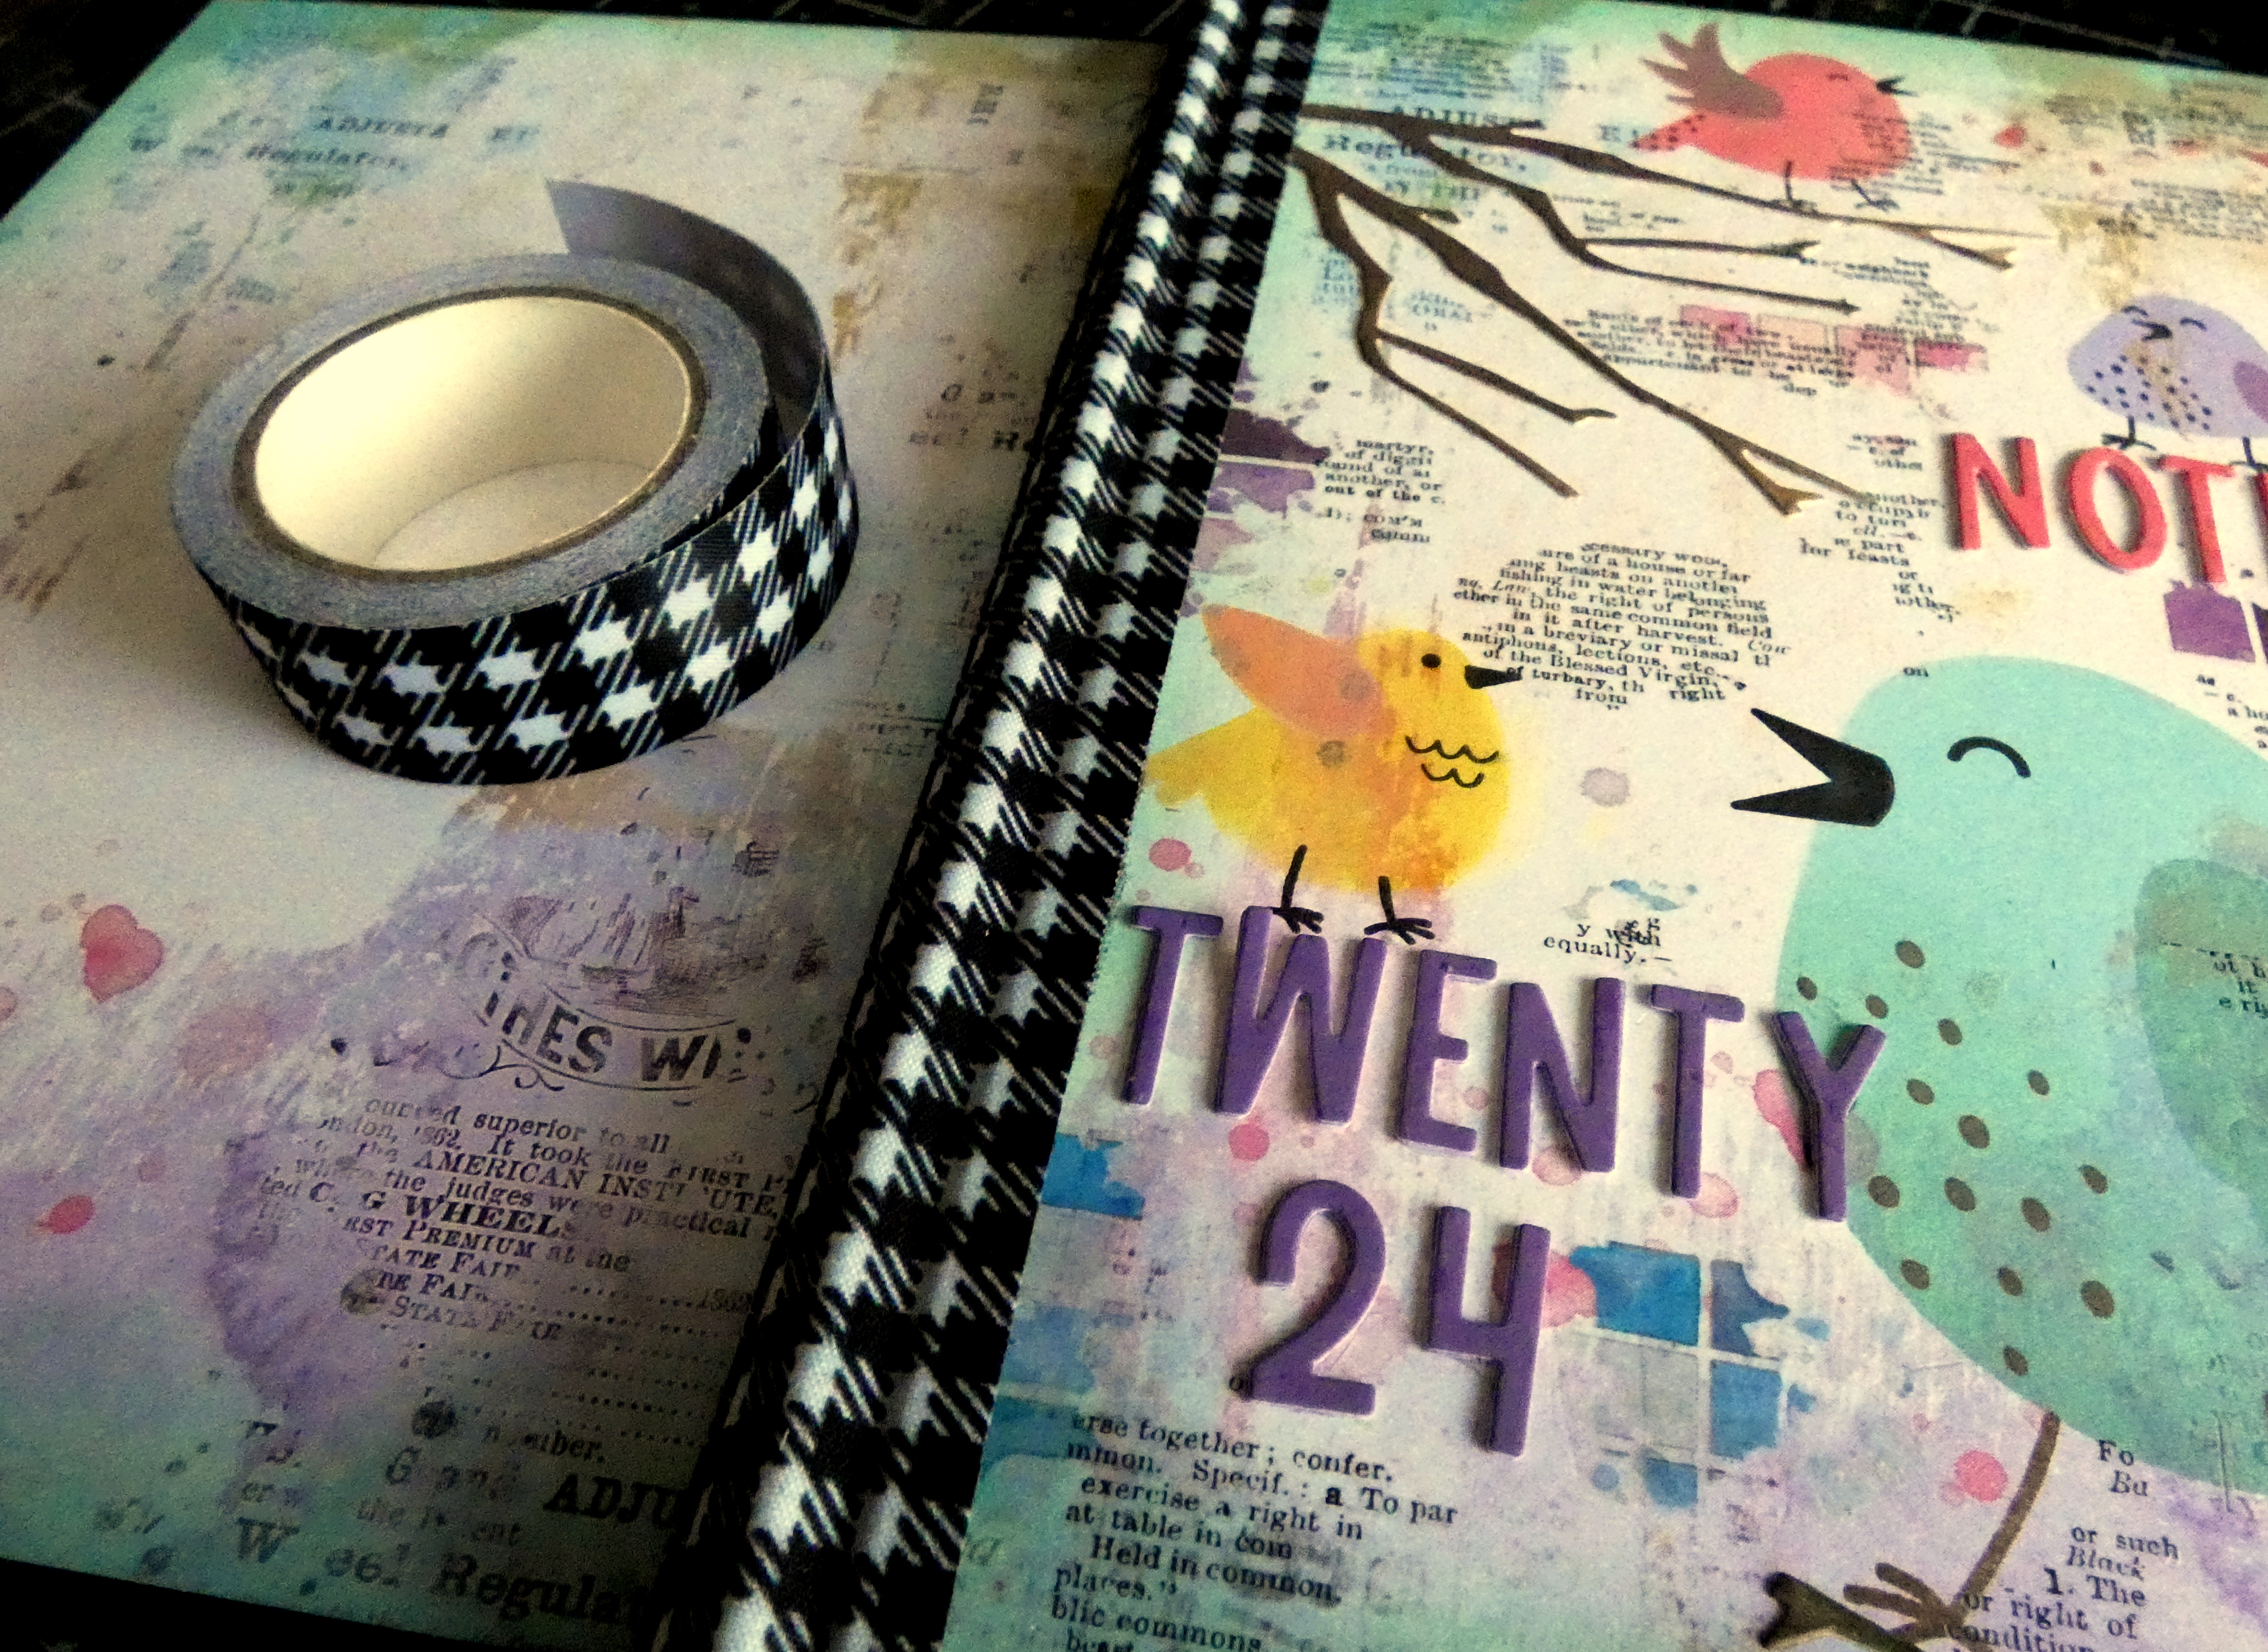
Hi my friends, I'm sure I'm not alone when I confess that I have the worst memory and am, therefore, a prolific list maker relying on notebooks, calendars and post it notes to make life run smoothly. But even that doesn't guarantee anything, I will write a shopping list, head to the shops only to discover I've left the darned thing on the kitchen table and nine times out of ten, arrive home with bags of groceries but not the one item that was at the top of the list. So, first priority at the start of the year is to decorate the all important Miss Memory notebook using Concord&9th Tweet Life stamps and stencils, Tim Holtz/Sizzix Vault Lovebirds for the branches and alphabet letters from Vault Hippity Hop Thinlits.

I began by applying Black Gesso around the edges of the cover on a 5" x 7" rather garishly patterned notebook.
I trimmed 49andMarket Painted Foundations Gardenia 6" x 8" papers to be slightly smaller than the notebook cover and inked the edges using Evergreen Bough Distress Oxide ink using a mini round blending tool.
I applied Tumbled Glass and Evergreen Bough Distress Oxide inks with Distress Blending Brushes using the large bird stencil from Concord&9th Tweet Life Stencils and stamped the details using the Tweet Life stamp set, inked with Ground Espresso Distress Oxide ink.
I stencilled the smaller birds using Abandoned Coral/Barn Door and Shaded Lilac/Dusty Concord Distress Oxide inks and stamped the details with Black Soot Distress Archival.
I coloured Distress Watercolour card with Ground Espresso Distress Oxide ink using a mini round blending tool, die-cut the branches using Tim Holtz/Sizzix Vault Lovebirds Thinlits and fixed in place using Distress Collage Medium.
I die-cut the alphabet letters from Distress Watercolor card coloured with matching inks, using Tim Holtz/Sizzix Vault Hippity Hop Thinlits and fixed in place with Distress Collage Medium.
I stencilled the last bird using Fossilized Amber and Rusty Hinge Distress Oxide inks and stamped the details using Black Soot Distress Archival. To add interest to the background, I applied 49andMarket Spectrum Gardenia and Hero Arts Collage Background Transfers.
I fixed the panels to the front and back of the notebook using Distress Collage Medium and a Distress Collage Brush and added Idea-ology Fabric Tape over the spine. I did die-cut the alphabet letters again from the same papers but darkened with Dusty Concord and Abandoned Coral Distress Oxide inks to make the letters more prominent.


Hugs Kath xxx

Tuesday, January 2, 2024

Simon Says - Don't Flurry, Be Happy January Card Kit

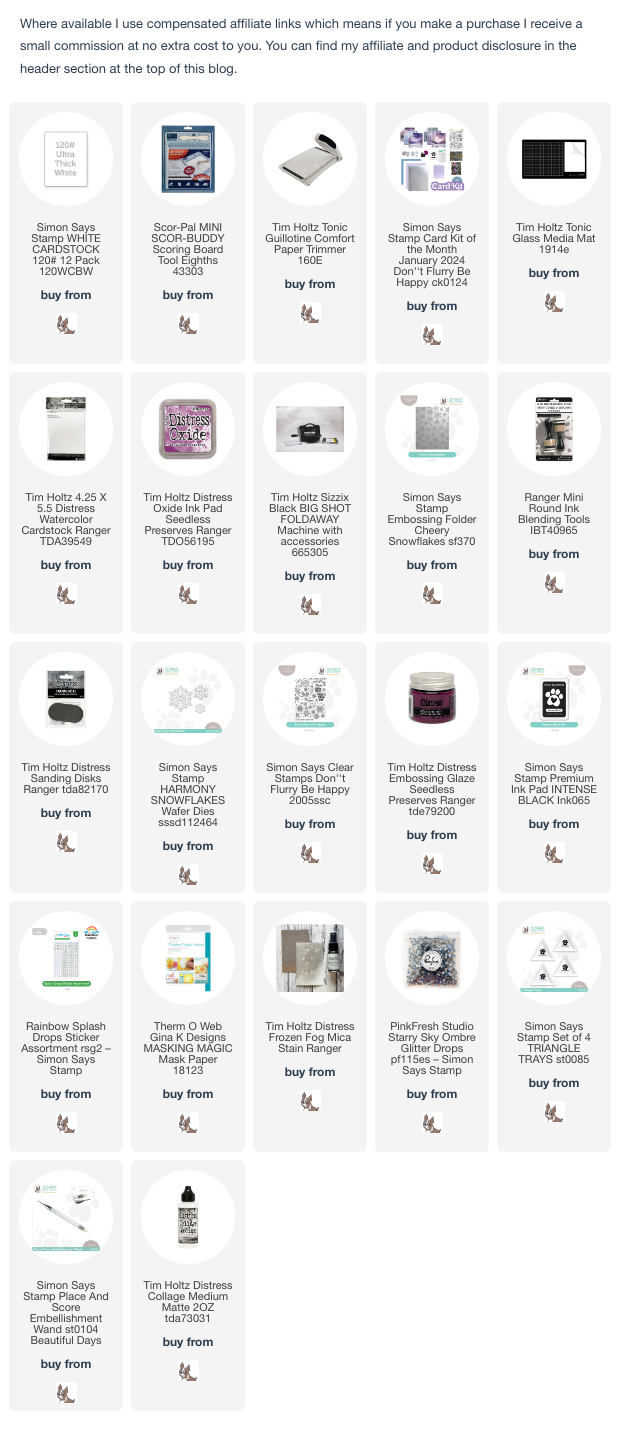
Hello my friends, I was super duper excited when Simon Says January Card Kit arrived in the mail, what's not to love about this beautiful snowflake themed kit and with heavy snow forecast tonight in my neck of the woods, it looks like there might be snowflakes indoors as well as outdoors. At the time of writing, the kit is still available but, if you wish, you can also purchase the individual items HERE.


I took inspiration from the Seedless Preserves Distress Embossing Glaze, included in the kit, to create two cards using the Cheery Snowflakes Embossing Folder and Harmony Snowflakes dies also from the kit.
I trimmed Distress Watercolor card to 4" x 5.1/4", smooshed Seedless Preserves Distress Oxide ink on to the craft mat on my Glass Media Mat, spritzed with water and dragged the panel through the ink. I tapped the panel repeatedly back into the ink to pick up the remaining droplets and dried. I placed the panel in Simon Says Cheery Snowflakes Embossing Folder, ran through my die-cutting machine and sanded the raised areas to reveal the white core and highlight the details.
I was a little bit too enthusiastic with the sanding and tore the edge of the panel. So I tore it all the way across and fixed to an A2 white card blank. I stamped the sentiment from Simon Says Don't Flurry, Be Happy stamp set, inked with Seedless Preserves Distress Oxide ink, sprinkled with the Seedless Preserves Embossing Glaze and heat set.
Inspired by my friend Amy Rysavy, I fixed the left over torn panel to the inside of the card.
I stamped the sentiments from the stamp set on the inside, inked with Seedless Preserves Distress Oxide ink and Simon Says Intense Black ink.
I die-cut Simon Says Harmony Snowflakes from Distress Watercolor card, fixed to the panel with Distress Collage Medium and added Simon Says Rainbow Splash Frosted Drops, also from the kit, in the centres.
To finish I matted the panel on to an A2 white card blank


I die-cut Simon Says Harmony Snowflakes from masking paper and fixed to a panel of Distress Watercolor card, trimmed to 4" x 5.1/4".
I dipped the panel into a puddle of Seedless Preserves Distress Oxide ink as before and repeated to pick up the remaining droplets of ink.
I removed the masks and stamped the sentiment, inked with Seedless Preserves Distress Oxide ink, sprinkled with Seedless Preserves Embossing Glaze and heat set.
I added splatters of Frozen Fog Distress Mica Stain
I added Pink Fresh Studio Starry Sky Ombre Glitter drops to the snowflake centres
To finish I fixed the panel to a top folding A2 white card blank
Have fun with whatever you're making
Hugs Kath xxx
Monday, January 1, 2024

Simon Says - A New Start

Hi Everyone...welcome to another week on the Simon Says Stamp Monday Challenge Blog. Thank you for joining us for last week's challenge and we hope you can join us this week too because


The first challenge of the month means we are featuring one particular brand/company and the design team are using the fabulous range of products from Brutus Monroe. You don't have to use their products to join the challenge but if you have them in your stash, we would love to see how you use them.

The theme for this week is...
A NEW START
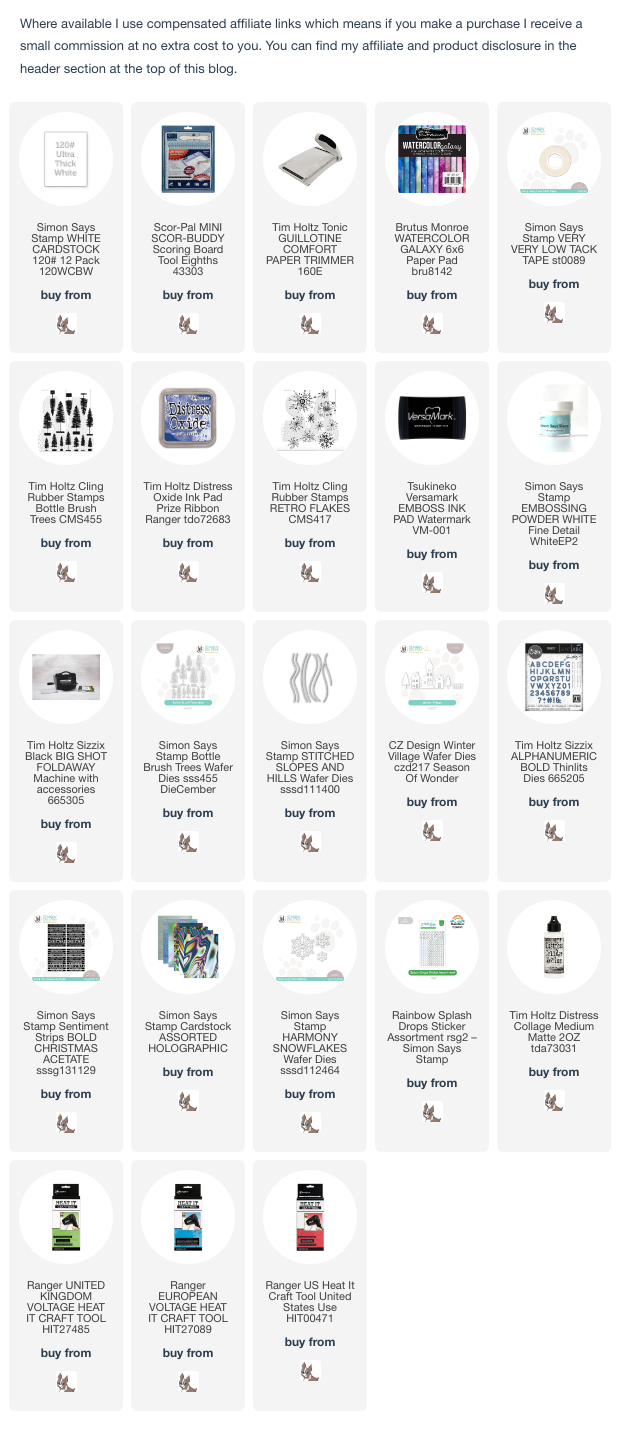
I created a card to welcome in the new year and wish you all a very happy and healthy 2024, using Brutus Monroe Watercolor Galaxy 6" x 6" papers, Tim Holtz/Stampers Anonymous BottleBrush Trees, Retro Flakes, Sizzix Alphanumeric Bold Thinlits, Simon Says Bottlebrush Trees, Stitched Slopes, Winter Village and Harmony Snowflakes dies.
I trimmed Brutus Monroe Watercolor Galaxy Paper to 4" x 5.1/4", fixed Simon Says Very Low Tack Tape along the bottom and stamped the largest tree from Tim Holtz/Stampers Anonymous BottleBrush Trees, inked with Prize Ribbon Distress Oxide ink, repeatedly across the panel.
I stamped the snowflake from Tim Holtz/Stampers Anonymous Retro Flakes, inked with Versamark, sprinkled with Simon Says White Detail Embossing Powder and heat set.
I die-cut the smaller BottleBrush Trees, placed the matching stamps into the template I created earlier with the dies and picked the stamps up on the lid of my stamp platform. I placed the die-cut trees into the relevant spaces and stamped, inked with Prize Ribbon Distress Oxide ink.
I die-cut a snowbank using Simon Says Stitched Stitched Slopes and fixed to the bottom of the panel using Distress Collage Medium.
I trimmed the bases off the stamped BottleBrush Trees and die-cut the houses from Distress Watercolor card using Simon Says Winter Village dies.
I fixed the BottleBrush trees and Winter Village Houses in place behind the first snowbank, added another snowbank and trees popped up on foam squares to add dimension.
I die-cut the numbers from spare Watercolor Galaxy paper using Tim Holtz/Sizzix Alphanumeric Bold Thinlits and fixed in place with Distress Collage Medium.
I trimmed the word HAPPY from Simon Says Bold Christmas Acetate Sentiment Strips and fixed to the top of the panel.
I die-cut Simon Says Harmony Snowflakes from Holographic cardstock, fixed to the panel with Distress Collage Medium and added Simon Says Rainbow Splash Drops to the centres.
To finish I matted the panel on to an A2 white card blank.


You can find all the products I used over at Simon Says Stamp, just click on the links below


Why don't you pop over to the Monday Challenge Blog and check out the amazing creations from my very talented Design Team mates and as always you have until Monday 8am Ohio time...1pm UK time...2pm CET to join in with the chance to win a $25 voucher to spend online at Simon Says Stamp


You can also follow Simon Says Stamp on Instagram
and if you use Instagram...
please add #sssmchallenge to your entry uploads so we can see them on there too

I look forward to seeing what you create this week...
Have Fun and Happy Crafting
Hugs Kath xxx