Saturday, August 24, 2024

Tim Holtz/Stampers Anonymous - Spooky Spirits

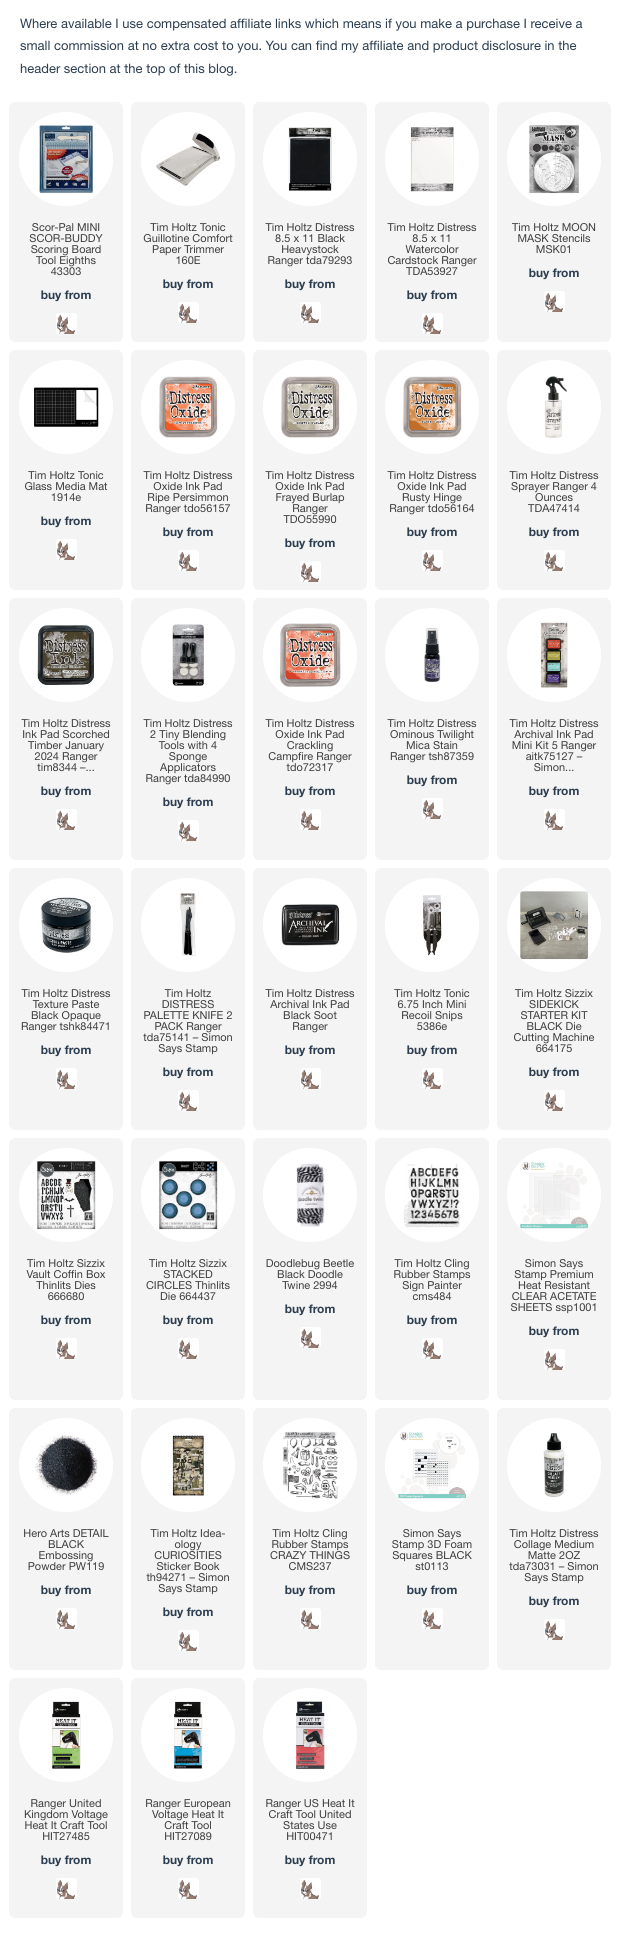
Hello my friends, if you've popped over from the YouTube Live launch of Tim Holtz/Stampers Anonymous Halloween release, you'll know that Tim has done it again with amazing stamp sets and stencils. If you missed the Live you can check out the new products and inspiration from the Makers on Tim's YouTube Channel and Blog. I created a gatefold card to reveal a fun haunting of spooky ghosts inside using Tim Holtz/Stampers Anonymous Spooky Spirits, Curator, the cobweb from Boo Crazy, Moon Layering Mask and Bats Mini Layering Stencil from Set 61.


I trimmed Distress Black Heavystock to create 2 - 9" x 6" panels, scored at 3" on the long side and fixed together to create a gatefold card. I trimmed Distress Watercolor card to create 3 - 5.3/4" square panels, one for the inside back of the card and the other 2 to be trimmed in half to make 4 side panels for the front and inside of the card.
I fixed the largest Tim Holtz/Stampers Anonymous Moon Mask temporarily to 2 of the panels and coloured using Ripe Persimmon, Frayed Burlap and Rusty Hinge Distress Oxide inks. With the mask still in place, I used Scorched Timber Distress Ink and a Tiny Blending Tool to create a shadow around the moon. I placed the detail Moon Mask in place and applied Rusty Hinge and Scorched Timber. I trimmed 2 of the panels to create the side panels and applied Scorched Timber Distress Ink around the edges of all the panels using a Tiny Blending Tool. I added splatters of Crackling Campfire Distress Oxide ink and Ominous Twilight Distress Mica Spray.
I inked Tim Holtz/Stampers Anonymous Curator with Villainous Potion Distress Archival ink and with the stamp still on the backing sheet, stamped randomly over all the panels.
I applied Distress Black Opague Texture Paste through the Bats Mini Layering Stencil from Set 61.
I inked the cobweb from Tim Holtz/Stampers Anonymous Boo Crazy with Black Soot Distress Archival ink and stamped randomly on all the panels.
I stamped all the ghost images from Tim Holtz/Stampers Anonymous Spooky Spirits on to Distress Watercolor card, inked with Black Soot Distress Archival ink. I sprayed Frayed Burlap Distress Oxide Spray Stain on to my Glass Media Mat, sprayed the images with water, used a paintbrush to drop the Oxide Spray Stain on to the images, let the water work it's magic and dried.
I used my trusty Recoil Mini Snips to fussy cut all the ghosts, a simple shape which is pretty easy to cut out.
I fixed the front panels in place with Distress Collage Medium and added one of the ghosts. I die-cut the letters from Distress Black HeavyStock and Distress Watercolor card using the alphabet from Tim Holtz/Sizzix Vault Coffin Box Thinlits and fixed in place slightly offset to create a shadow effect.
I die-cut circles from Distress Black HeavyStock using Tim Holtz/Sizzix Stacked Tiles Circle Thinlits, fixed in place and used Black and White Bakers Twine to close.
I inked the circle images from Tim Holtz/Stampers Anonymous Curator with Black Soot Distress Archival, stamped on to a scrap of Distress Watercolor card, coloured to match the background, fussy cut and fixed in place with Distress Collage Medium.
I fixed the rest of the ghosts to the panels on the inside of the card using Distress Collage Medium and 3D foam pads to create dimension.
I inked the sentiments from Spooky Spirits with Black Soot Distress Archival, stamped on to a scrap of card, coloured to match the ghosts, fussy cut and fixed to the inside panels.

I inked the letters from Tim Holtz/Stampers Anonymous Sign Painter with Black Soot Distress Archival, stamped on to heat resistant acetate, sprinkled with Ranger Black Embossing Powder, heat set and fussy cut. I attached Bakers Twine to the large ghost and fixed the letters in place with strips of black 3D foam.
To finish I added hats and masks to the ghosts from Tim Holtz/Idea-ology Halloween Curiosities Sticker Book and ties die-cut from Distress Black HeavyStock using Tim Holtz/Sizzix Crazy Things Thinlits.


I'll be back tomorrow to share another make for the Live, in the meantime have fun with whatever you're making and enjoy the rest of your weekend,,
Hugs Kath xxx

Friday, August 23, 2024

Simon Says - Rose Winged Butterfly

Hello my friends, I'm back to share another card made using products from Simon Says Chunky Thankful Greetings September Card Kit. The kit is available to purchase HERE and if you wish, you can also purchase individual items from the kit.

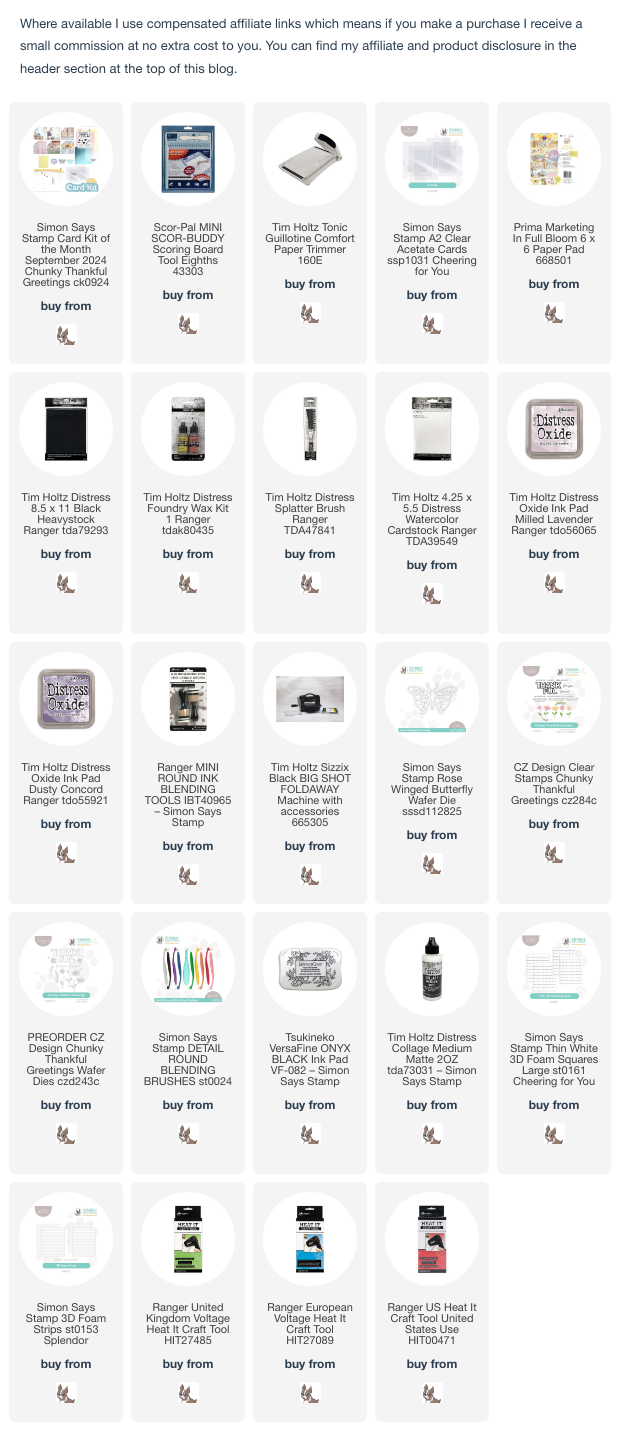
I created a card using the Rose-Winged Butterfly die, the Prima In Full Bloom patterned paper, the Chunky Thankful Greetings stamp set and A2 acetate cards, all included in the kit.
I trimmed one of the sheets of the Prima In Full Bloom 6" x 6" patterned papers to 4" x 5.1/4" and fixed inside the acetate card, flipped the card over and fixed the same size panel of white cardstock on the back.
I die-cut the Rose-Winged Butterfly from Distress Black HeavyStock, added splatters of Distress Gilded Foundry Wax, heat set, removed the inner sections leaving just the outline and fixed to the front of the acetate card. I coloured a scrap of Distress Watercolor card with Milled Lavender and Dusty Concord Distress Oxide inks and die-cut the butterfly again and fixed the inner sections into the negative spaces on the butterfly.
I stamped one of the flower images from the Chunky Thankful Greetings stamp set inked with Milled Lavender and Spun Sugar Distress Oxide inks, shaded with Dusty Concord and Abandoned Coral Distress Oxide inks using Simon Says Round Detail Blending Brushes. I stamped the leaves, sentiment and flower centres inked with Versafine Onyx Black. I decided to use only the purple flowers and set the others aside to use on another project.
I fixed a thin strip of Distress Black HeavyStock on the inside of the card, die-cut the flowers, leaves and sentiment using the Chunky Thankful Greetings co-ordinating dies which are not included in the kit but available to purchase separately. I added dots of Distress Gilded Foundry Wax to the flowers, heat set and fixed the leaves in place with Distress Collage Medium and the flowers popped up on foam squares to create dimension.
To finish I added the sentiment die-cut popped up on thin foam strips.


Enjoy your weekend whatever you have planned. I'll be joining Tim, Mario and lots of crafty friends over on Tim's YouTube Channel for the live launch party of the Tim Holtz/Stampers Anonymous Halloween release and will be sharing one of the projects I made here on my blog after the Live. Hope to see you there - 9AM PT, 12PM ET and 5PM UK.
Hugs Kath xxx

Thursday, August 22, 2024

Simon Says - September Card Kit

Hello my friends, it's that exciting time of the month when the Simon Says Stamp Card Kit arrives and once again the Chunky Thankful Greetings September Card Kit is full to bursting with a great selection of products.

I'm like a kid in a sweet shop as I unbox it and lay everything out on my workdesk ready for some fun playtime.
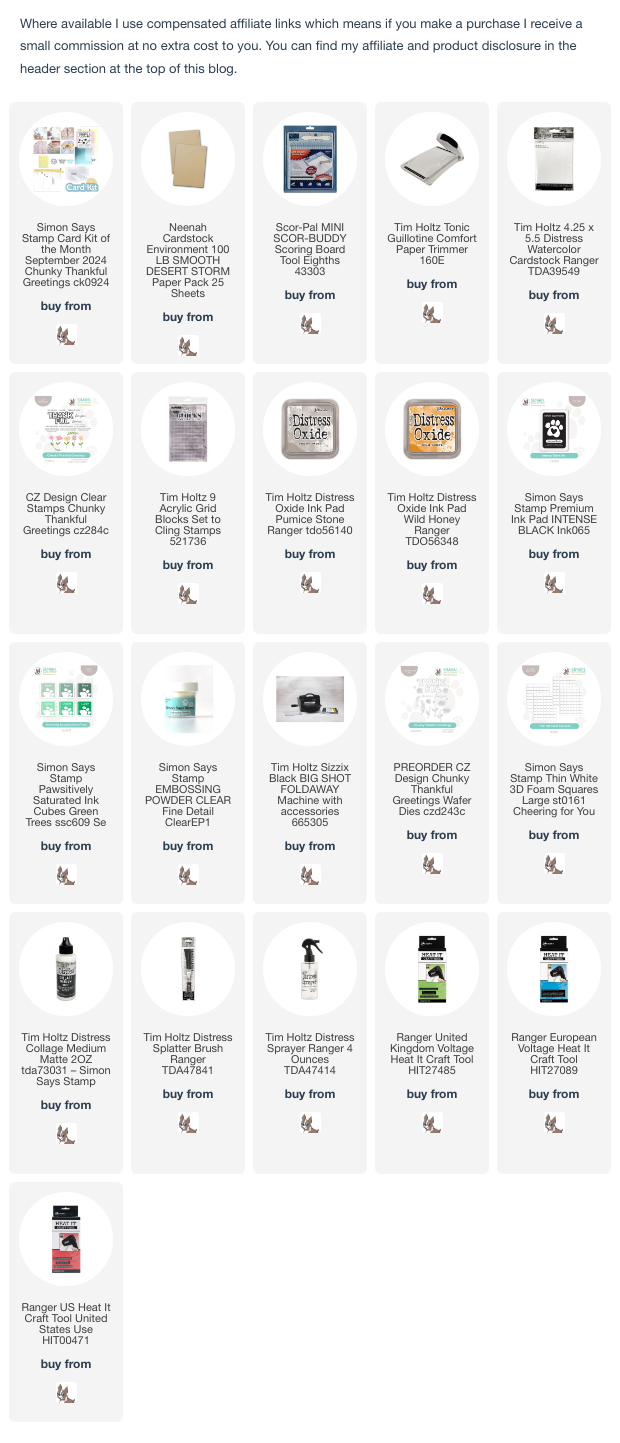
I created a card using the large Chunky Thankful Greetings sentiment and the flower and leaf images from the Chunky Thankful Greetings 6" x 8" stamp set.
I trimmed Distress Watercolor card to 4" x 5.1/4" and stamped the Chunky Thankful Greetings sentiment, inked with Pumice Stone Distress Oxide ink, at the bottom of the panel, to help with the placement of the flowers and leaves. I stamped the leaves inked with Simon Says Dublin and Pine Pawsitively Saturated Mini Ink Cubes, the flower heads with Wild Honey Distress Oxide ink and the flower centres with Simon Says Intense Black ink.

I stamped the Chunky Thankful Greetings on to a scrap of Distress Watercolor card, inked with Pumice Stone Distress Oxide ink, sprinkled with Simon Says Clear Embossing Powder and heat set. I die-cut using the co-ordinating Chunky Thankful Greetings and fixed to the panel with 3D foam squares to create dimension. The co-ordinating dies are not included in the kit but are available to buy separately on pre-order from Simon Says (linked below).
I stamped and die-cut an extra flower and fixed to the panel. I coloured a scrap of Distress Watercolor card with Wild Honey Distress Oxide ink, stamped the sentiment with Intense Black ink, die-cut and fixed to the panel.
To finish I added splatters of Pumice Stone Distress Oxide ink and matted the panel on to an A2 Neenah Desert Storm card blank.
I'll be back soon to share more cards made with some of the other products in the kit. In the meantime, have fun with whatever you are creating.
Hugs Kath xxx

Monday, August 19, 2024

Simon Says - Alcohol Inks/and or Drinks

Hi Everyone...welcome to another week on the Simon Says Stamp Monday Challenge Blog. Thank you for joining us for last week's challenge and we hope you can join us this week too because


and the theme for this week is...
ALCOHOL INKS AND/OR DRINKS
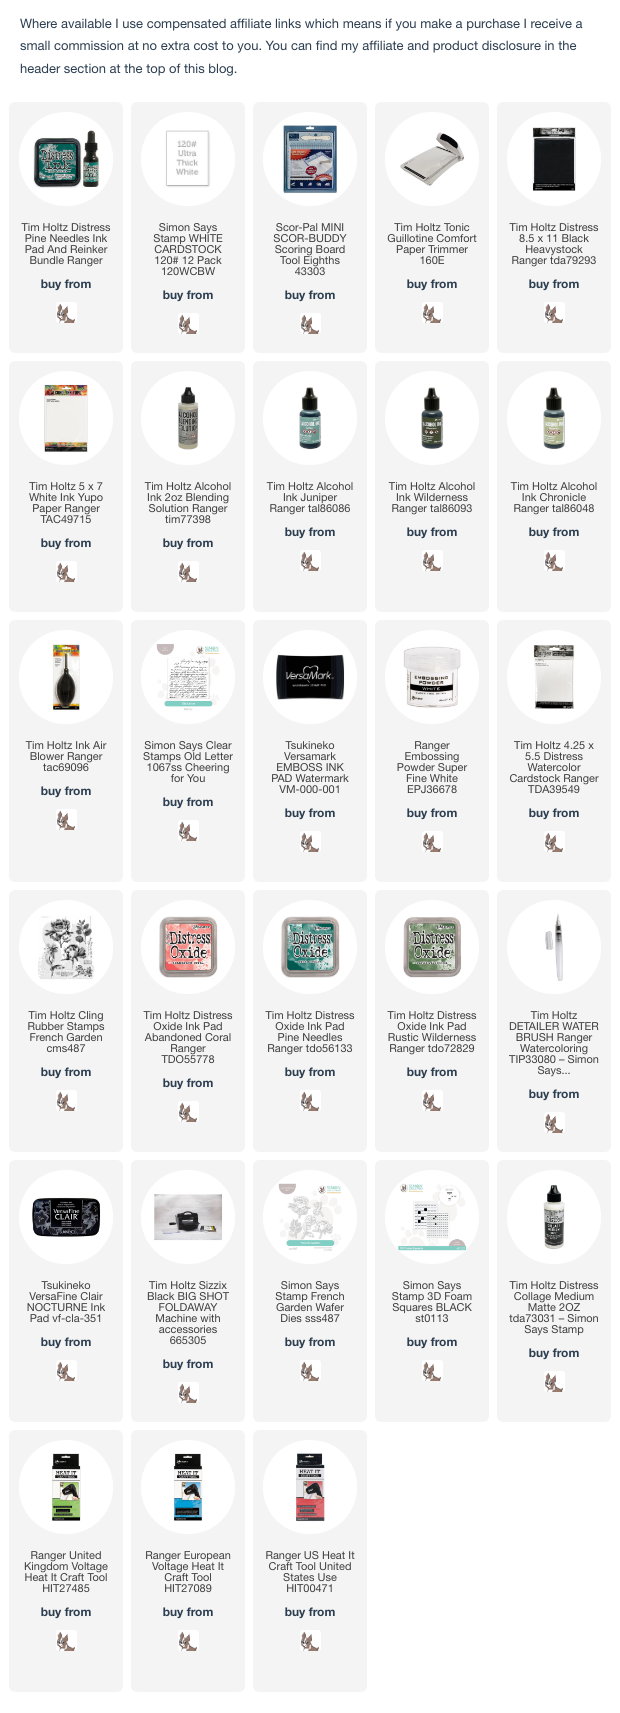
I used the new Tim Holtz/Ranger Alcohol Ink colours to create a background on White Yupo, stamped and heat embossed with Simon Says Old Letter background and added flowers and leaves from Tim Holtz/Stampers Anonymous French Garden die-cut with the co-ordinating die set from Simon Says Stamp.
I trimmed White Yupo to 4.3/4" x 6.3/4" and coloured using Tim Holtz/Ranger Juniper, Wilderness and Chronicle Alcohol Inks and Blending Solution.
I inked Simon Says Old Letter Background with Versamark ink, stamped randomly on the panel, sprinkled with White Detail Embossing Powder and heat set. Yupo is not heat stable so I kept my heat tool moving over the panel until the powder melted.
I inked the leaf image from Tim Holtz/Stampers Anonymous French Garden with Pine Needles and Rustic Wilderness Distress Oxide inks, spritzed the stamp with water, stamped on to scraps of Distress Watercolor card and die-cut using Simon Says Stamp co-ordinating die set.
I stamped the flower head of the image from French Garden on to Distress Watercolor card, inked with Abandoned Coral Distress Oxide ink, used a Distress Detailer Brush to pull the colour into the petals and coloured the flower centre using Ground Espresso Distress Oxide ink.
I re-stamped the images with Versafine Clair Nocture ink to bring back the details. I coloured small areas with Abandoned Coral Distress Oxide ink using the Distress Detailer Brush and stamped the banner images from French Garden.
I die-cut the flowers using the Simon Says Stamp co-ordinating dies and fixed the leaves and flower heads to the panel, popped up on foam squares to create dimension. I fussy cut the word banners, fixed to scraps of Distress Watercolor card, trimmed to leave a small border and also fixed in place with foam squares. I added white dots to the flower centres using a Sakura White Gelly Roll Pen.
I matted the panel on to Distress Black HeavyStock, trimmed 1/8" larger and fixed to a 5" x 7" white card blank.


You can find all the products I used over at Simon Says Stamp, just click on the links below


Why don't you pop over to the Monday Challenge Blog and check out the amazing creations from my very talented Design Team mates and as always you have until Monday 8am Ohio time...1pm UK time...2pm CET to join in with the chance to win a $25 voucher to spend online at Simon Says Stamp


You can also follow Simon Says Stamp on Instagram
and if you use Instagram...
please add #sssmchallenge to your entry uploads so we can see them on there too


I look forward to seeing what you create this week...
Have Fun and Happy Crafting
Hugs Kath xxx