Hi my friends, I'm sharing my DT project for the Simon Says Stamp Monday Challenge Blog. Thank you for joining us for last week's challenge and we hope you will join us this week to because
and the theme this week is
RUST IT UP
I decorated a Tim Holtz/Sizzix BigZ XL Curio Box using Pattern Repeat Thinlits to create rusty chicken wire and added rust coloured butterflies from Tim Holtz Idea-ology Botanical Layers
I began by covering Sizzix Matboard and Distress Mixed Media Heavystock on both sides with Idea-ology Wallflower Paper using Distress Collage Medium Matte. Once the panels were dry I die-cut the base from the Sizzix Matboard and the lid from the Distress Heavystock.
used the Curio Box Thinlits to die cut an aperture and inked around the edges with Forest Moss Distress Ink using a mini round blending tool.
I cut Idea-ology Wallflower Paper to be slightly smaller than the back section of the box base, stamped the moth image from Tim Holtz/Stampers Anonymous Entomology with Black Soot Distress Archival and coloured lightly with Forest Moss Distress Ink. I fixed the paper to 3 layers of Sizzix Matboard and fixed inside the box base.
I trimmed the white edges from the butterflies from Idea-ology Botanical Layers and layered with Tim Holtz/Sizzix Mini Foam Adhesive to add dimension.
I sanded Idea-ology Silver Metallic KraftStock and die cut using the Tim Hotz/Sizzix Pattern Repeat Thinlits.
I coloured Distress Grit Paste with Spiced Marmalade Distress Re-inker and applied to the Pattern Repeat with my fingers to create the look of rusty chicken wire.
I cut the chicken wire into pieces, fixed around the lid with Distress Collage Medium Matte and added a bouquet and butterfly from Botanical Layers. I die-cut the banner from Wallflower paper and Distress Mixed Media Heavystock using the Curio Box Thinlits and decorated with Idea-ology Life Quotes Remnant Rubs.
I added Idea-ology Ball Chain to the butterflies and fixed the lid to the base.
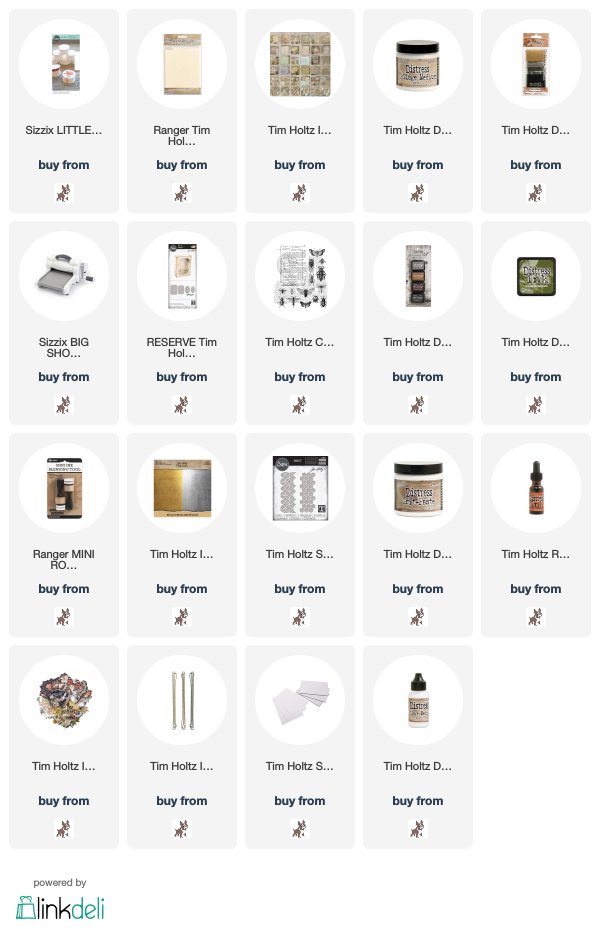
You can find all the products I used over at Simon Says Stamp, just click on the links below.
Why don't you pop over to the Monday Challenge Blog and check out the amazing creations from my very talented Design Team mates and this month's Designer In The Spotlight and as always you have the chance to win a $50 gift voucher to spend at Simon Says Stamp. You have until Monday 8.00am Ohio Time...1.00pm UK time and 2.00pm CET to join in
You can also follow Simon Says Stamp on Instagram
and if you use Instagram, please add #sssmchallenge to your entry uploads
so we can see them on there too.
I look forward to seeing what you create this week
Have Fun and Happy Crafting
Hugs Kath xxx


Happy new year Kath ...wow as always your so creative and this is again stunning xx
ReplyDeleteAbsolutely amazing Kath ♡♡♡
ReplyDeleteLOVE this, Kath, inside and out!!! I just received my curio box die and hope to find some time to play with it soon. Your beautiful make makes me hope for that even more ;)
ReplyDeleteThanks for the amazing inspiration!
Claudia x
such a cute little box. The the chicken wire and the butterflies! The Curio Box is just perfect!
ReplyDeleteBeautiful, stunning, amazing!
ReplyDeleteI love this project!
Stunning, a beautiful creation and the colour of those wings is just glorious.xx
ReplyDeleteI had to grab the chicken wire as soon as I saw it on the launch video - it's such a great die, and it looks so good here on your little butterfly Curio Box (the other die I yielded to!). Absolutely delightful.
ReplyDeleteAlison x
Hi Kath
ReplyDeletefrom nellxxxx@aol.com
Thank you for this post, I have been searching for something using the Curio Box die having just bought it and being a little disappointed with it and you popped up.
I found that when cutting the top and bottom and then putting the top inside the bottom there is a gap all round the edges. Should the flaps be put on the outside? I have tried this but it didn,t look right either. What sort of card did you use, were they different thicknesses for the top and bottom. How did you hide the gaps, as I can't see any in your pictures? At the moment the only way around this seems to be to cover the gaps all around with masking tap and I guess to then cover all sides, cutting a new front? I hope this makes sense? I had hoped that making the box itself would be simple and all the work would be in the decorating, I would be grateful for any tips you could give me. or else the die will just languish having only been used three times so far. Many many thanks helen