Hi my friends, I'm sharing an Easter treat bag I made for the Tim Holtz/Sizzix Chapter 1 release using PaperCut Chicks Colorize and Simple Plaid Thinlits. If you missed the YouTube Live, you can watch the replay and check out all the amazing projects from the Makers on Tim's Blog HERE or YouTube Channel HERE
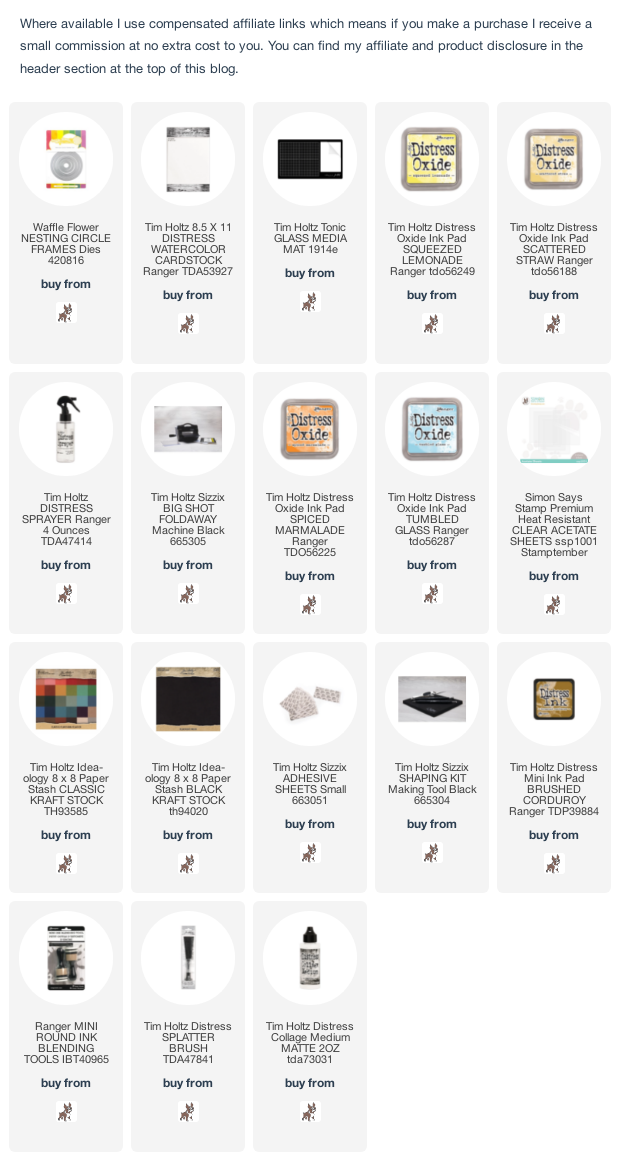
 I began by removing the handles from a kraft bag and die-cut an aperture in the front using a Nesting Circle die. I placed a panel of cardstock inside the bag so that the die wouldn't cut through to the back. I coloured a panel of Distress Watercolor card, slightly larger than the bag, with Squeezed Lemonade and Scattered Straw Distress Oxide inks, die-cut Tim Holtz/Sizzix Simply Plaid Thinlits twice from Distress Watercolor card and attached to the panel with Distress Collage Medium. I smooshed Scattered Straw, Spiced Marmalade and Tumbled Glass Distress Oxide inks on to the craft mat on my Glass Media Mat, spritzed with water and laid the panel on to the inks. I dried and tapped the panel back in to pick up the remaining droplets until I was happy with the background. I die-cut a circle aperture in the panel to match the aperture in the bag and fixed acetate behind the aperture. I die-cut several of the Tim Holtz/Sizzix Bold Text Thinlits from matching colours of cardstock until I had the letters I needed to spell out Happy Easter and arranged around the aperture, fixed in place with Distress Collage Medium.
I die-cut the eggs from Distress Watercolor card, assembled, coloured lightly with Brushed Corduroy Distress Ink using a mini round blending tool and added splatters of the ink.
I die-cut the daisy flowers and stems from green, orange and white card using Tim Holtz/Sizzix Bunny Games Thinlits
I fixed the panel to the kraft bag, trimmed off any excess from the bottom and sides and assembled the die-cuts to create an Easter scene.
I filled the bag with mini chocolate eggs and once again, I over-estimated the amount needed so guess who will also be having an easter treat.
I smooshed Scattered Straw and Tumbled Glass Distress Oxide inks on to the craft mat on my Glass Media Mat, spritzed with water and tapped the ribbon into the ink, scrunched up in my hand and dried.
And I have a confession, because this project didn't need to make a journey across the pond and I have plenty of time to refill to give to the grandkids, I carefully removed the closure and scoffed the entire contents, oops, I have no willpower or shame, obviously but that can be our little secret.


Oh wow Kath, this is fabulous, what a gorgeous bag and I love the chicks too.xx
ReplyDeleteAnother Awesome make.I love the colours and those cute chicks.xx
ReplyDeleteKath, this is so cute... it puts a warm fuzzy in my heart. Any recipient of any age would be absolutely delighted to get it, I know It certainly would brighten my day. Thank you so much for sharing.
ReplyDeleteKath wow this is stunning nice spring colours and l could just eat those eggs xx
ReplyDeleteThis is amazing I just love it, thank you for sharing
ReplyDeleteSuch a cheerful and fun gift. Those are beautiful Easter colours. great post thanks Kath xox
ReplyDeleteone of my favorite makes from the live - SO CREATIVE to use the plaid like that and the letters are just perfect in the circle!!
ReplyDeleteI LOVE your Easter gift bag! Beautiful spring colors, super cute chicks and I love the Easter eggs inside. I eat these candies every Easter. Thank you for sharing and have a Happy Easter!
ReplyDelete