Hello my friends, my Christmas Advent Calendar Box is finally finished, decorated with Tim Holtz/Idea-ology Christmas 2023 Backdrops paper and Sizzix Shadow Numbers and Falling Stars Thinlits. It certainly was a labour of love and although there are maybe things I would do differently, I'm really happy with how it turned out. I'm not going to lie, it was a time consuming project but if you break it down into sections, it really was so easy to make. I am not sharing all the step by step photos because I found a great tutorial on YouTube HERE and this might explain the process better if you are a visual learner rather than following written instructions.
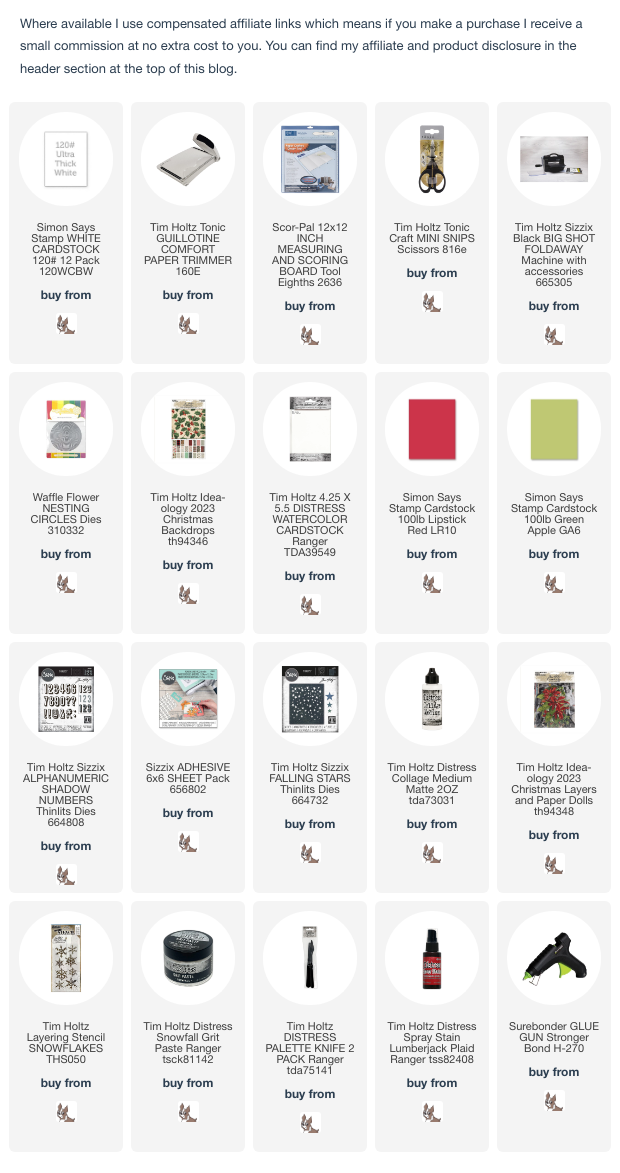
I trimmed papers from Tim Holtz Idea-ology Christmas 2023 Backdrops to measure 1.7/8" square, fixed to the front of the boxes using Distress Collage Medium. I die-cut Tim Holtz/Sizzix Shadow Numbers Thinlits from Distress Watercolor card and fixed the shadows and the numbers in place with Distress Collage Medium. I die-cut the numbers again from Simon Says Stamp Lipstick Red and Green Apple cardstock and fixed in place over the original numbers. To finish I attached Sizzix Adhesive Sheet to Simon Says Lipstick Red cardstock, die-cut Tim Holtz/Sizzix Falling Stars Thinlits and used to decorate each door.
I constructed the frames following the YouTube tutorial, added card, trimmed to be slightly smaller, to the back of each frame. I trimmed strips of Tim Holtz/Idea-ology Christmas 2023 Backdrops paper to measure 8.1/4" x 3" and fixed inside the frames at the top edge.I trimmed the same Tim Holtz/Idea-ology Christmas 2023 Backdrops papers that I used to decorate the boxes into 1.7/8" squares and fixed around the edges of the back panels using Distress Collage Medium. Unfortunately I ran out of some of the papers, had to improvise and fit in some small strips but I won't tell if you don't.I decorated what will be the front of the box with another paper from the Christmas 2023 Backdrops and added ephemera from Tim Holtz/Idea-ology Christmas Layers.I fixed the boxes into the frames using hot glue and punched a hole in the lids of the last boxes on the top row which will hold the battery packs for the Idea-ology Tiny Lights.I coloured Idea-ology Crinkle Ribbon with Lumberjack Plaid Distress Spray, fixed to strips of Christmas Backdrops paper and fixed to the opening sides of the frames. I added the hinge section to the other side of the frames to open and close the box and fixed strips of the same paper to these sections and the top edges of the box.
I applied Distress Snowfall Grit Paste through Tim Holtz/Stampers Anonymous Snowflakes Layering Stencil to add a little bit of sparkle to the front of the box.
Hugs Kath xxx


My word Kath, you have outdone yourself if thats possible, WOW, this is wonderful, I love it and what a great idea for the little pull handles, amazing Kath. xx
ReplyDelete