Tuesday, December 12, 2023

A New Adventure

Hello my friends, I've been intrigued for some time about wax seals, the newest trend it seems to hit the craft world, so I ordered the Spellbinders Starter Kit which contains all you need to get going and decided to give it a shot. I'm sharing a card I made using one of the wax seals and have to admit I think I'm hooked.

I unpacked the box, placed the silicone mat on my glass media mat and arranged the burner, seal stamp, wax beads and spoon. Once I lit the tea light and placed it under the burner, I was ready to rock and roll.
I quickly realised there is a definite knack to achieving anything resembling a roundish wax seal. After many failed attempts and remelting of my mis-shapen attempts. In my opinion, the secret is to take things slow. Once you have poured out your circle of wax, don't go into panic mode and just press your stamp in to the wax. Take your time, hover the stamp above the circle of wax and then gently lower it, watching what the wax is doing and adjust the position of the stamp, if necessary, before fully committing.
You do you but this method certainly worked for me and before you know I'm polishing my halo and churning them out like a pro.
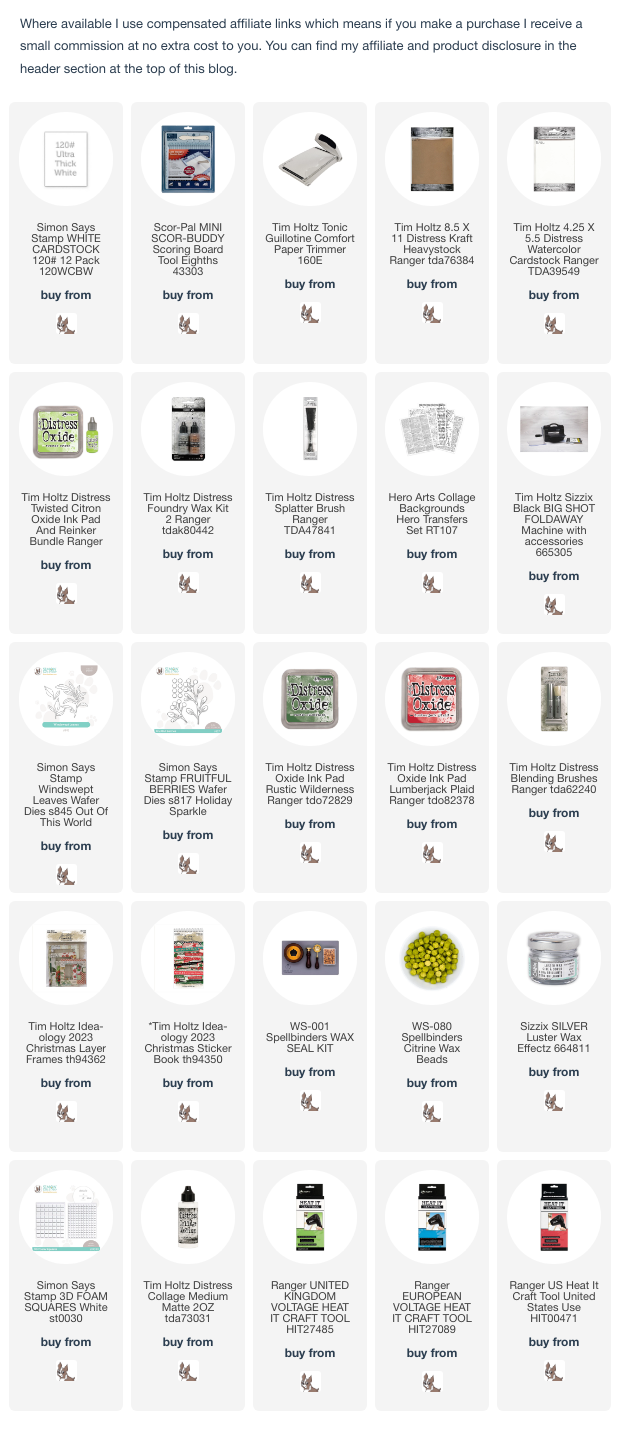
I only have two colours, Gold and Citrine which limited the colour palette of the card I intended to use with the seal. But I have taken steps to rectify that and am waiting for my parcel of extra colours, new wax stamps and DecoColor pens to arrive, ready for some playtime after Christmas.  I decided to use the Citrine wax Seal on my card and smooshed Twisted Citron Distress Oxide ink on to my glass Media Mat, spritzed with water to create a light background on an A2 panel of Distress Watercolor card. I added splatters of Sterling Foundry Wax and heat set.
I added Hero Arts Transfers Collage Backgrounds which seems to be another new obsession. I have always loved Tim Holtz Idea-ology Remnant Rubs and I suspect that rub-ons may be making a comeback.
I die-cut Simon Says Windswept Leaves and Fruitful Berries from Distress Watercolor card and coloured with Twisted Citron, Rustic Wilderness and Lumberjack Plaid using Distress Blending Brushes.
I trimmed the panel to 4" x 5.1/4", fixed a Tim Holtz/Idea-ology Christmas 2023 Layer Frame and sticker from the Christmas 2023 Sticker Book on the panel using Distress Collage Medium and added the die-cuts popped up on foam squares to create dimension.
I wound red thread around the panel and tied in a bow. I rubbed Silver Wax on to the seal to highlight the raised detail and fixed in place with Distress Collage Medium.
To finish I matted the panel on to an A2 panel of Distress Kraft HeavyStock and fixed to an A2 white card blank.


Have fun if you too are embarking on a wax seal journey, it just takes a little bit of patience and is not nearly as scary as you might think.
Hugs Kath xxx
Monday, December 11, 2023

Simon Says - Use Dies in DieCember

Hi Everyone...welcome to another week on the Simon Says Stamp Monday Challenge Blog. Thank you for joining us for last week's challenge and we hope you can join us this week too because


The team are celebrating DieCember and the theme for this week is to 
USE DIES
I decorated a gift bag using Simon Says Willow Snowflake, created shimmery texture on the background with Tim Holtz/Sizzix Pine Branches 3D Texture Fade and Sterling Foundry Wax, added Walter and his Mrs, the DieCember exclusive surprise from Tim Holtz and Simon Says Stamp, Hero Arts Holiday Message Strip Rub-Ons and Trinity Stamps Candy Apple Heart Sto send warm wishes to the recipient. 
I began my misting an A2 panel of Distress Watercolor card with water, placed it in the Tim Holtz/Sizzix Pine Branches 3D Texture Fade and ran through my die-cutting machine. I applied Sterling Foundry Wax over the raised areas with my finger, added splatters and heat set. I coloured the panel lightly with Mermaid Lagoon Distress Oxide ink using a mini round blending tool.
I die-cut Simon Says Stamp Willow Snowflake from Distress HeavyStock KraftStock and Distress Watercolor card and the shadow from vellum. I trimmed the Distress Watercolor card snowflake to leave just the centre section.
I trimmed the Texture Fade panel to fit the kraft gift bag, distressed the edges and fixed to the bag with Distress Collage Medium. I added a hand cut snowbank at the bottom, layered the Willow Snowflake popped up on foam squares and added a bow using silver sparkle twine from my stash.
I die-cut the Walter DieCember 2023 Thinlits from Distress Black HeavyStock, Distress White HeavyStock and Sizzix Surfacez cardstock and assembled. I die-cut the scarves and Santa hat using the Walter Thinlits and the ear muffs using the Chilly and Freezy DieCember 2022 Thinlits, coloured with Lumberjack Plaid and Mermaid Lagoon Distress Oxide inks.
I added the snowflakes and sentiment from Hero Arts Holiday Message Strip Rub-Ons
I applied Ranger Glossy Accents to the fur on the hat and ear muffs and sprinkled with Distress Rock Candy Glitter. To finish I added Trinity Stamps Candied Apple Heart Embellishments.


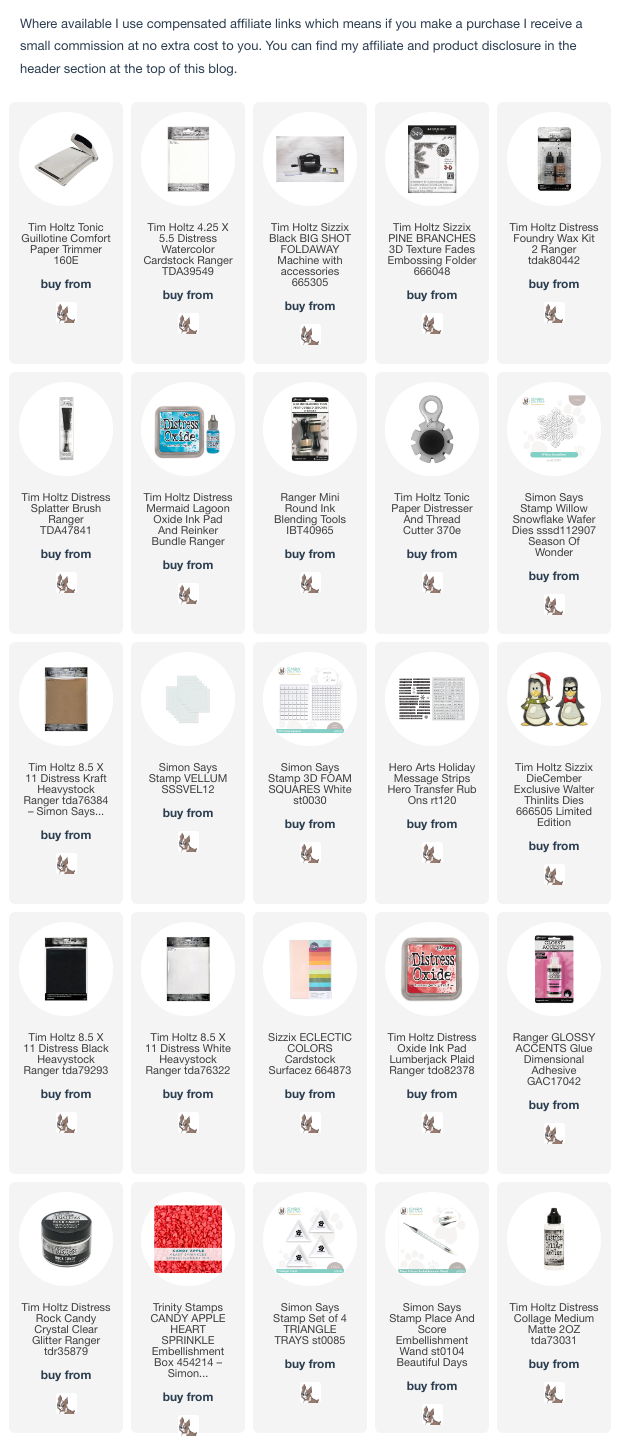
You can find all the products I used over at Simon Says Stamp, just click on the links below


Why don't you pop over to the Monday Challenge Blog and check out the amazing creations from my very talented Design Team mates and as always you have until Monday 8am Ohio time...1pm UK time...2pm CET to join in with the chance to win a $25 voucher to spend online at Simon Says Stamp


You can also follow Simon Says Stamp on Instagram
and if you use Instagram...
please add #sssmchallenge to your entry uploads so we can see them on there too

I look forward to seeing what you create this week...
Have Fun and Happy Crafting
Hugs Kath xxx

Friday, December 8, 2023

Cards Inspired by M&S

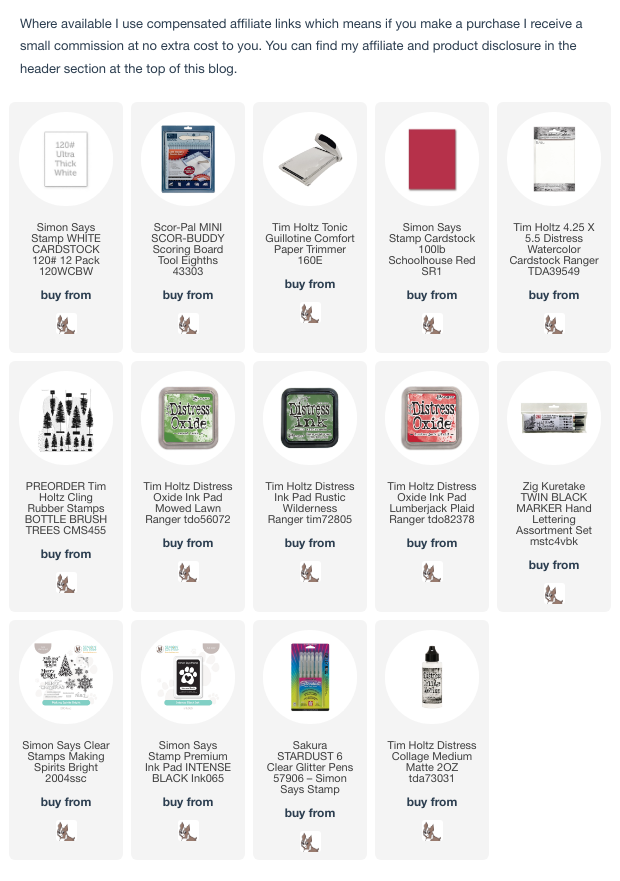
Hi my friends, when you're feeling like you can't see the forest for the trees and your mojo has gone AWOL, it's time to keep things simple, take inspiration from a rather pricey card I spotted in my local M&S store and knock out easy production line cards using Tim Holtz/Stampers Anonymous Bottlebrush Trees and a sentiment from Simon Says Stamp Making Spirits Bright stamp set. 

I trimmed Distress Watercolor card to 4" x 5.1/4", lined up the Bottlebrush Trees in my stamp platform and stamped the trees using Mowed Lawn and Rustic Wilderness Distress Oxide inks on all 6 panels. I repeated the process to stamp the tree stands, inked with Lumberjack Plaid Distress Oxide ink. I cheated and drew in the tree stem with a Fine Black Marker pen, I won't tell if you don't.
I stamped the sentiment and stars from Simon Says Making Spirits Bright stamp set, inked with Simon Says Intense Black ink.
I used a Sakura Stardust Clear Glitter Gel Pen to colour the letters on the sentiment and the centre circle on the stars.
To finish, I matted the panels on to A2 white card blanks covered with red cardstock. The christmas card list is finally done and dusted and I can't help thinking that if I had seen that M&S card earlier, it would have been finished faster but isn't hindsight a wonderful thing.

Have fun with whatever you're making.
Hugs Kath xxx

Thursday, December 7, 2023

Simon Says - Making Spirits Bright

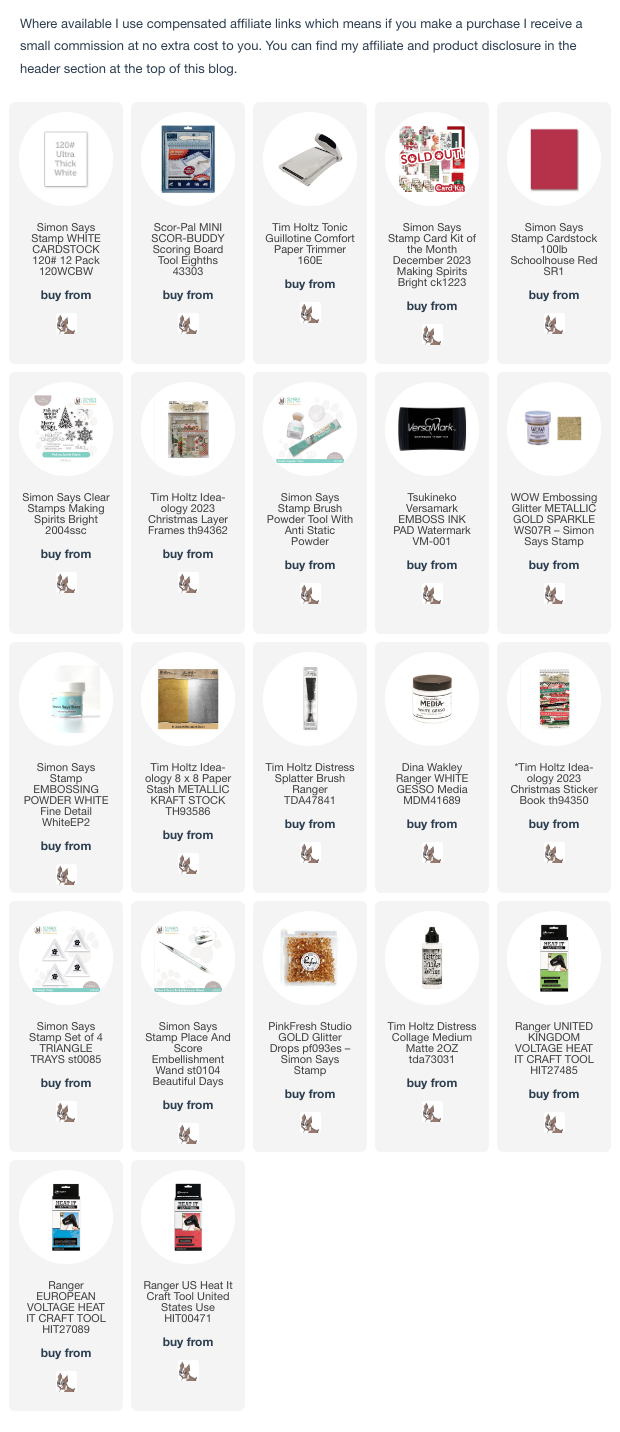
Hi my friends, I'm sharing another card using the beautiful Making Spirits Bright stamp set from the Simon Says Stamp December 2023 Card Kit along with Tim Holtz Idea-ology Christmas 2023 Layer Frames and sentiment from the Idea-ology Christmas 2023 Sticker Book also included in the kit. The kit has sold out but the stamp set and the other items I used are available to purchase separately HERE.

I trimmed Simon Says Schoolhouse Red cardstock to 4.3/4" x 6.3/4", placed the Tim Holtz/Idea-ology Christmas 2023 Layer Frame temporarily on the panel and marked it's position lightly with a pencil. With the stamps from the Making Spirits Bright stamp set positioned on the lid of my stamp platform I removed the frame and stamped the snowflakes inked with Versamark ink, sprinkled with Simon Says White Detail and Wow Gold Metallic Embossing powders and heat set. I fixed the frame on to the panel with Distress Collage Medium, lined up with the pencil markings and re-stamped the large snowflake image, sprinkled with White Embossing Powder and heat set. I splattered White Gesso over the panel and while it was still wet, sprinkled with the white embossing powder and heat set. I added the sentiment strip trimmed from Tim Holtz/Idea-ology Christmas 2023 Sticker Book and added PinkFresh Studio Gold Glitter drops in the centres of the snowflakes. I fixed the panel to Idea-ology Gold Metallic KraftStock, trimmed to be 1/8" larger and matted on to a 5" x 7" white card blank.

Hugs Kath xxx
Wednesday, December 6, 2023

Wintermas Countdown to Christmas - Days 9, 10, 11

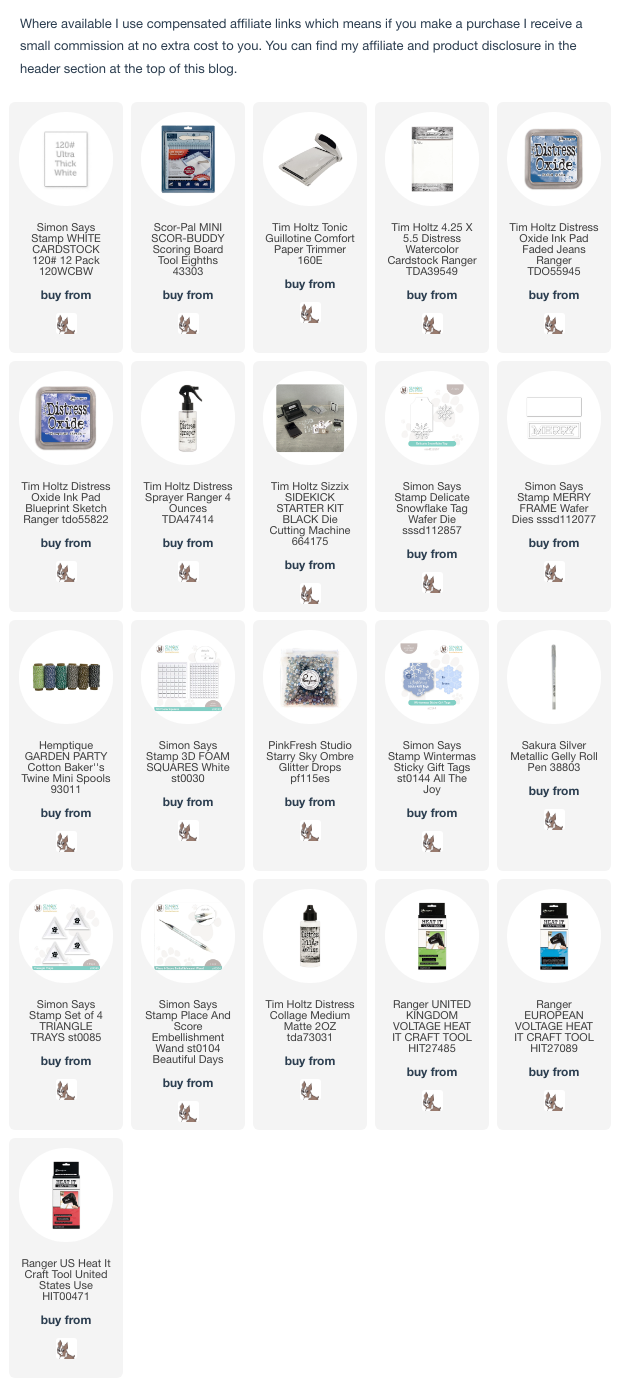
Hi my friends, the Simon Says Stamp Wintermas Wonder Box has sold out so I decided to open the boxes for Days 9,10 and 11 at the same time. If you missed out on gettiung the Wintermas Wonder Box, the individual items are available to purchase separately HERE. 

I made a tag card with the Delicate Snowflake Tag die from Day 9, used the Wintermas Sticky Gift Tags and Silver Glitter Pen from Day 10 on the inside of the card, die-cut the extra snowflakes to decorate the card and embossed with the Detail Sparkle Embossing Powder from Day 11. 

I die-cut the Delicate Snowflake Tag from Distress Watercolor card, coloured with Faded Jeans and Blueprint Sketch Distress Oxide inks.
I die-cut the extra snowflake die from Distress Watercolor card, pressed the die-cuts into a Versamark ink pad and heat embossed with the Simon Says Detail Sparkle Powder. While the embossing powder was still hot, I tapped the snowflakes back into the powder and melted again. I repeated the process once again to create very shiny sparkly snowflake embellishments.
I trimmed Distress Watercolor card to 4" x 5.1/4", embossed with the Wistful Leaves Embossing Folder from Simon Says Cozy Hugs November Card Kit and inked lightly around the edges with Blueprint Sketch Distress Oxide ink using a mini round blending tool.
I threaded the tag with blue Bakers Twine and fixed to the embossed panel with Simon Says Foam Squares. I added the embossed snowflakes and extra snowflakes die-cut from Distress Watercolor card. I die-cut Simon Says Merry Frame from Distress Watercolor card twice, layered the word to create dimension and fixed to the tag with Distress Collage Medium.
I stamped Merry Christmas from Simon Says Making Spirits Bright stamp set from the December 2023 card kit, inked with Blueprint Sketch Distress Oxide ink on to a strip of Distress Watercolor card, sprinkled with Simon Says Clear Embossing Powder and heat set. I trimmed the sentiment and fixed to the tag with Distress Collage Medium.
I coloured the Wintermas Sticky Gift Tag with Blueprint Sketch Distress Oxide ink using a mini round blending tool, fixed inside an A2 white card blank, added a die-cut snowflake and used the Silver Gel Pen to add a personal message.
To finish I fixed PinkFresh Studio Starry Sky Ombre Glitter drops to the snowflakes. I added splatters of Blueprint Distress Oxide ink and matted the panel on to the A2 white card blank.

I'll be back tomorrow to share another Christmas card ticked off the list. In the meantime, have fun with whatever you're making.
Hugs Kath xxx