Hello my friends, if you've popped over from the Tim Holtz YouTube Live launch of the Halloween release with Sizzix, you'll know that we have more reimagined and resized old favourites to play with. If you missed the Live, you can catch up with all the new dies and amazing projects from the Makers on Tim's YouTube channel and Blog. I'm sharing the first project I made for the Live, an interactive Shadow Box Card using the Vault Fright Night, Foliage Wreath and Coffin Box Thinlits.
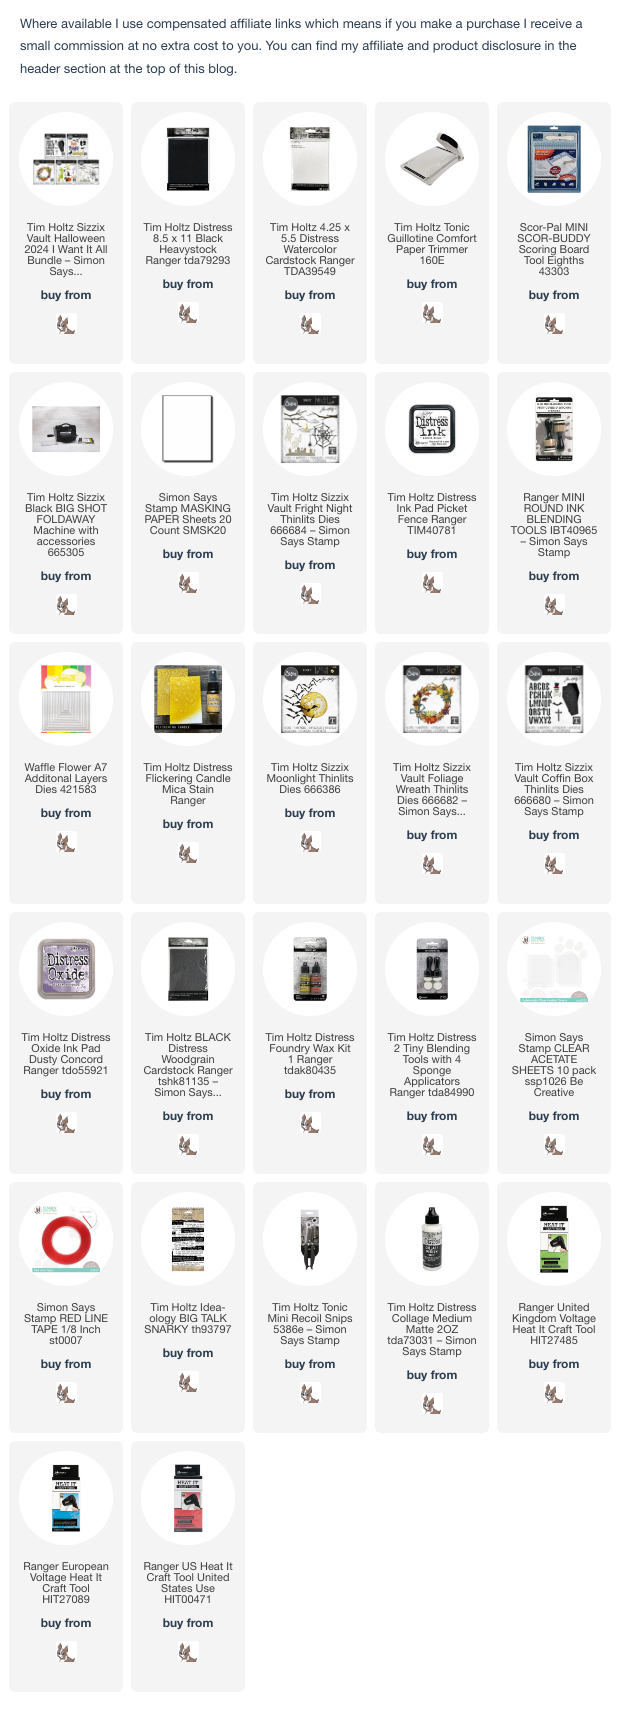
I trimmed Distress Black HeavyStock to create 2 - 7" x 7" panels and scored at 1/2" and 1" on each side.I die-cut the Fright Night spider's web 3 times from masking paper and fixed in place on what will be the front of the shadow box. I applied Picket Fence Distress Ink over the panel using a Distress Blending Foam and removed the masks. I die-cut an aperture using a rectangle die. I trimmed Distress Black HeavyStock to 4.3/4" x 6.3/4", die-cut a second aperture with a smaller rectangle die and fixed on the back of the front panel. I added splatters of Flickering Candle Distress Mica Spray.I applied Picket Fence Distress Ink as before to the second panel - the back of the shadow card. I die-cut Tim Holtz/Sizzix Moonlight Thinlits and cloud from Fright Night Thinlits from Distress Watercolor card, shaded with Dusty Concord Distress Oxide ink using a Tiny Blending Tool, fixed in place with Distress Collage Medium and added splatters of Flickering Candle Distress Mica Spray as before.I die-cut the ghosts from Distress Watercolor card using the Fright Night Thinlits. I die-cut each ghost 4 times, added a thin strip of acetate between the top and bottom layers. I fixed strong double sided tape to the edges of the panel and once I was happy with the placement of the ghosts, trimmed off the excess acetate.I die-cut the alphabet letters multiple times from Distress Watercolor card using Tim Holtz/Sizzix Coffin Box Thinlits. I fixed 3 layers of the letters to a strip of acetate and fixed inside the aperture with strong double sided tape. I fixed one layer of the letters to the bottom of the panel and added 2 further layers coloured with Dusty Concord Distress Oxide ink, placed slightly offset to create a highlight. I die-cut the flowers from the card coloured with Dusty Concord Distress Oxide ink and centres from Distress Black HeavyStock and fixed in place with Distress Collage Medium.
To finish I trimmed out words to complete the sentiments from Tim Holtz/Idea-ology Big Talk Snarky Sticker book and fixed in place with Distress Collage Medium.I fixed the front and back panels together and pulled the side tabs back and forth to see the spooky ghosts move around. With the side tabs pressed in, the card measures 5" x 7" but would best be posted in a box or jiffy envelope.
I'll be back tomorrow to share the second project I made for the Live. In the meantime, have fun shopping and making when your new dies arrive.
Hugs Kath xxx


WOW, this is brilliant Kath, what a fabulous card. xx
ReplyDeleteBeautiful and so creative
ReplyDelete