

Hi my friends,I'm thrilled to be joining lots of talented friends on Day 2 of the Simon Says Stamp Blog Hop to celebrate the Cozy Hugs release. If you missed Day 1 of the Blog Hop yesterday, you can catch up HERE for more inspiration. You can find all the products from this release over at Simon Says Stamp HERE and Simon Says has a blog hop exclusive give-away, the Giant Hands Wrap die is FREE with any purchase of $75 or more, just enter the code COZY when you checkout. This promotion will end on 9th October at 11.59 PM EDT
I created a Christmas card using the super cute Layered Warbler along with the 6" x 6" Layering Peppermints Stencils to add a pop of colour to the background. I began by smooshing Candied Apple Distress Oxide ink over the first of the two stencils, spritzed with water and pressed on to a 4" x 5.1/4" panel of Distress Watercolor card to create a monoprint effect.
 I used the second stencil in the set to add the details using Candied Apple and Peeled Paint Distress Oxide inks applied with Simon Says Detail Round Blending Brushes. The pattern was a bit busy for the card I had in mind so I tore the panel and fixed the sections to the top and bottom of Sizzix Festive Green cardstock trimmed to 4" x 5.1/4". (Simon Says Stamp Green Apple would be a great alternative but I only had scraps left in my stash)
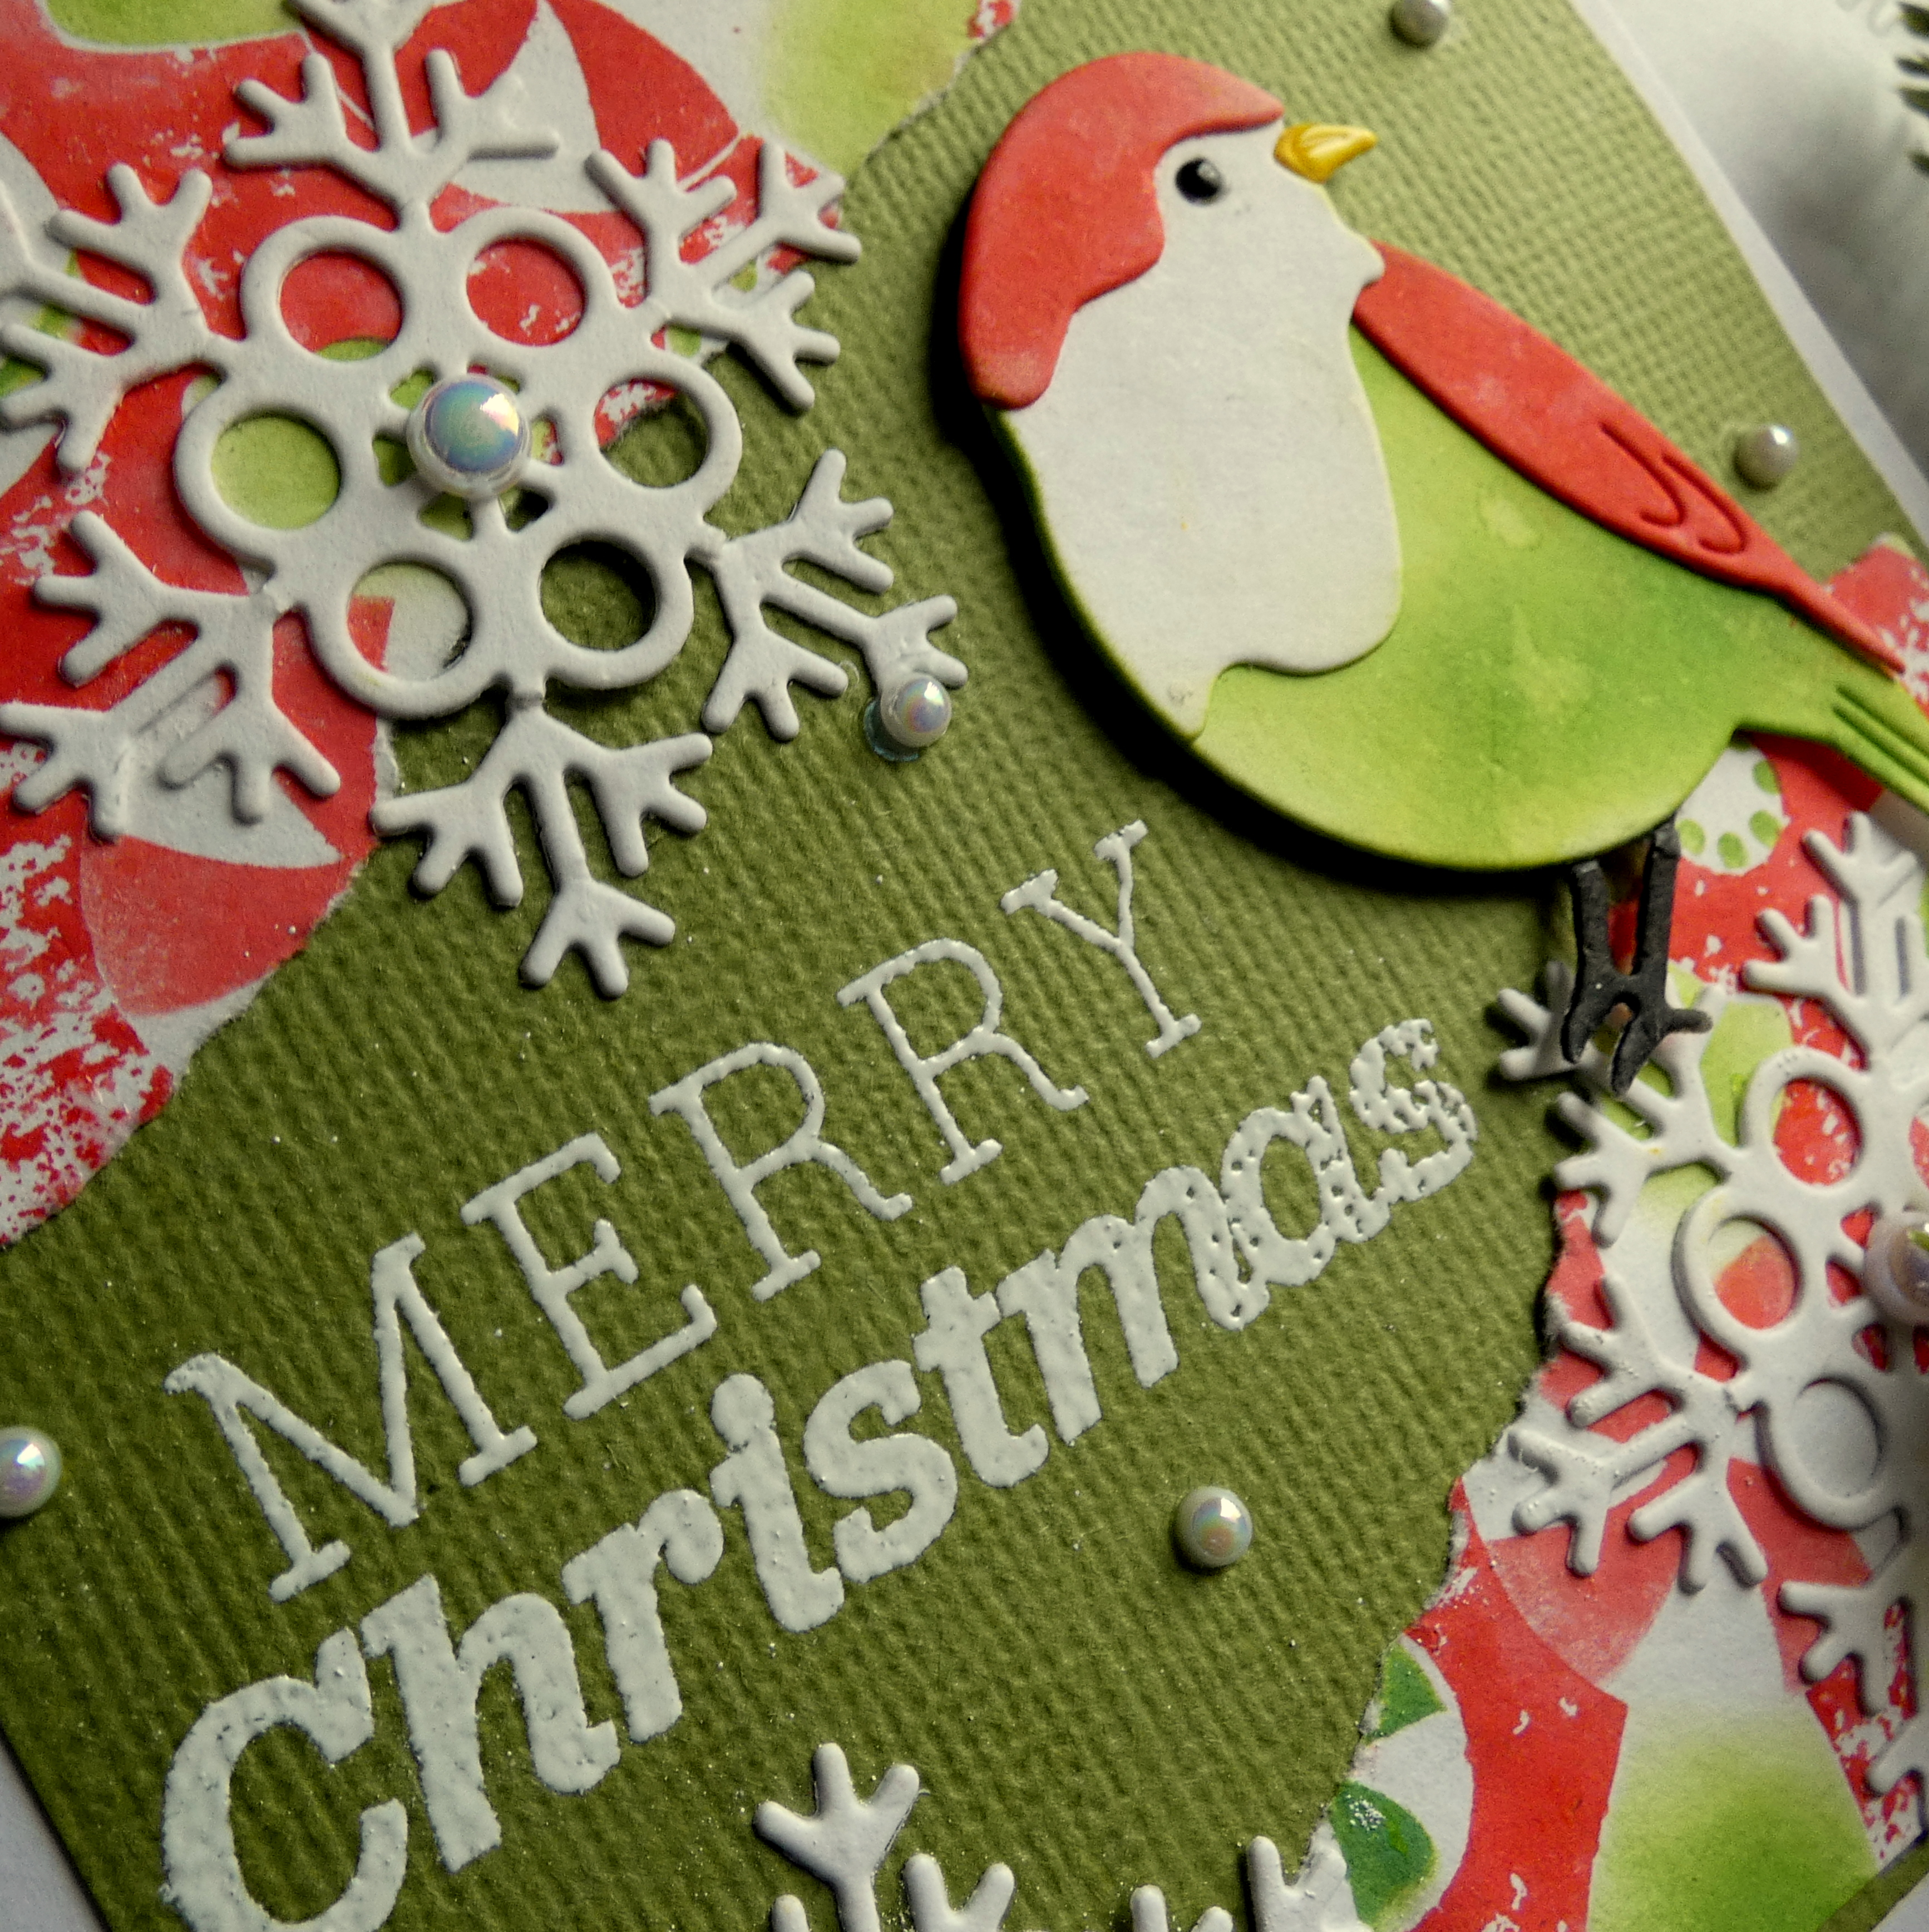
 I stamped the sentiment from Simon Says Stamp Holiday Ornaments from the STAMPtember release, inked with Simon Says Clear Embossing Ink, sprinkled with Simon Says White Fine Detail Embossing Powder and heat set.
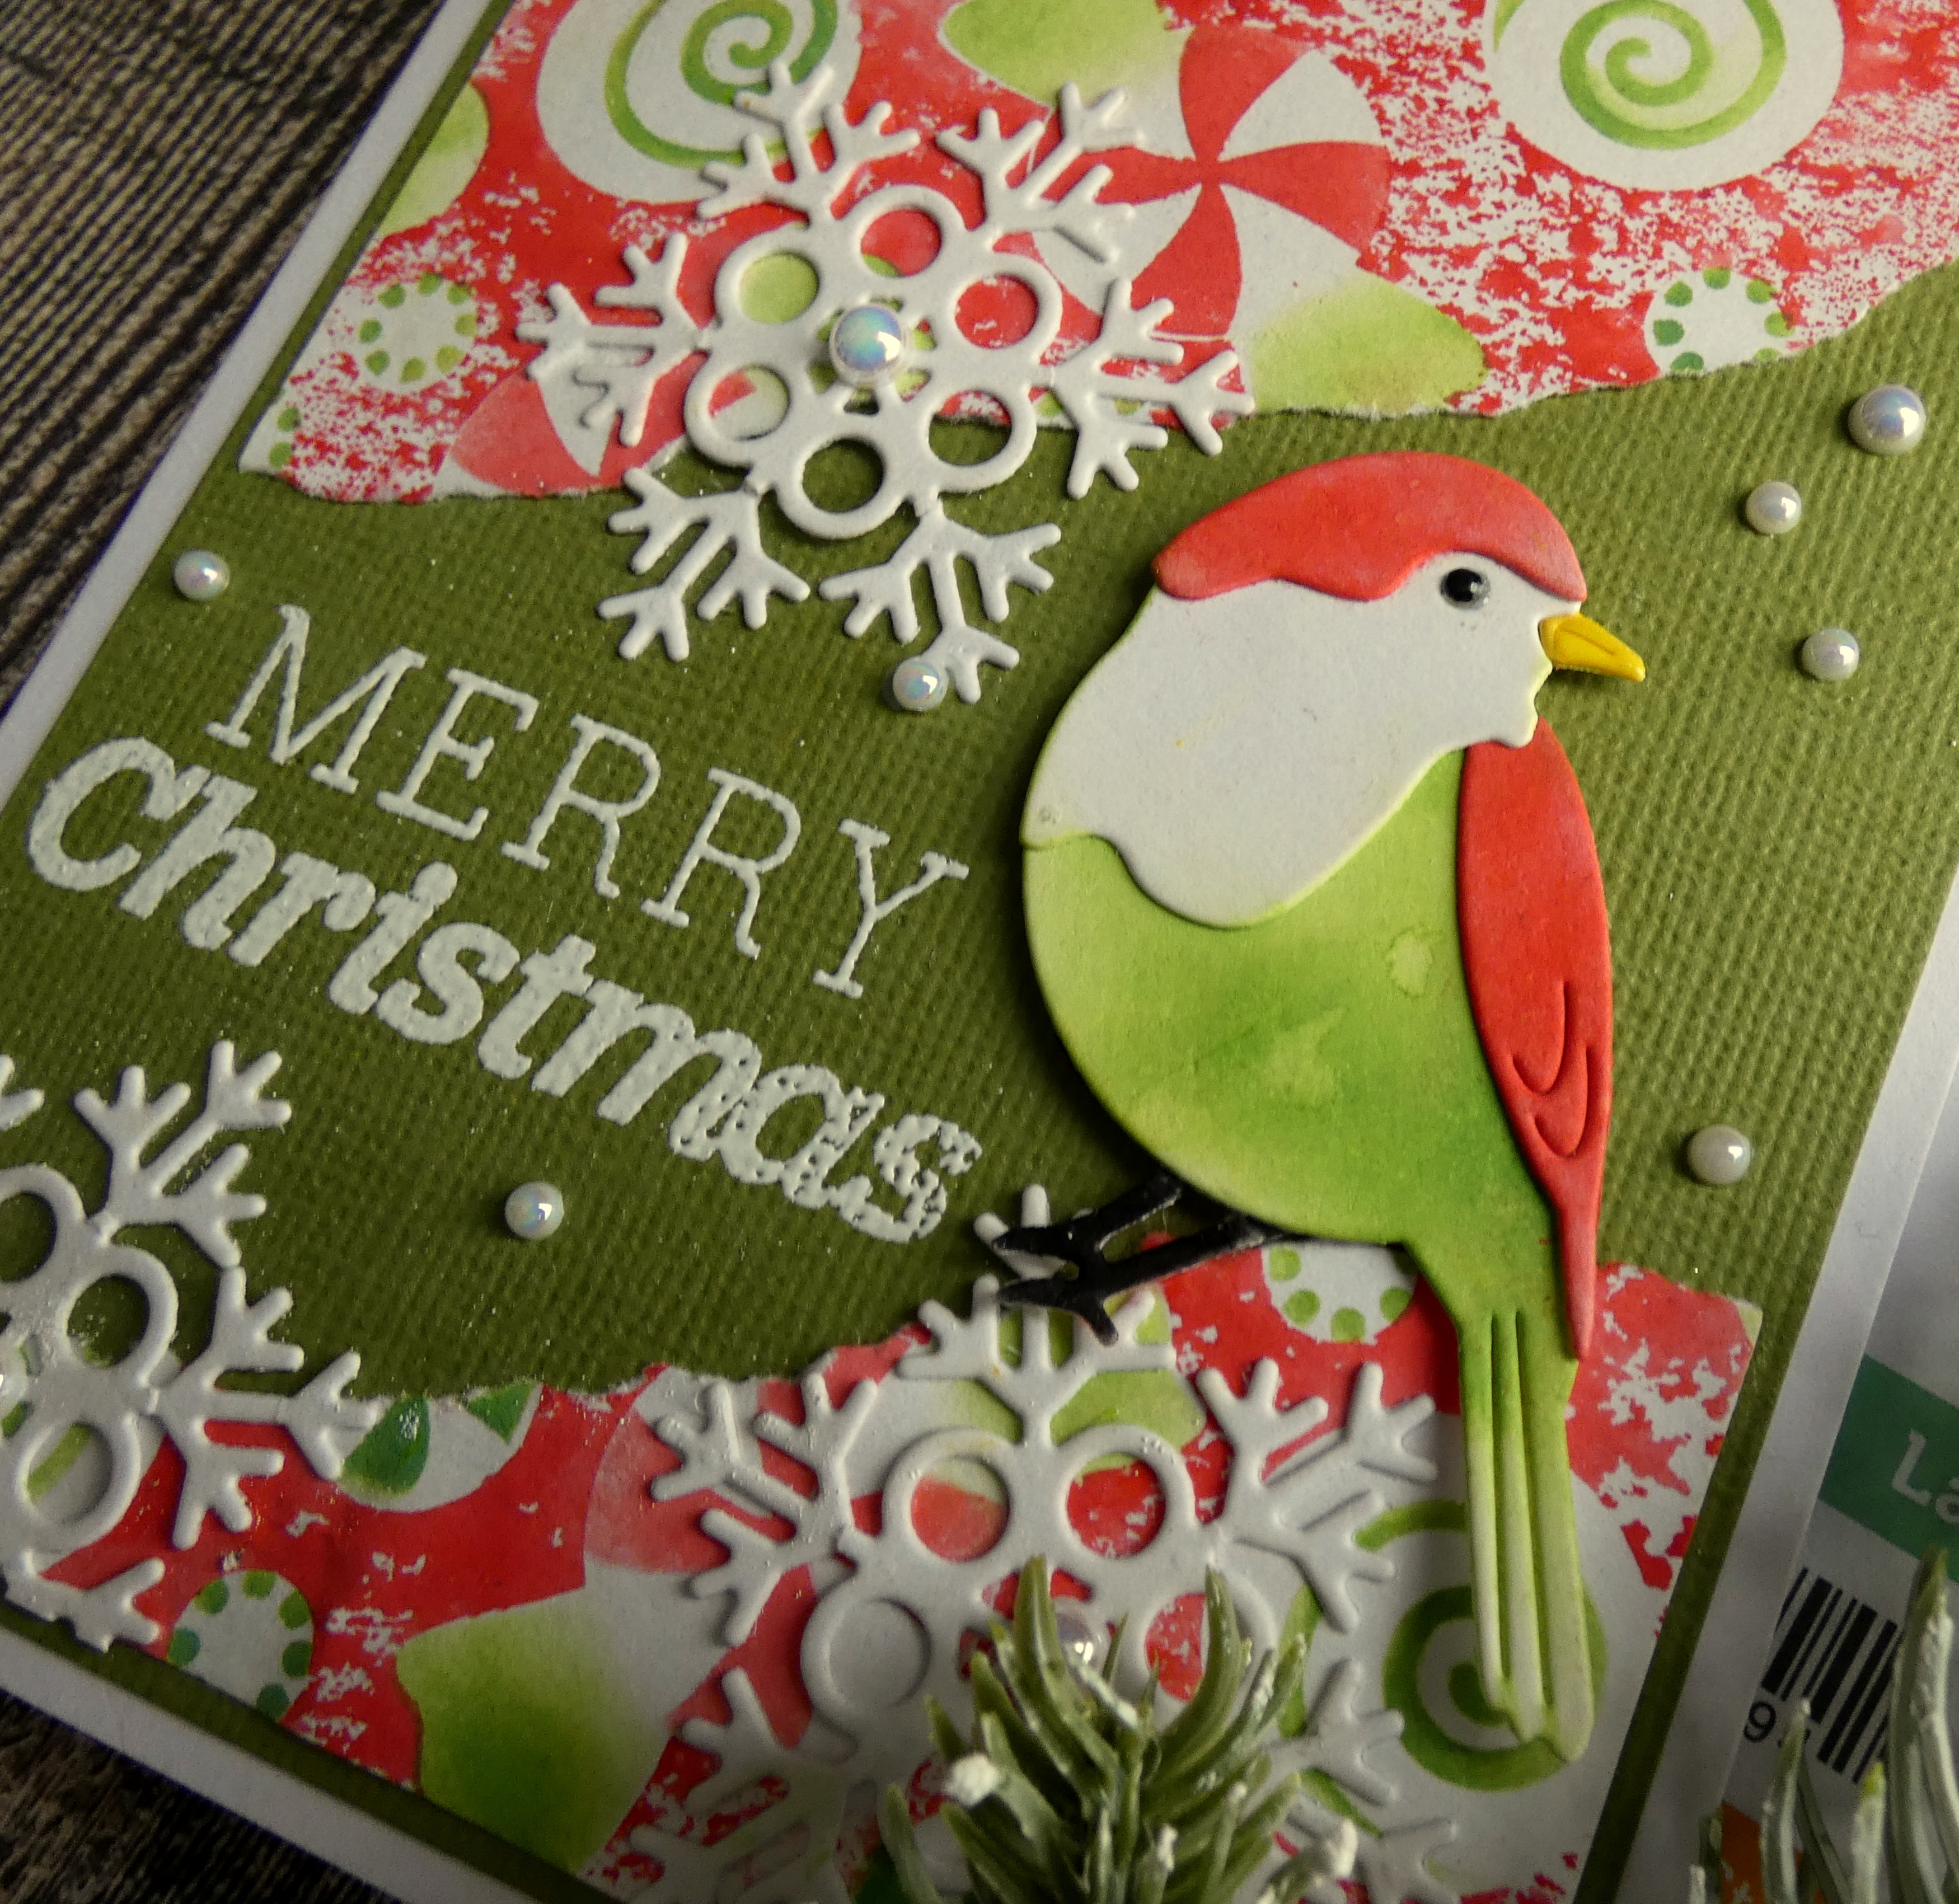
 I die-cut Simon Says Layered Warbler from Distress Watercolor card, coloured with Candied Apple, Peeled Paint and Mustard Seed Distress Oxide inks using the detail round blending brushes, assembled, added the feet and eye die-cut from black cardstock and fixed to the panel with Simon Says Foam Squares to create dimension.
 I added snowflakes die-cut from Distress Watercolor card using Simon Says Melody Snowflake die.
 To finish I added Ranger Glossy Accents to the bird's eye and beak, Trinity Stamps Something New pearls and matted the panel on to an A2 white card blank.
Kath Stewart - YOU ARE HERE
What an amazing card. Your coloring on the warbler is wonderful. The peppermint stencil makes a great background for it. Thanks for including the step by step pictures. I always find that so helpful.
ReplyDeleteI LOVE how you created the pattern paper with the stencil and the tear! The bird is soooo cute
ReplyDeleteWonderful artsy look with paper torn & arrangement.
ReplyDeleteMelissa
"Sunshine HoneyBee"
Love how you created that background. And such a sweet bird!
ReplyDeleteWonderful card. Love the colors and all
ReplyDeletethe movement. thanks for sharing
txmlhl(at)yahoo(dot)com
Great combination of different products! The texture and colors work well together to create a beautiful card.
ReplyDeleteFAB design, great use of colors! That songbird is beautiful!
ReplyDeleteBeautiful birds
ReplyDeleteGreat design!
ReplyDeleteLove the layout.
As a side note, I'm a dog lover and love the tribute to your Buddy.
What a cute design. I love the bird. It really pops
ReplyDeleteGreat step-by-step! It's so helpful to see a card "undone" and in the making. Thanks for sharing!
ReplyDeleteAmazing technique for the stencil! Will try it out soon. Great card!
ReplyDeleteI never would have thought to pair this stencil with the bird, but it totally works.
ReplyDeleteGorgeous card. Love the design and the colors and mix of products.
ReplyDeleteAmazing card--mixing that stencil is bird is genius! Thanks for the inspiration.
ReplyDeleteGorgeous card!!!! I love all of the different layers!!
ReplyDeleteWhat a beautiful card! The bird is awesome.
ReplyDeleteThanks for sharing.
Love the bird!
ReplyDeleteSuch a unique and bright card.
ReplyDeleteVery festive.
ReplyDeletei love the bird with the snow. wonderful
ReplyDeleteI love the stenciled background and the beautiful bird! Awesome card!
ReplyDeleteThat little bird was such a wonderful surprise addition to your card! Love it!
ReplyDeleteSo fun and cheerful. Love that sweet little bird.
ReplyDeleteKath, this card is wonderful... I love your color choices and that cute little bird brought a smile to my heart... just love little birdies... all animals really. The candies and snowflakes brought such a whimsey elegance to the card, especially with those bling touches. Thank you for sharing.
ReplyDeleteI love the colors - and that bird!!
ReplyDeleteI love the layered bird! You made a very pretty card!
ReplyDeletelove how you made this pretty card - very inspiring
ReplyDeleteLove how you coordinated the background colors with the bird!
ReplyDeleteColorful and cheery!
ReplyDeleteThis birdie definitely caught my eye! Fantastic job with the card - the elements work really work together!
ReplyDeleteHow cute. Thanks for sharing.
ReplyDeleteSo cute!!! <3
ReplyDeleteLove how you combined so many products for a great card.
ReplyDeleteBeautiful card.
ReplyDeleteI just love your card so much!! Thank you for the tutorial.
ReplyDeleteWhat a perfectly lovely card. Amazing inspiration and just a treat for the eyes.
ReplyDeleteWhat a fun background---and a very pretty bird!
ReplyDeletea unique way and colour scheme for the bird. Awesome
ReplyDeleteWowsers!! You used so many of my ever lengthening list of want to buys!! Gorgeous!! Am in awe of your mastering of that bg!! Am loving every bit of your beautiful card!!
ReplyDeleteSo beautiful the colours are gorgeous x
ReplyDeleteThe card is lovely! The coloring on the bird is superb.
ReplyDeleteI like how you combined these different products and came up with this unique and beautiful card. The snowflakes are especially pretty
ReplyDeleteI am impressed with all the stencil work and the end result.
ReplyDeleteYour card is awesome. Love the layout and the ripped edge. I also gotta say, Buddy's nose looks like it has been BOOP'ed so much that the patina has worn off. <3
ReplyDeleteSuch a unique card! Love the combination of products you used for your creation. So pretty.
ReplyDeleteLove your combinations!!
ReplyDeleteInteresting technique! TFS
ReplyDelete